
You’ve been there. Flour dust on the counter, a cracked edge mocking your best efforts, and that defeated moment when you realize the dough has torn clean through. Rolling pastry is one of those things that sounds simple in a recipe but quickly humbles even confident home bakers. Here’s the thing – it doesn’t have to be this way.
There is a completely different approach that skips the rolling pin altogether. It’s been quietly used by clever home bakers for generations, and now pastry professionals are starting to talk about it more openly. Stick around, because what you’re about to read might change how you think about pie and tart crusts forever.
Table of Contents
Why Rolling Pastry Is Actually Harder Than It Looks
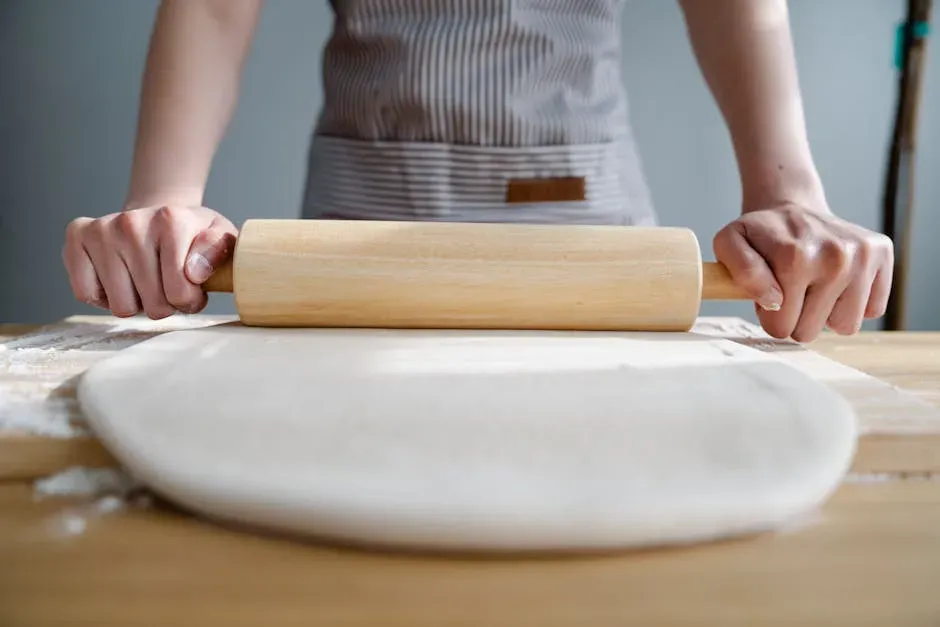
Let’s be real: rolling pastry dough is genuinely one of the trickier tasks in a home kitchen. The idea of rolling out homemade pie dough can be intimidating, and from cracks and holes to the precarious transfer between the countertop and the pie plate, there are lots of ways to go wrong. It is not just beginner anxiety – even experienced bakers run into issues.
Pastry breaks up when rolling it out due to a combination of factors, including overworking the dough, incorrect temperature, and insufficient resting time. When you overwork the dough, the gluten in the flour becomes over-developed, leading to a tough and brittle texture that is prone to cracking. Think of it like stretching a rubber band too many times. It loses its elasticity and eventually snaps.
Overworking the dough does three damaging things: it develops a tough gluten network where too much mixing, kneading, or even just re-rolling creates long, elastic gluten strands that bake into a tough, leathery texture. It also warms up the fat, and excessive handling transfers heat from your hands to the dough, melting the small pieces of butter or shortening that are crucial for flakiness. That combination is basically a recipe for pastry disappointment.
The Science of Gluten: Why Less Is Always More in Pastry

Pastry dough is a delicate balance of flour, fat, and water which, when combined, create a complex network of gluten strands. Gluten, a protein found in wheat flour, is responsible for giving pastry its structure and elasticity. However, when gluten is overworked or not developed correctly, it can lead to a tough, brittle dough that’s prone to breaking.
Pastry dough benefits from less gluten development to achieve a tender, flaky texture. Rolling out dough too much, or overworking it, has several undesirable consequences that can significantly impact the final product’s texture and flavor. Honestly, this is one of those facts that completely flips how you look at pastry-making once you understand it.
Fats act as gluten inhibitors by coating flour proteins and preventing them from fully hydrating and developing. This is why pastry dough, rich in butter, remains tender despite mixing. So the moment you roll and re-roll, you’re actually fighting against the very ingredient that makes great pastry possible.
Introducing the Press-In (Pat-in-Pan) Method
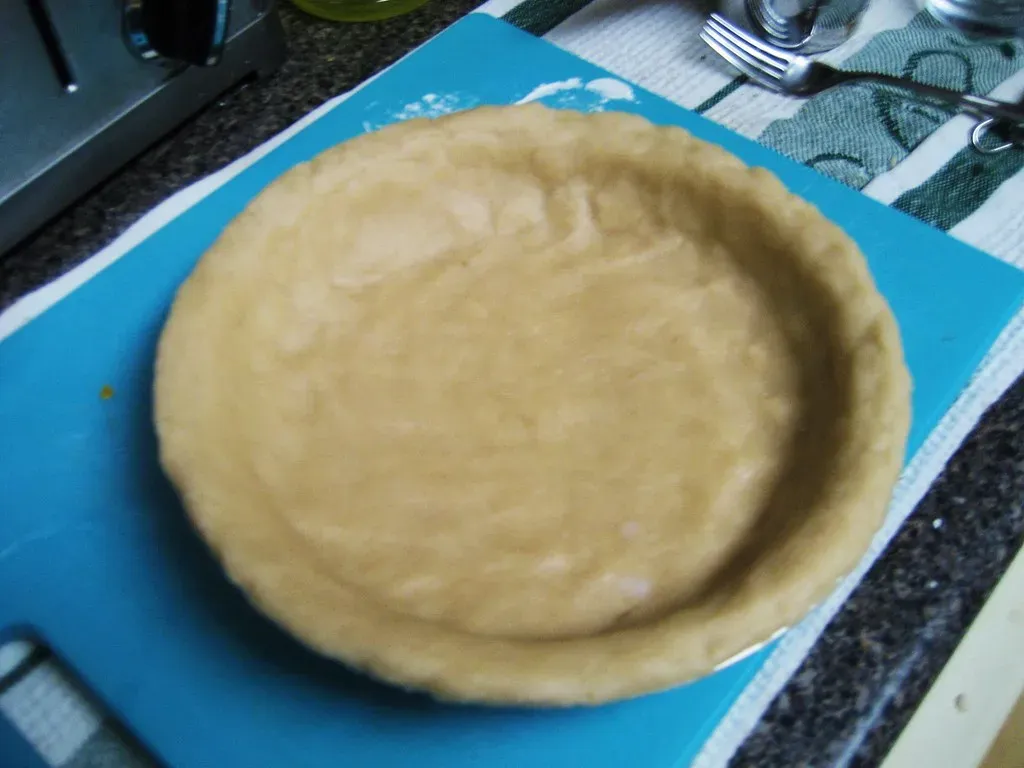
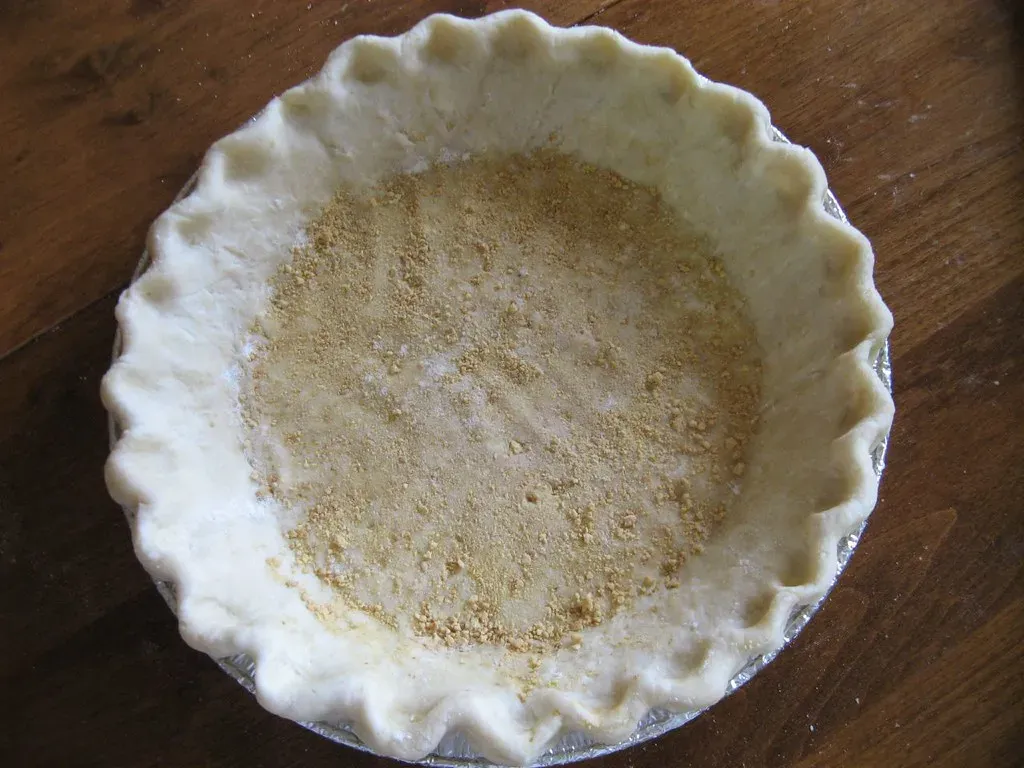
The pat-in-pan pie crust is a flaky and lightly sweet homemade pie crust. Mixed in the pan, it’s quick, easy, and perfect every time. The concept is beautifully simple: instead of rolling dough out on a floured surface and then carefully transferring it, you mix everything right in the pan and press the dough into shape with your fingertips.
You mix the ingredients in the pie dish so you don’t even dirty up a bowl. It’s a very quick and easy homemade pie crust recipe. It will take you less than 10 minutes to mix the ingredients together in the pie dish. For tart doughs, America’s Test Kitchen developed a version of this technique that is especially elegant. This press-in dough skips the rolling; after mixing it until it just comes together, you’ll sprinkle it in clumps into a tart pan and gently press it into an even layer.
Oil coats the flour strands better than butter because it’s a liquid, so you don’t have to worry about overworking a pat-in-pan recipe. You don’t need to worry about temperature, either, because oil doesn’t do the steaming-in-the-oven thing. All you do is mix and bake. This makes the whole process far more forgiving for beginners – and honestly, for everyone.
How to Actually Do It: Step-by-Step
The process is about as low-pressure as baking gets. Place the flour, sugar, and salt in the pie pan and mix with your fingers until blended. In a measuring cup, combine the oil and milk and beat with a fork until creamy. Pour all at once over the flour mixture, then mix with a fork until the flour mixture is completely moistened.
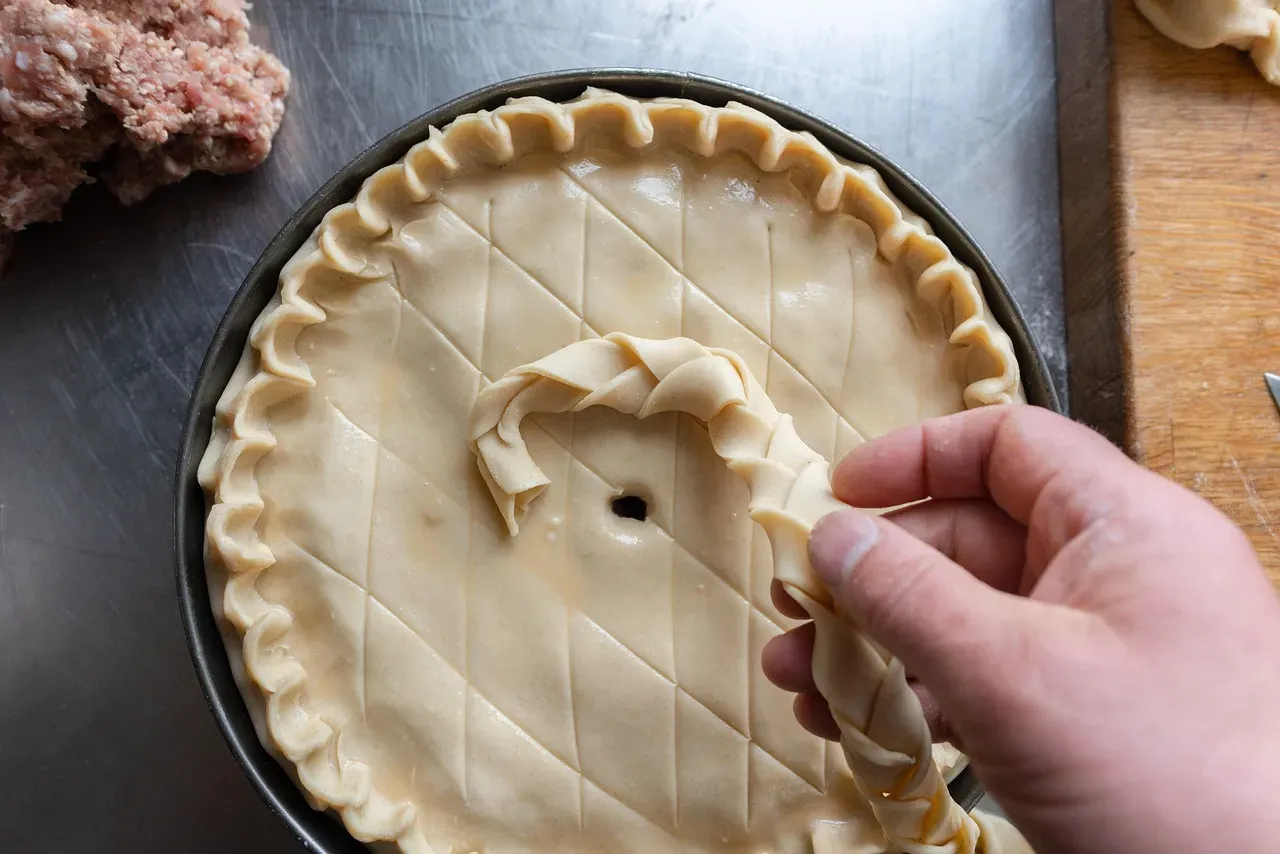
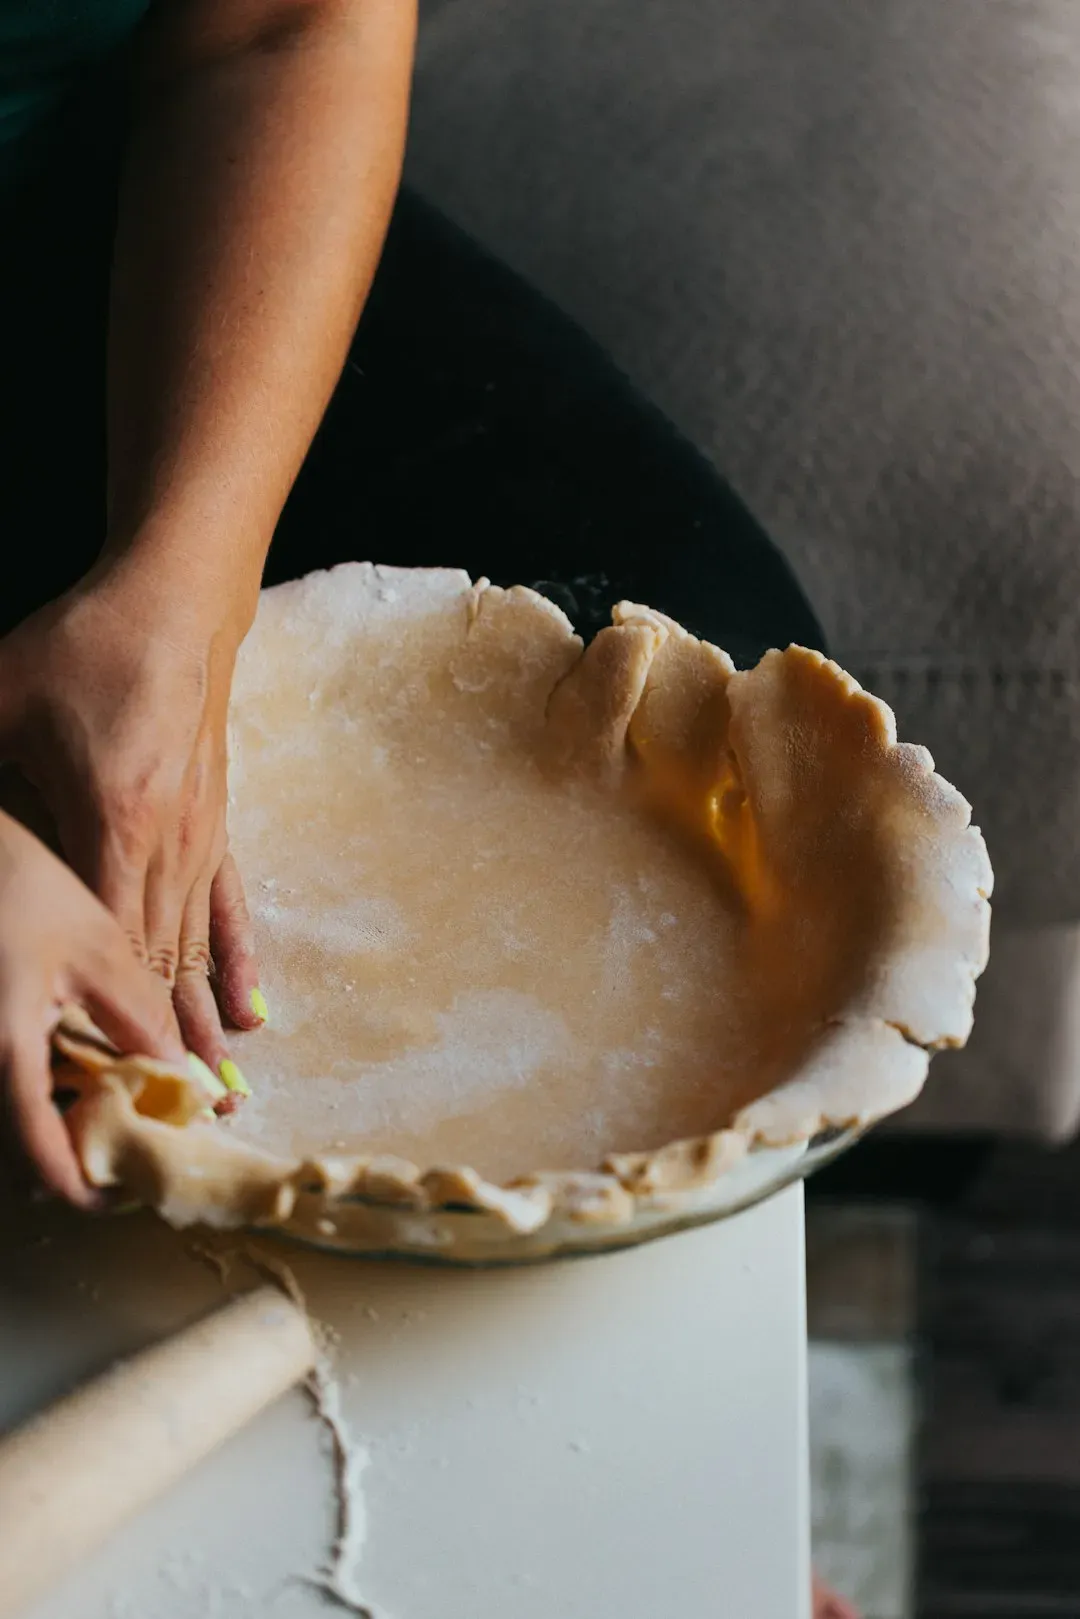
Pat the dough with your fingers, first up the sides of the plate, then across the bottom. Flute the edges. That is genuinely the whole thing. No rolling pin. No floured surface. No holding your breath while you try to peel the dough off the counter in one piece. With the palm of your hand press the dough quickly into the pan, squishing it up the sides, until the dough covers the entire bottom and sides of the pie plate.
For a crisper, more structured tart shell, America’s Test Kitchen recommends a slightly different take. Using the food processor cuts the butter into the dough quickly and evenly and prevents warm hands from melting the butter. If the dough becomes too soft while you’re working with it, let it firm up in the refrigerator for a few minutes. It is important to use ice water in the dough to prevent it from overheating in the food processor. This is the kind of detail that separates a good result from a great one.
What Kind of Results Can You Expect?
Here’s where some honest transparency is useful. It is not quite as flaky as regular pie dough but it takes WAY less time. Think of it like the difference between a hand-cut pasta and a pasta machine version – both are delicious, both are worthy, they’re just different experiences on the fork. The pat-a-pan may not be quite as flaky as a rolled-out crust, but the savings in time and convenience of just patting it in the pan make it more than worthwhile.
This no-roll crust is incredibly quick, ready in just 5 minutes without a pastry blender, food processor, pastry cutter, or even a rolling pin required. Made right in the pie pan with pantry staples, it’s versatile and customizable for both sweet and savory pies, with dairy-free and gluten-free options available. The texture is buttery, flaky, tender, and just as delicious as a traditional crust.
One important note about thickness: if you are using a 9-inch pie pan, press the dough into the pan no more than 1/8-inch thick and discard any extra dough, or the crust will be too thick. It’s a little detail that makes a significant difference in how the finished crust bakes. Thin and even is the goal, just like it would be if you were rolling.
Storing, Adapting, and Getting Creative
One of the genuinely underrated benefits of the press-in method is how well it stores. After pressing the dough into the pie dish, cover it tightly with plastic wrap. Store in the refrigerator for up to 2 days before baking or filling. For even longer storage, freeze the unbaked pressed crust in the pie pan covered securely with plastic wrap and then aluminum foil, and freeze for up to 2 months.
This technique also opens the door for creative adaptations. Gluten-free flour works beautifully in this recipe – one baker tried it with a quality gluten-free flour blend and the crust came out perfectly for a Southern Buttermilk Pie. For a richer crust, substitute the milk for heavy cream. For a savory pie crust, simply omit the sugar. The recipe is genuinely forgiving in a way that traditional rolled dough rarely is.
It’s also hard to say for sure just how many home bakers have switched permanently after trying this method, but the community response online is telling. Many bakers report that once they’ve tried the press-in method, they simply never go back to the roll-out crust again. That kind of loyalty says a lot about how reliable this technique really is.
Conclusion: Put Down the Rolling Pin
Pastry-making has carried an unfair reputation for being fussy, punishing, and overly technical. The press-in method dismantles all of that. You get a tender, genuinely tasty crust with a fraction of the effort, no special equipment, and no need for a perfectly floured countertop. It removes the single biggest failure point – gluten overwork – because the process barely stresses the dough at all.
The single most important reason you shouldn’t handle pastry dough too much is to prevent the development of gluten, which is what turns a potentially flaky, tender crust into a tough, chewy, and disappointing final product. A light, gentle touch is your best friend. The press-in method takes that principle and bakes it right into the process from the very start.
Next time you’re making a pie or tart, give the rolling pin a night off. Press, pat, bake – and see if you can even tell the difference on the plate. What do you think: could you say goodbye to the rolling pin for good?