
Table of Contents
The Game-Changing Egg Yolk Technique
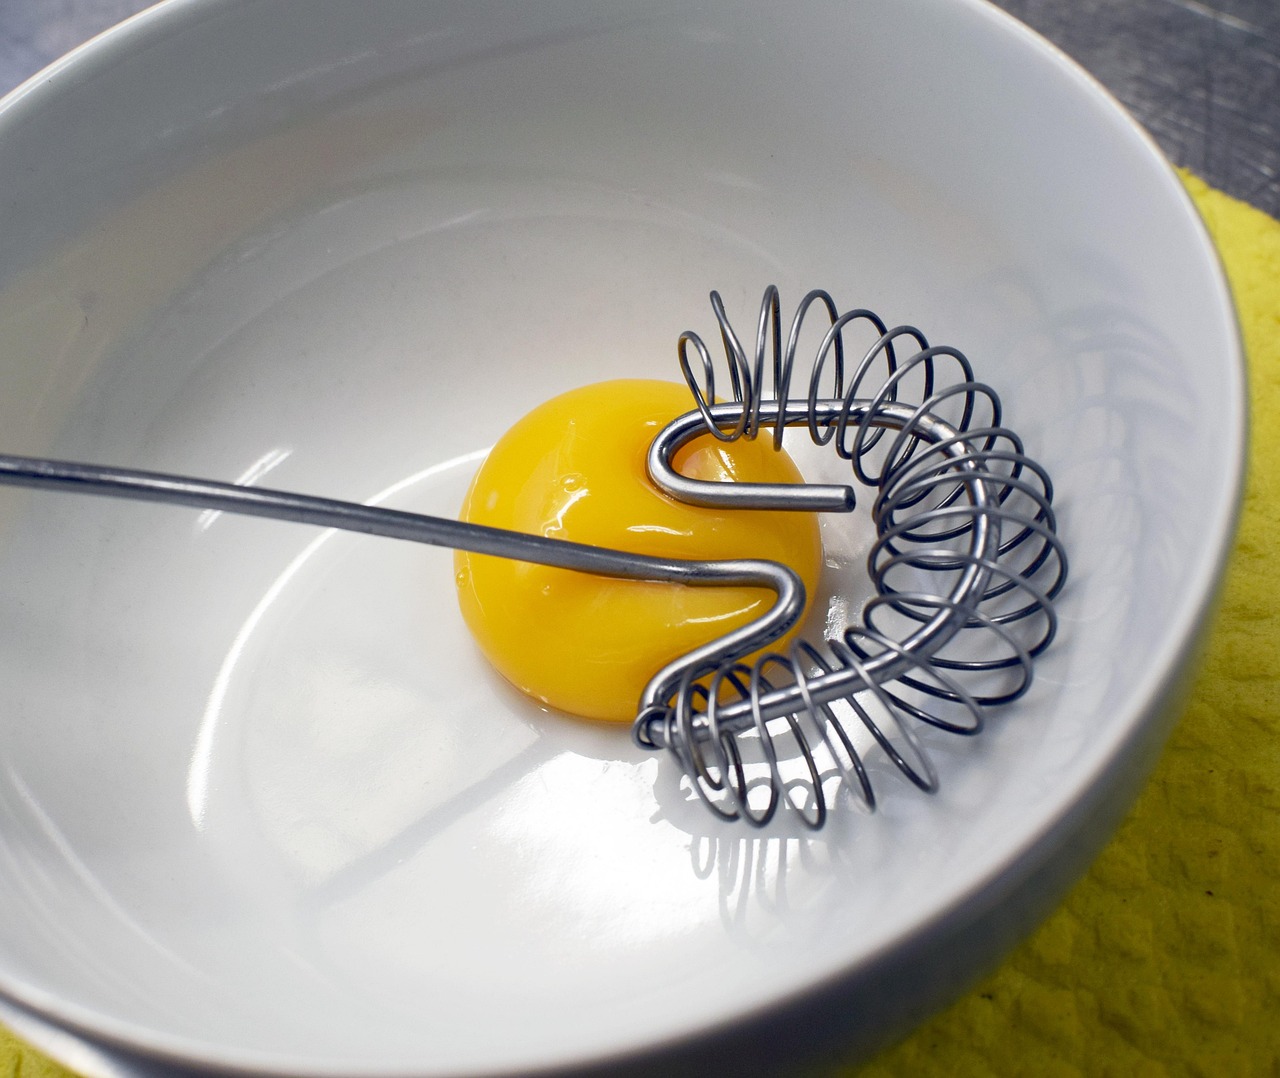
Here’s something that’ll absolutely blow your mind – the egg yolk makes the mug cake moist, tender and deliciously springy in texture. Most people think they need a whole egg, but that’s where they mess up. Egg is what makes the mug cake spongy. If you think about it, when you bake a full-sized cake, you typically use 1 or 2 eggs…for a mug cake to use 1 egg is A LOT! You want just the yolk because it packs all that rich moisture without making your cake turn into a rubber ball.
The technique is surprisingly simple – whisk in the milk, vanilla extract, egg yolk & sugar with a fork. But here’s the kicker: if you prefer to make this mug cake without egg, you can substitute the egg yolk for 1 extra tablespoon of milk. That extra liquid keeps things from drying out completely. Some bakers I know swear by this method, especially when they’re making late-night treats and don’t want to crack eggs.
The Butter vs Oil Battle That Changes Everything
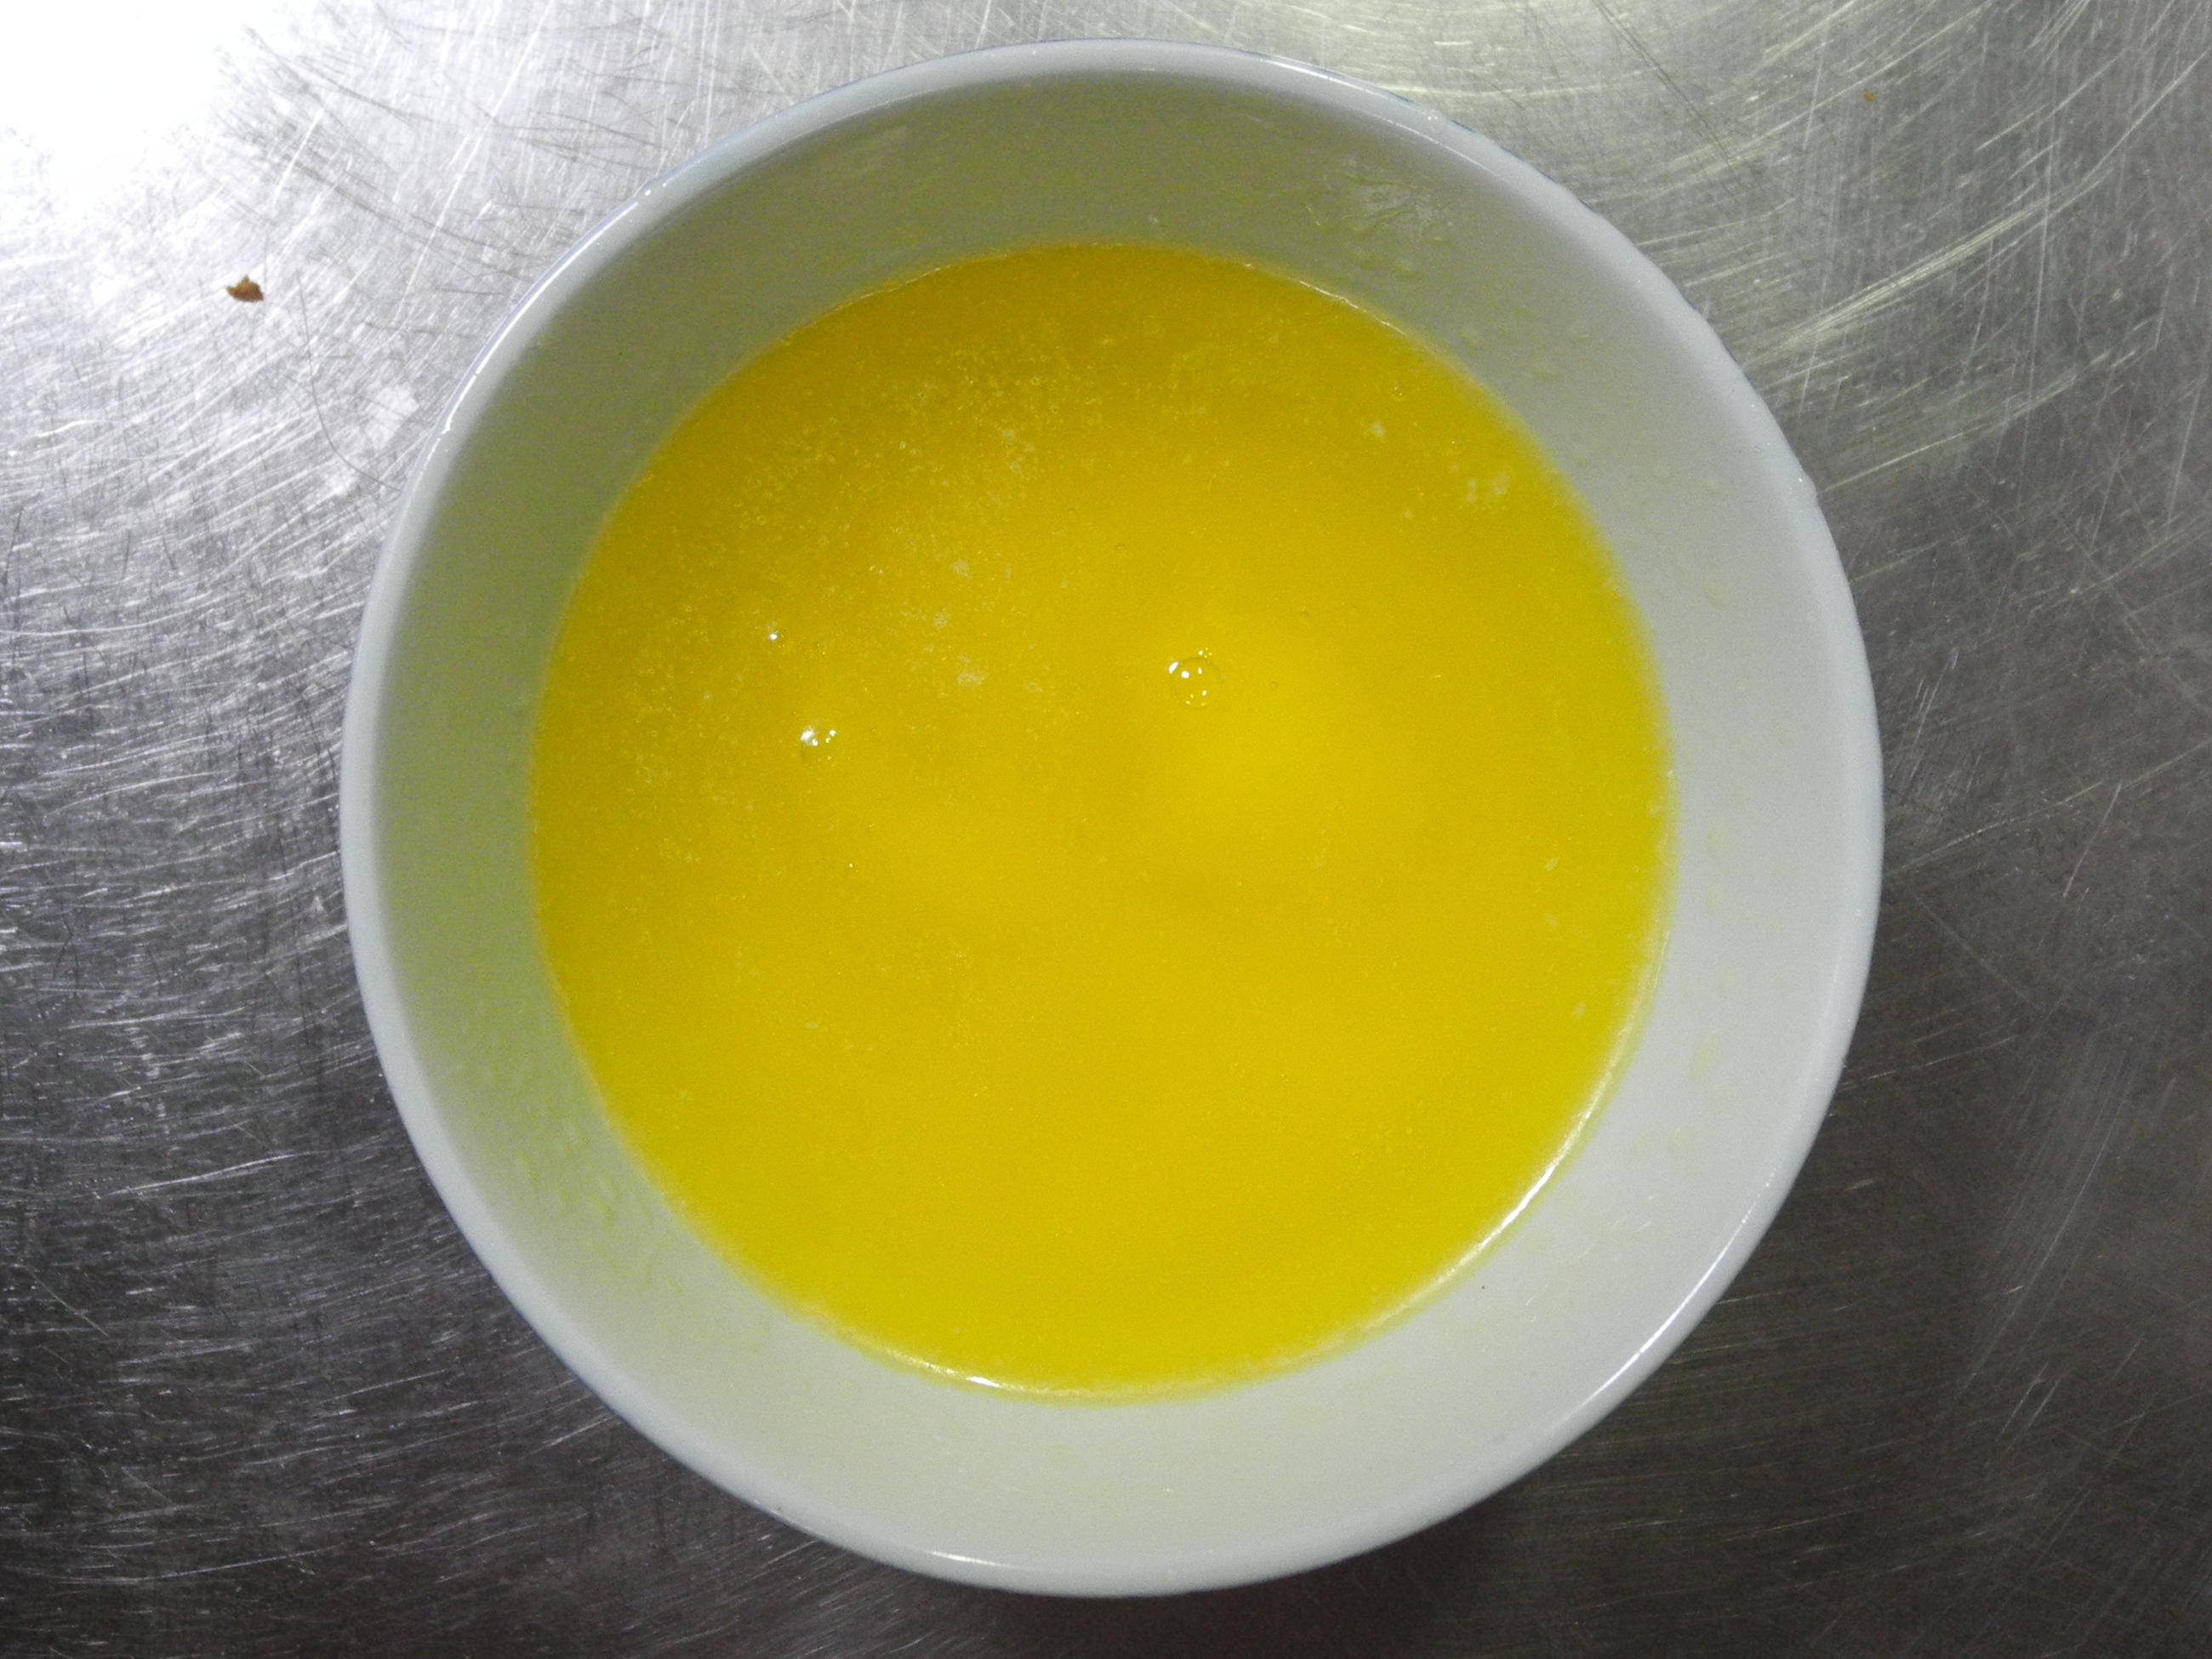
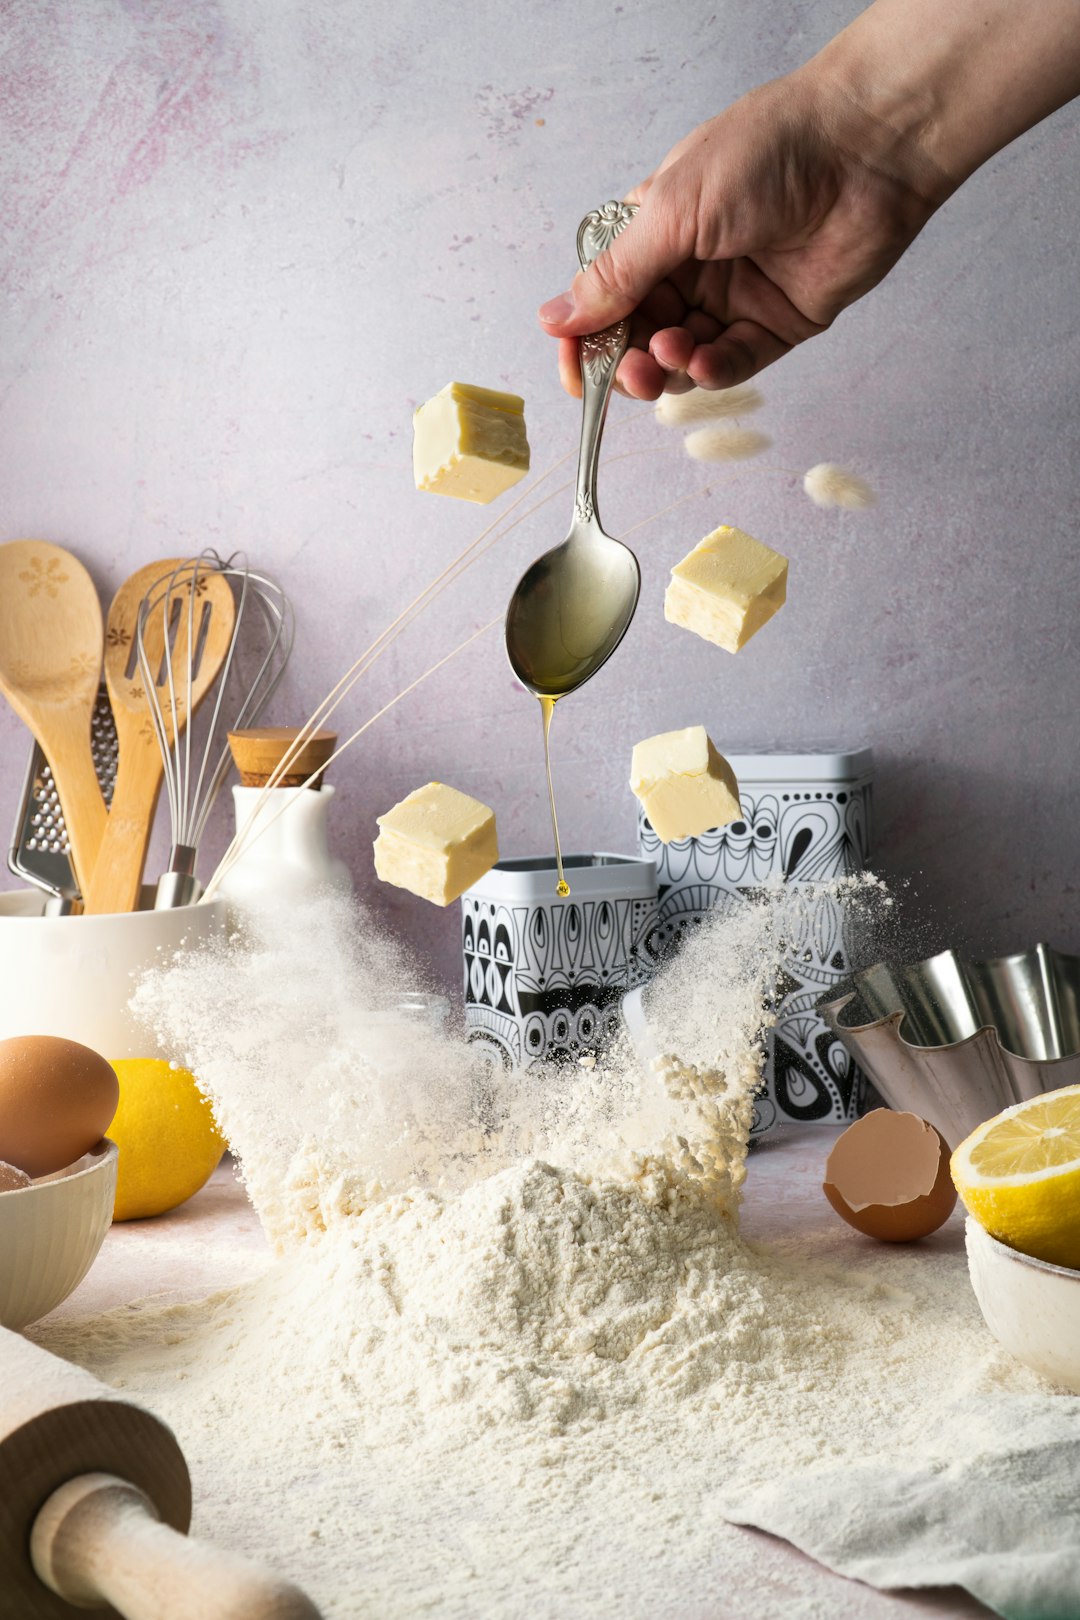
Listen, this might sound controversial, but even if your recipe calls for oil, I recommend using melted butter instead. Butter gives the cake a lighter and fluffier texture than oil will. It’s wild how this simple swap can transform your mug cake from mediocre to magnificent. We’re using butter instead of oil because it adds so much more flavor to vanilla cake.
The secret timing matters too – microwave on medium power for about 20-30 seconds or until melted. You don’t want piping hot butter because that’ll scramble your other ingredients. I learned this the hard way after making several rubber disasters. The unfortunate rubbery texture of some mug cakes usually comes from either too much oil or from overcooking the cake itself.
The Water Drop Method Nobody Talks About
This next tip sounds absolutely bonkers until you try it. A little water will prevent the top of your cake from over-baking and drying out (and becoming rubbery). Don’t worry – it all evaporates in the microwave and ensures a perfect, moist texture every time. Just a tiny sprinkle on top before you hit start.
I remember the first time someone told me about this trick – I thought they were pulling my leg. But it works because the steam keeps the surface from forming that tough, chewy layer that ruins so many mug cakes. It’s like creating your own little moisture bubble right in your microwave.
The Perfect Mug Size Makes or Breaks Everything
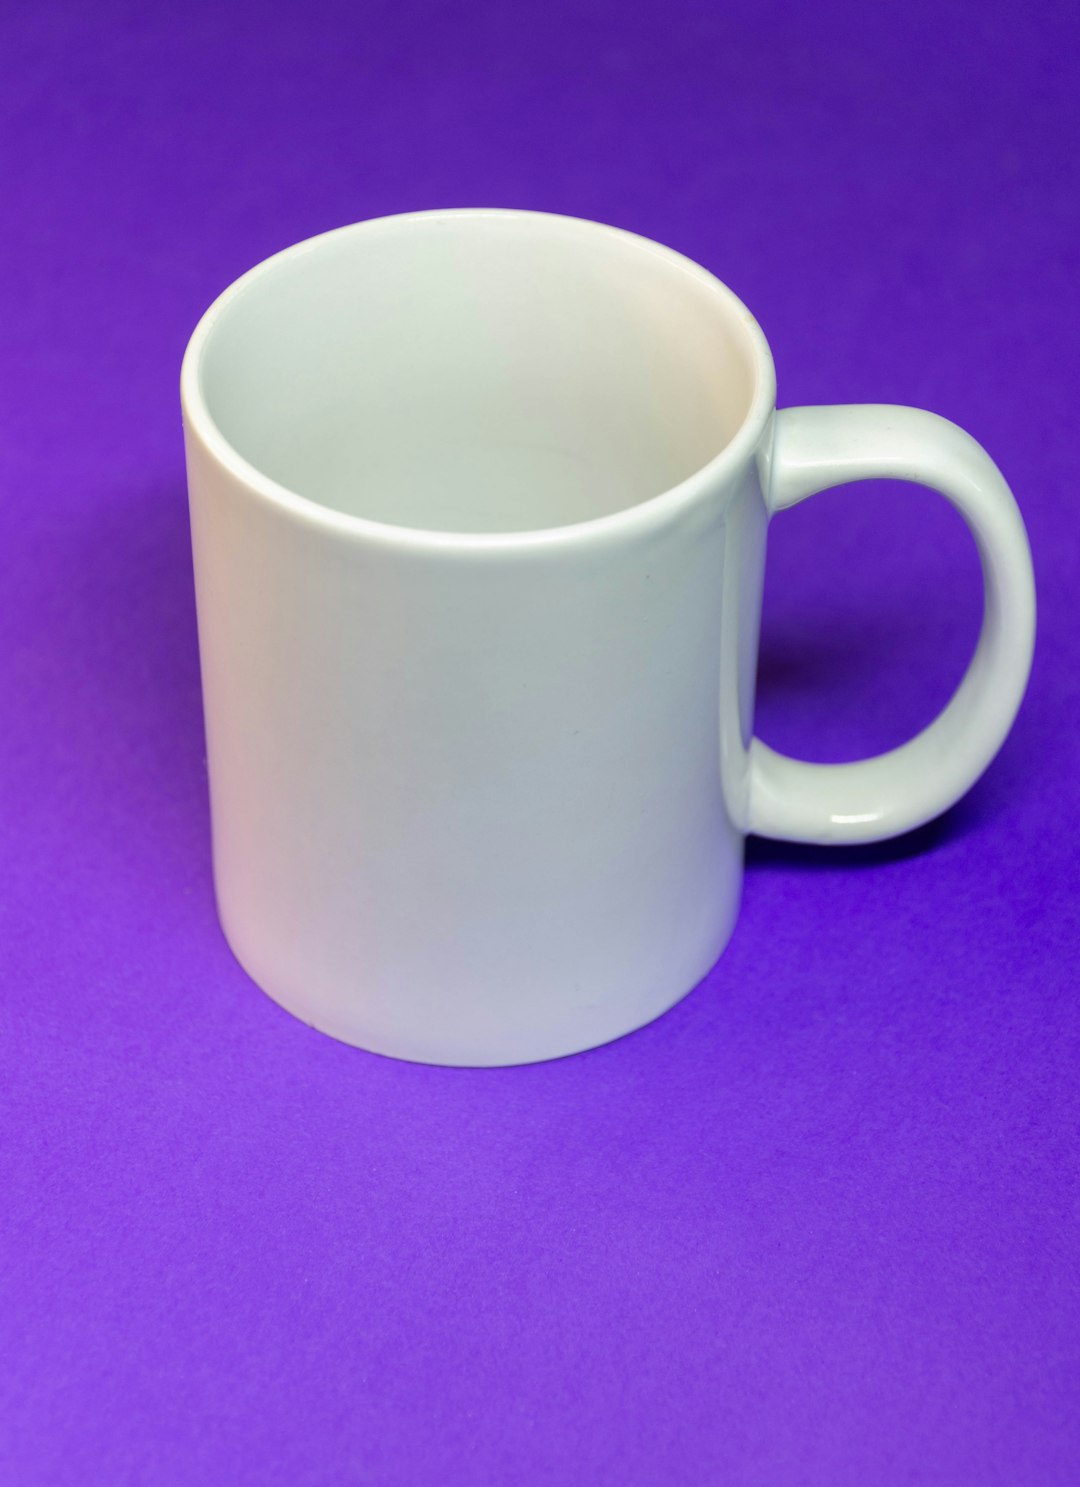
You’d be shocked how many people mess this up. Add the dry ingredients in a large wide mug or small, microwave-safe bowl. Avoid using tall and skinny mugs, as they make it difficult for the cake to cook evenly in the microwave. Think about it like this – that tall, narrow mug is like trying to bake a cake in a chimney.
The cake will rise quite a bit as it bakes, so make sure your mug isn’t too small. I recommend using a mug that’s wide as opposed to a mug that’s tall and skinny. I find that a wide mug allows the cake to bake more evenly. The ideal size? It should be microwave safe, and have around 10-12oz of capacity (ideally 12). The cake won’t take up the full mug, but can rise quite a bit in the microwave, and using a big enough mug will help ensure the batter does not spill and the cake doesn’t “explode”.
Temperature Control Is Your Secret Weapon
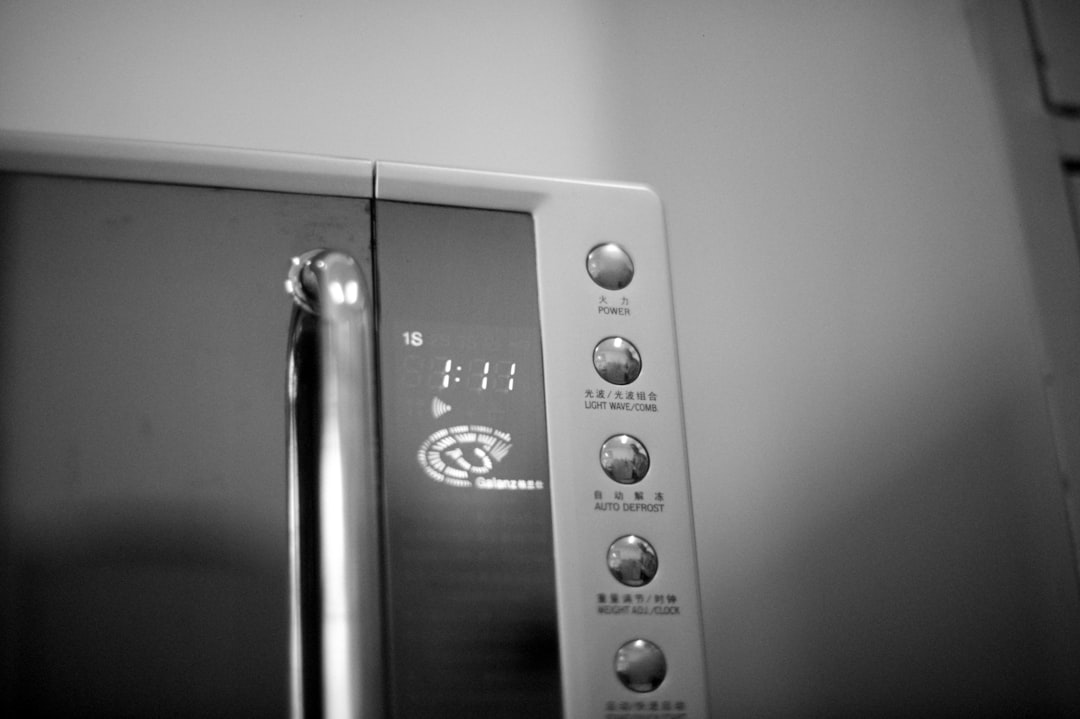
Most people crank their microwave to full blast and wonder why their cake turns out like a hockey puck. Cook in microwave for 70-90 seconds* (until cake is just set, but still barely shiny on top). That “barely shiny” part is crucial – it means your cake is still moist inside.
Microwave your cake for roughly 45 seconds, then check for doneness. The cake should have risen and be firm to the touch. Here’s what blew my mind: the trick with mug cakes is to stop cooking the cake earlier than you think, because you want it to be soft on the inside, and the cake will also continue to cook as it cools. It’s like the cake keeps cooking itself even after you take it out!
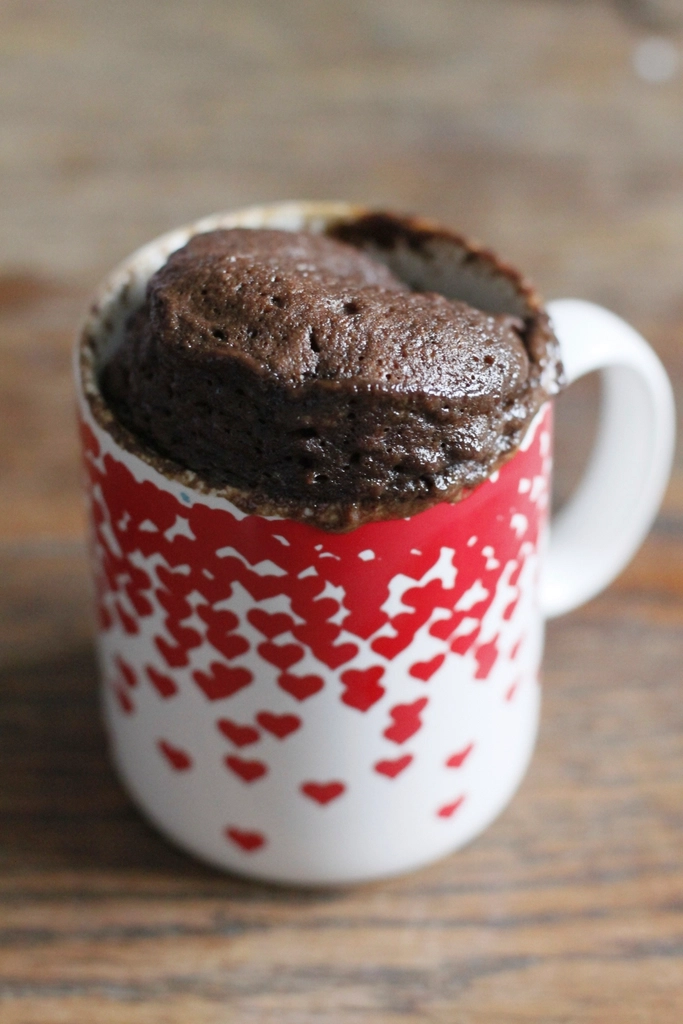
The Molten Center Hack That Elevates Everything

Mug cake can sell itself, but a molten center makes it even better. Drop chocolate chips, Nutella, or peanut butter into the center of the mug. Don’t worry about pushing your blob of deliciousness into the batter – the filling sink into the center of the baking cake all on its own.
This technique is pure magic. You literally just plop whatever gooey goodness you want right in the middle, and physics does the rest. I’ve tried everything from jam to caramel sauce, and it always works. The best part? It creates this incredible contrast between the fluffy cake and the molten surprise inside.
Ingredient Ratios That Actually Make Sense
After testing countless recipes, I’ve learned that I generally use around 1/4 teaspoon of baking soda per 1 cup of flour or 1 teaspoon of baking powder per 1 cup of flour. But for mug cakes, we’re working with much smaller quantities, so precision becomes even more critical.
With the amount of flour you listed, typically adding either 1/4 cup instant pudding mix or 2 Tablespoons instant clearjel would be a good place to start, and I recommend adding an additional 2 to 4 Tablespoons vegetable oil, as the instant clearjel or pudding mix will allow your recipe to retain more moisture. Professional bakers have been using this trick for years – that instant pudding mix isn’t just for pudding!
The Mixing Method That Changes Your Game
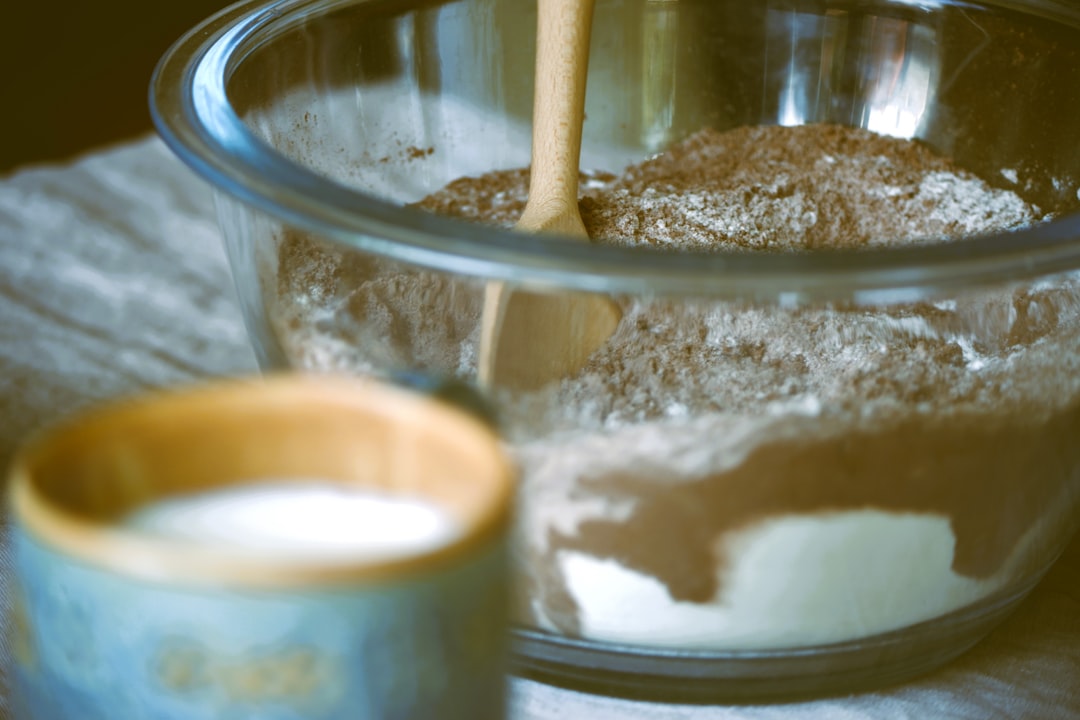
When you put the wet ingredients into the mug first, it is easier to mix everything together. Starting with dry ingredients sometimes results in clumps of flour in the bottom corners of the mug which are hard to mix in. This completely changed how I approach mug cakes.
Think of it like building a good marinade – you want that liquid base to coat everything evenly. When you do add an egg, make sure to mix, mix, and mix some more! If you don’t stir aggressively, you’ll have tiny bits of cooked egg whites in your cake. Nobody wants chunks of rubbery egg white in their dessert, trust me on this one.
The Simple Syrup Revival Trick
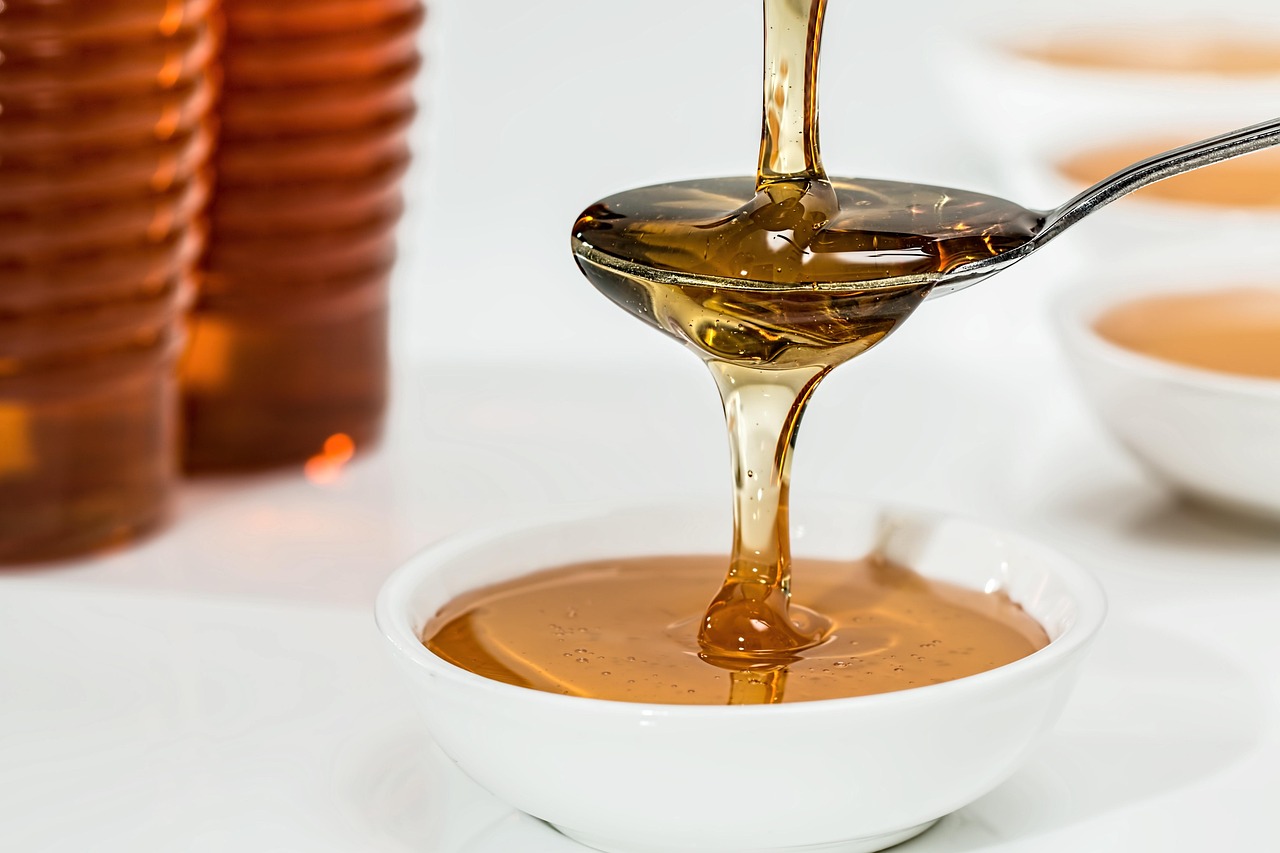
Even if your mug cake turns out a bit dry, all hope isn’t lost. A quick brush of simple syrup adds moisture. When the cake has completely cooled, brush a thin layer of simple syrup on top. Some people even use Sprite (yes, I’m serious) instead of traditional simple syrup.
To make simple syrup, boil equal parts granulated sugar and water together until the sugar dissolves, then let it cool before brushing it onto your cake. When the simple syrup comes off the stove, stir in a touch of vanilla extract, prepared coffee, lemon juice, Amaretto, or other liqueur. It’s like giving your cake a spa treatment that brings it back to life.
Why Some Ingredients Are Total Game Changers
Sugar adds sweetness and helps to tenderize and moisten the cake. For a healthier version, you can also use natural sugars such as coconut sugar, honey, maple syrup, allulose sugar, or other sugar-free sweeteners from our Sugar Substitute Chart that fit your needs.
Here’s something interesting I discovered: Oil adds moisture and tenderness to the cake, keeping it soft. For a healthier version, you can replace vegetable oil with coconut oil, avocado oil, melted butter, ghee, or even olive oil which will pair surprisingly well with chocolate flavor. That olive oil thing sounds weird, but it actually creates this incredible depth of flavor that’ll surprise you.
The Doneness Test That Never Fails
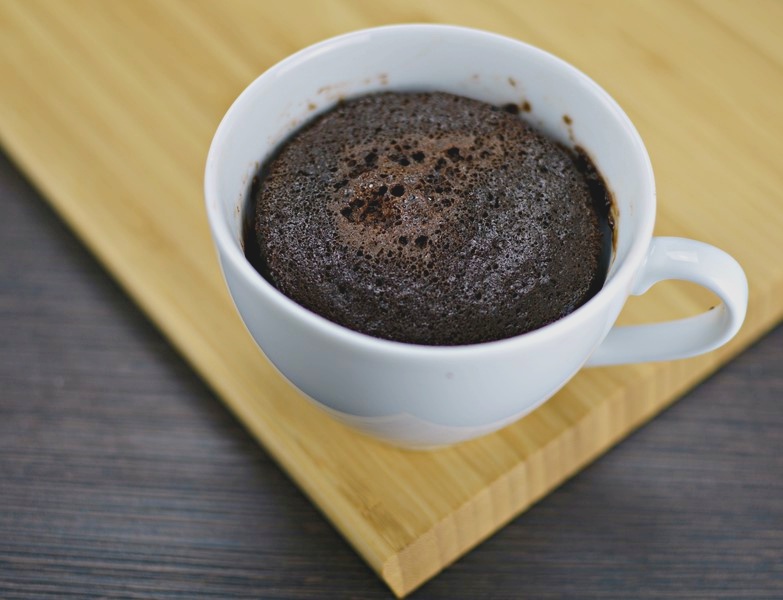
When it is done, it should be soft and moist, but not wet on the top, and kind of spongy if you press on it. It will continue to cook as it cools down, so you don’t want to cook it until it is completely dry. This is probably the most important skill to master.
Once your cake is finished ‘baking,’ it should look slightly wet in the center. Test if it’s done by gently touching the top with a few fingers: if they stick slightly, it’s done. It’s like that perfect brownie consistency where it’s set but still has that slight give when you press it.
Storage and Make-Ahead Secrets
Microwave mug cakes are best eaten once they have cooled from the microwave. Store it at room temperature for 24 hours if there is any leftover. Or, mix up the batter beforehand and that can be held in the fridge for 48 hours and microwaved as you wish.
This make-ahead trick is perfect for those crazy busy weeks when you need a quick dessert fix. I sometimes make several batches of batter on Sunday and portion them into individual containers. Then when that 9 PM sweet craving hits, I just grab one from the fridge and zap it.
The secret to perfect mug cakes isn’t just one magic trick – it’s a combination of smart techniques that work together. From choosing the right mug size to mastering the egg yolk method, every detail matters when you’re working with such small quantities. The beauty lies in how these tiny adjustments can transform a potentially rubbery disaster into a genuinely delicious treat that rivals any bakery dessert. Have you been making any of these moisture-robbing mistakes all along?