
Ignoring Your Microwave’s Personality
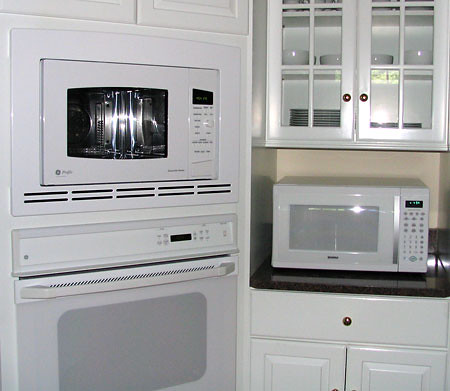
Microwaves vary in wattage, and cooking for too long is the #1 mistake. Your trusty 700-watt microwave will behave completely differently than your neighbor’s 1200-watt powerhouse. The timing is based on our microwave which is 1200 WATTS. Check the wattage of your microwave because your timing may vary. Some microwaves can take up to 2 minutes to cook this cake.
Start with 60–75 seconds, then add time in 10-second increments if needed. Think of it like getting to know someone new – you need to figure out their quirks. Each microwave varies, so it may take a few tries to find the perfect cooking time for your specific appliance. Remember that the cake will continue to cook slightly after being removed from the microwave.
Choosing the Wrong Mug Size
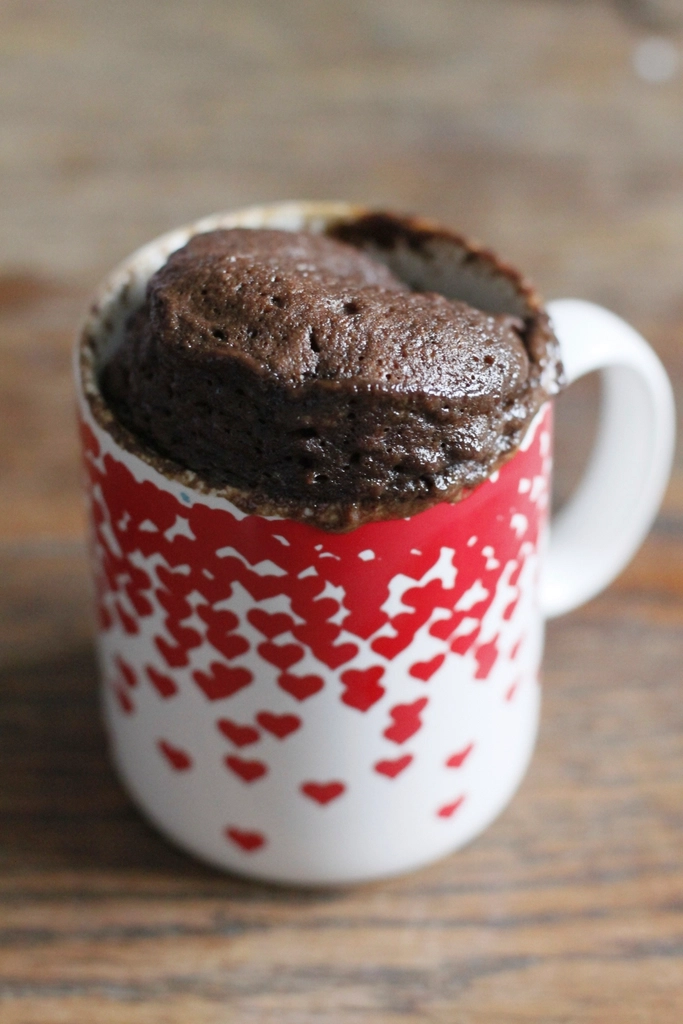
Size matters more than you think when it comes to mug cakes. One big mistake involves overfilling the mug. Just like with any other baked good, mug cakes rise during the cooking process. So, if you fill it past two-thirds of the way full, you’re more likely to have a messy overflow situation in the microwave. The most likely culprit (and the solution) are simple: Overfilling leads to a mess, so don’t fill the cup up close to the brim. A good rule of thumb is to use a large cup and fill it halfway, if that much.
Your delicate teacup might look Instagram-worthy, but It should be microwave safe, and have around 10-12oz of capacity (ideally 12). The cake won’t take up the full mug, but can rise quite a bit in the microwave, and using a big enough mug will help ensure the batter does not spill and the cake doesn’t “explode”. Remember, it’s better to have too much room than to spend ten minutes scrubbing cake batter off your microwave walls.
Adding Too Many Eggs (Or Using Whole Eggs)
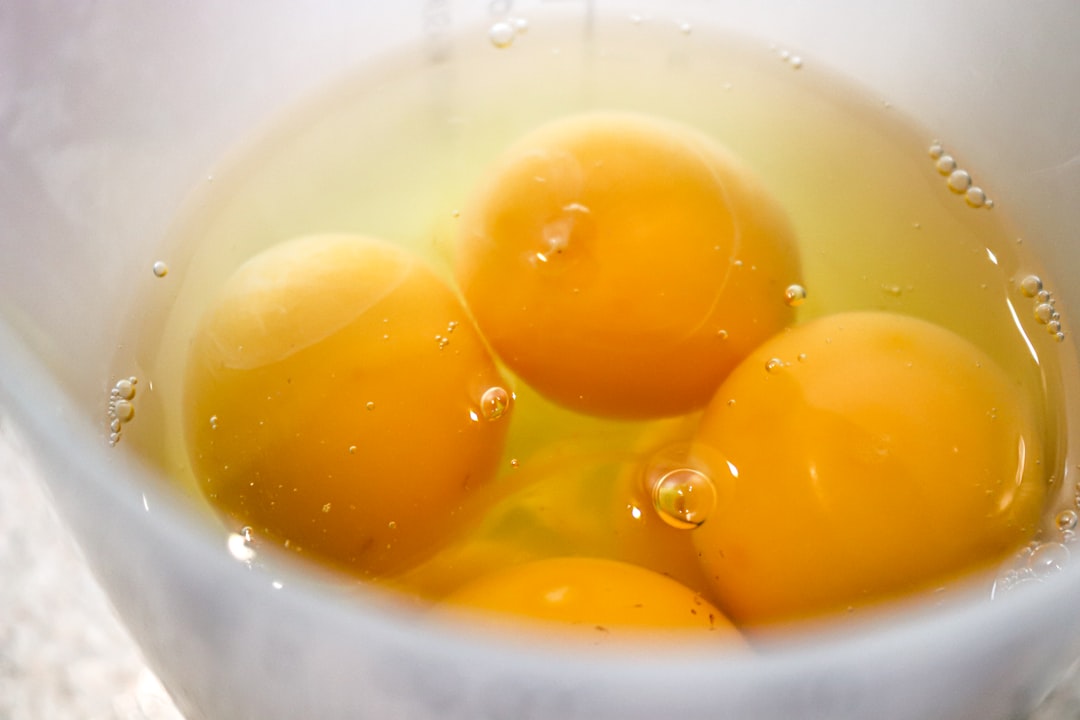
D’Aniello said, “It’s easy to accidentally dry out a mug cake if there’s too much egg relative to the small amount of batter, and often times, it’s way too much egg for the small amount of cake being made.” Realistically, often an entire sheet pan of cake uses two or three eggs, so “…making a small 2.5-inch cake with a whole egg can be quite [overpowering].”
D’Aniello elaborated that “eggs can be tricky in chocolate mug cakes, especially because microwave cooking is so intense and fast. In a regular oven, eggs have time to slowly set and provide structure. The result? A rubbery, dense disappointment instead of the fluffy treat you were craving. Use only part of an egg (for most mug cakes, 1 tablespoon of beaten egg is enough), or better yet, Odette D’Aniello told us, “For small-batch and microwave desserts, I actually prefer leaving eggs out altogether. Ingredients like a splash of milk, a spoonful of yogurt, or even a little mashed banana can give the cake enough moisture and tenderness without the risk of overcooking.”
Overmixing Your Batter

The reason why a cake gets rubbery is that the overmixing of flour activates the gluten. It makes cakes hard instead of the lovely soft spongy texture we associate with a good cake. Picture this: you’re enthusiastically whisking away, thinking more mixing equals better cake, but you’re actually creating a chewy disaster. Overmixing the batter or using too much egg can create a rubbery result. Mix just until combined – no more.
Over-mixing the batter causes strong gluten strands to form, which give your cake that dense texture. Think of mixing like dating – gentle and just enough to get acquainted, not so aggressive that you scare away all the good stuff. When you do add an egg, make sure to mix, mix, and mix some more! If you don’t stir aggressively, you’ll have tiny bits of cooked egg whites in your cake – but this only applies if you’re using eggs, which many experts now recommend against.
Using the Wrong Mixing Tools
The small size of the treat, particularly the mug you make it in, may limit your ability to properly mix your ingredients together. A regular whisk, for instance, is too big to reach into the space where the wall meets the base, so you might end up with clumps of unmixed dry ingredients at the bottom. It’s like trying to paint a detailed miniature with a house-painting brush.
Fortunately, there’s an easy fix to this clumpy conundrum, and it’s as simple as swapping out your full-size whisk for a mini version. As you can imagine, a mini whisk is much more effective for mixing ingredients in a small dish (such as a mug), being that its smaller loops can reach where larger whisk loops can’t. Use a fork instead of a spoon to stir your mix – it’ll break apart the lumps better. Sometimes the simplest tools work best – your trusty fork might just be the secret weapon your mug cake has been waiting for.
Getting Your Ingredient Order Wrong
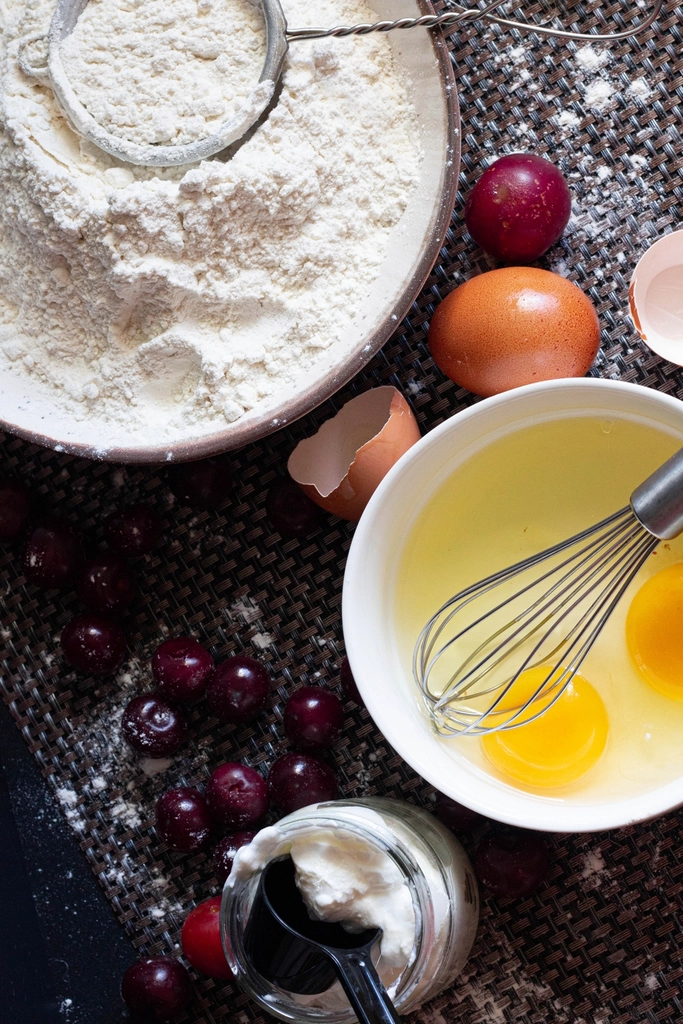
All the ingredients of a mug cake ultimately get combined, so it doesn’t matter how you mix them, right? Wrong. This is a common mistake people make when preparing regular cakes and other baked goods. It can also change your results. Think of it like building a house – you wouldn’t put the roof on before the foundation, would you?
Start with the wet ingredients. When you put the wet ingredients into the mug first, it is easier to mix everything together. Starting with dry ingredients sometimes results in clumps of flour in the bottom corners of the mug which are hard to mix in. Those flour pockets hiding at the bottom are like unwelcome surprises – nobody wants a bite of raw flour when they’re expecting cake bliss. Many mug cake recipes will tell you to mix the dry ingredients – like flour, salt, and cocoa powder – and wet ingredients – like eggs, oil, and milk – in separate bowls before combining the two, but when working in a mug, wet-first is your friend.
Forgetting to Grease Your Mug

If you’ve fallen victim to a mug cake that cooks just right and tastes delicious, but half of it sticks to your mug’s interior, you aren’t alone. We’ve been there. It can be easy to forget the first step in making a successful mug cake: greasing the inside. Picture the heartbreak of your perfect cake becoming one with your favorite mug – it’s a tragedy that’s easily prevented.
The easiest way to do this is to spray a thin layer of nonstick cooking spray on the inside of your mug, being sure not to miss any spots. Don’t forget the bottom, too. If you don’t have any nonstick cooking spray on hand, you can rub a small amount of cooking oil along the inside of the mug using a paper towel. It takes literally thirty seconds and saves you from the frustration of chiseling cake remnants off your mug later. Your future self will thank you for this simple step.
Conclusion
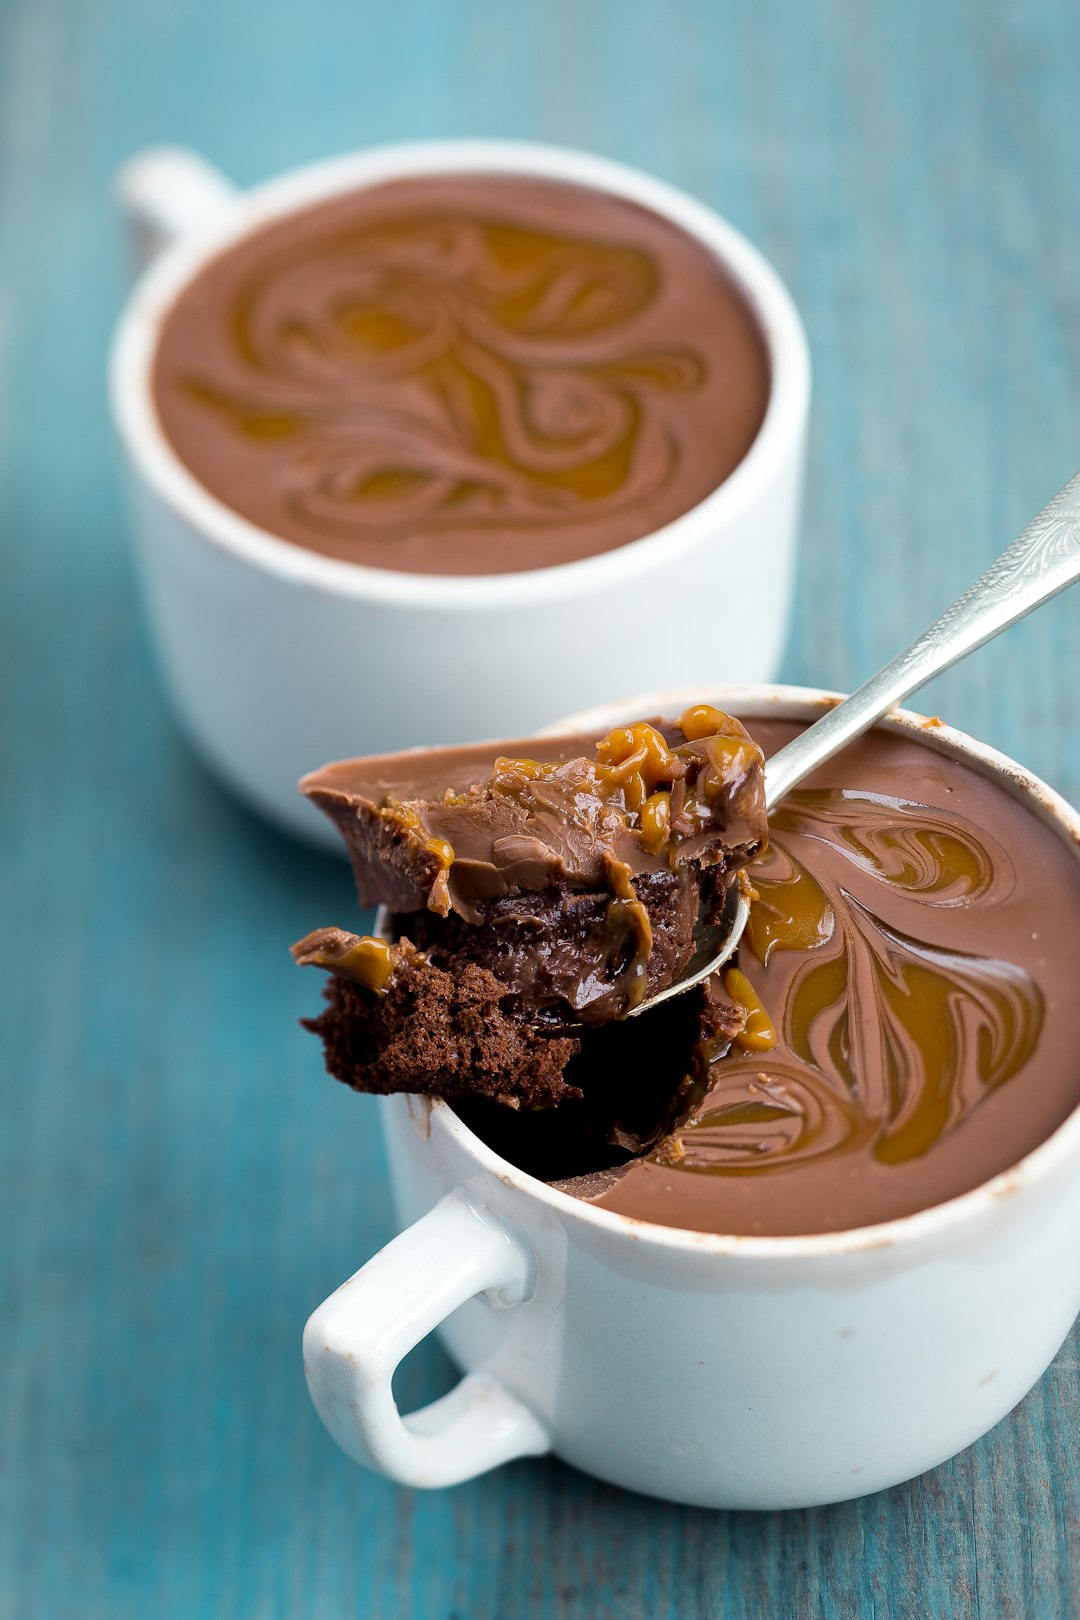
Mug cakes should be your go-to solution for instant dessert gratification, not a source of kitchen frustration. With just a few tweaks, your mug cakes and pies can go from kitchen mishap to microwave magic. Whether you’re cooking for one or just treating yourself, these tips will help ensure your quick dessert is soft, sweet, and satisfying every time. The beauty of mug cakes lies in their simplicity, but that doesn’t mean you should ignore the fundamentals.
From choosing the right mug size to understanding your microwave’s quirks, each element plays a crucial role in your cake’s success. Remember that practice makes perfect, and every microwave has its own personality. What works for your friend’s 1000-watt machine might need adjusting for your 700-watt model. The next time you’re craving something sweet, you’ll be armed with the knowledge to create a perfect single-serving treat that actually tastes like cake, not disappointment. Now go forth and create some microwave magic – your taste buds will thank you for mastering these simple but game-changing techniques.