
Table of Contents
Understanding the Mug Cake Revolution
Imagine craving a slice of warm, homemade cake but not wanting to bake an entire dessert just for one person. That’s exactly where mug cakes stepped in to save the day, and they’ve been winning hearts ever since. The rise of cake as a snack option suggests that consumers are seeking smaller, more convenient portions that align with on-the-go lifestyles. This trend has exploded beyond what anyone expected, turning the humble microwave mug cake into a global phenomenon.
Among age groups, individuals aged 20 to 30 constitute the largest segment, accounting for a significant 44.9% of cake consumers. These younger adults have embraced mug cakes as the perfect solution for instant gratification without the commitment of making a full cake. What started as a simple idea has now become a staple in kitchens worldwide, with countless variations and techniques emerging to perfect this single-serving treat. The beauty lies in its simplicity – everything mixes and bakes in one vessel, making cleanup as easy as the preparation itself.
The Secret to Moist Texture Every Time

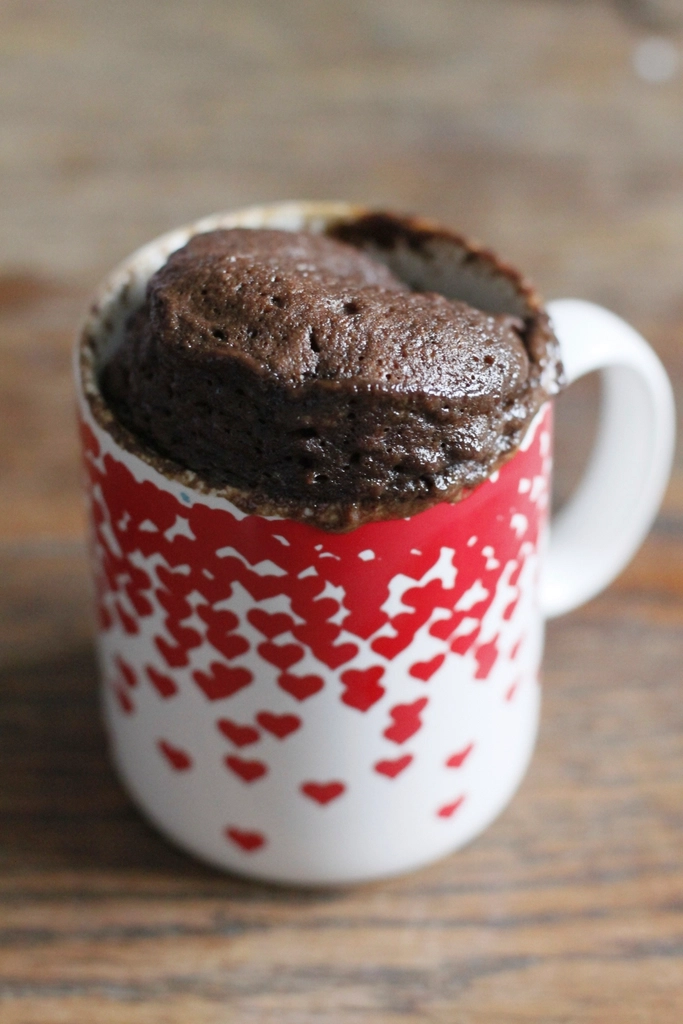
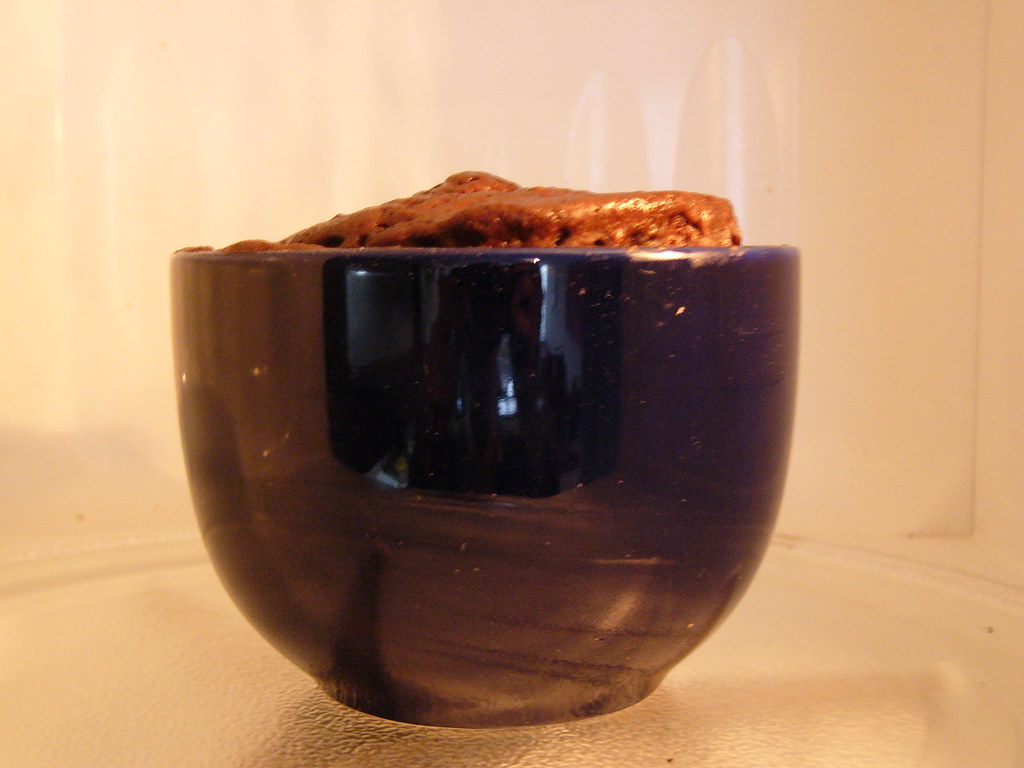
The biggest complaint about mug cakes? They turn out dry and rubbery instead of the moist, tender texture you’re craving. They’re a single-serving elevated cake because they steam in the microwave – instead of drying out in the oven. This steaming process is actually your secret weapon, but you need to understand how to work with it rather than against it. The moisture comes from the steam trapped in the mug, which creates a unique baking environment.
This cake has a tender crumb and is perfectly moist without being soggy. I attribute that to the use of sour cream. The sour cream takes the place of eggs in a normal cake recipe, which keeps the texture from being dense and rubbery. Adding ingredients like sour cream, yogurt, or even a tablespoon of cream cheese can transform your mug cake from mediocre to magnificent. These dairy products introduce fat and acidity that work together to create the perfect crumb structure.
Getting Your Ingredient Ratios Right
Most mug cake failures happen because people don’t understand the delicate balance of ingredients needed for such a small batch. The rule of thumb is usually 5 mL (1 teaspoon) baking powder per cup of flour when a recipe doesn’t include much acidity (like a vanilla cake batter made with milk) or 1.25 mL (1/4 teaspoon) baking soda per cup of flour when there are acidic ingredients present. This ratio is crucial because too much leavening agent will cause your cake to rise too quickly and then collapse, while too little will leave you with a dense, heavy result.
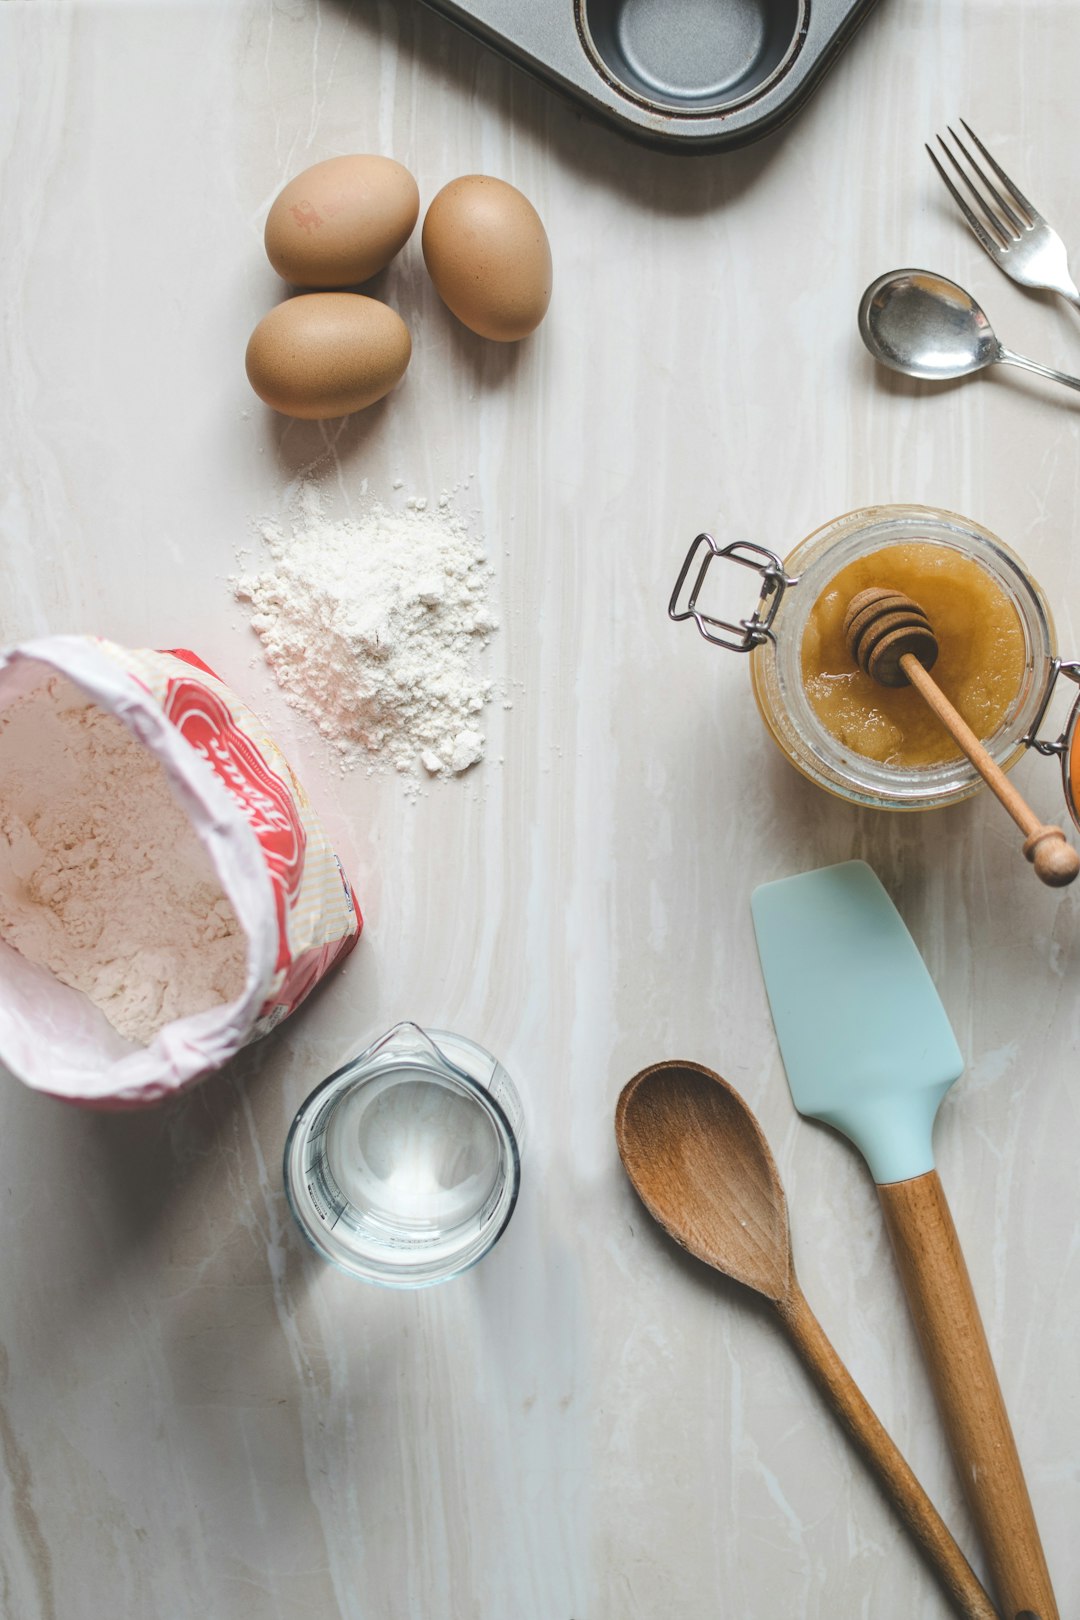
For a perfect single-serving mug cake, you typically want about three to four tablespoons of flour as your base. This vanilla mug cake recipe only has eight ingredients and they are all very basic pantry ingredients that you probably already have on hand: flour, brown sugar, baking powder, milk, vanilla, butter, salt and chocolate chips! The magic is in maintaining the proper ratios – roughly equal parts flour and sugar by volume, with just enough liquid to create a thick but pourable batter.
Mastering Microwave Timing and Power
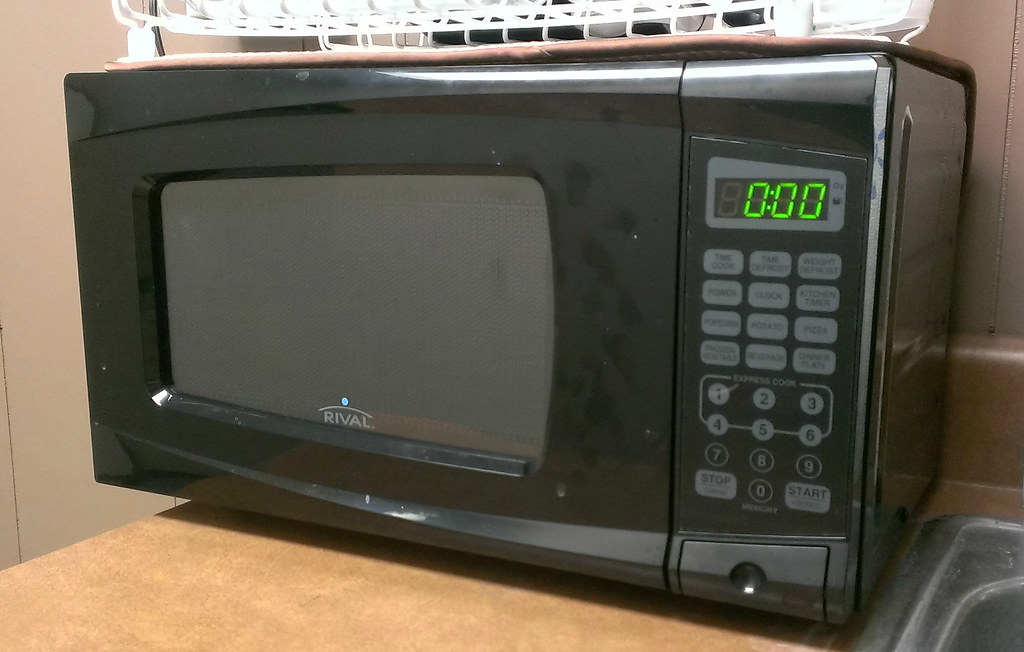
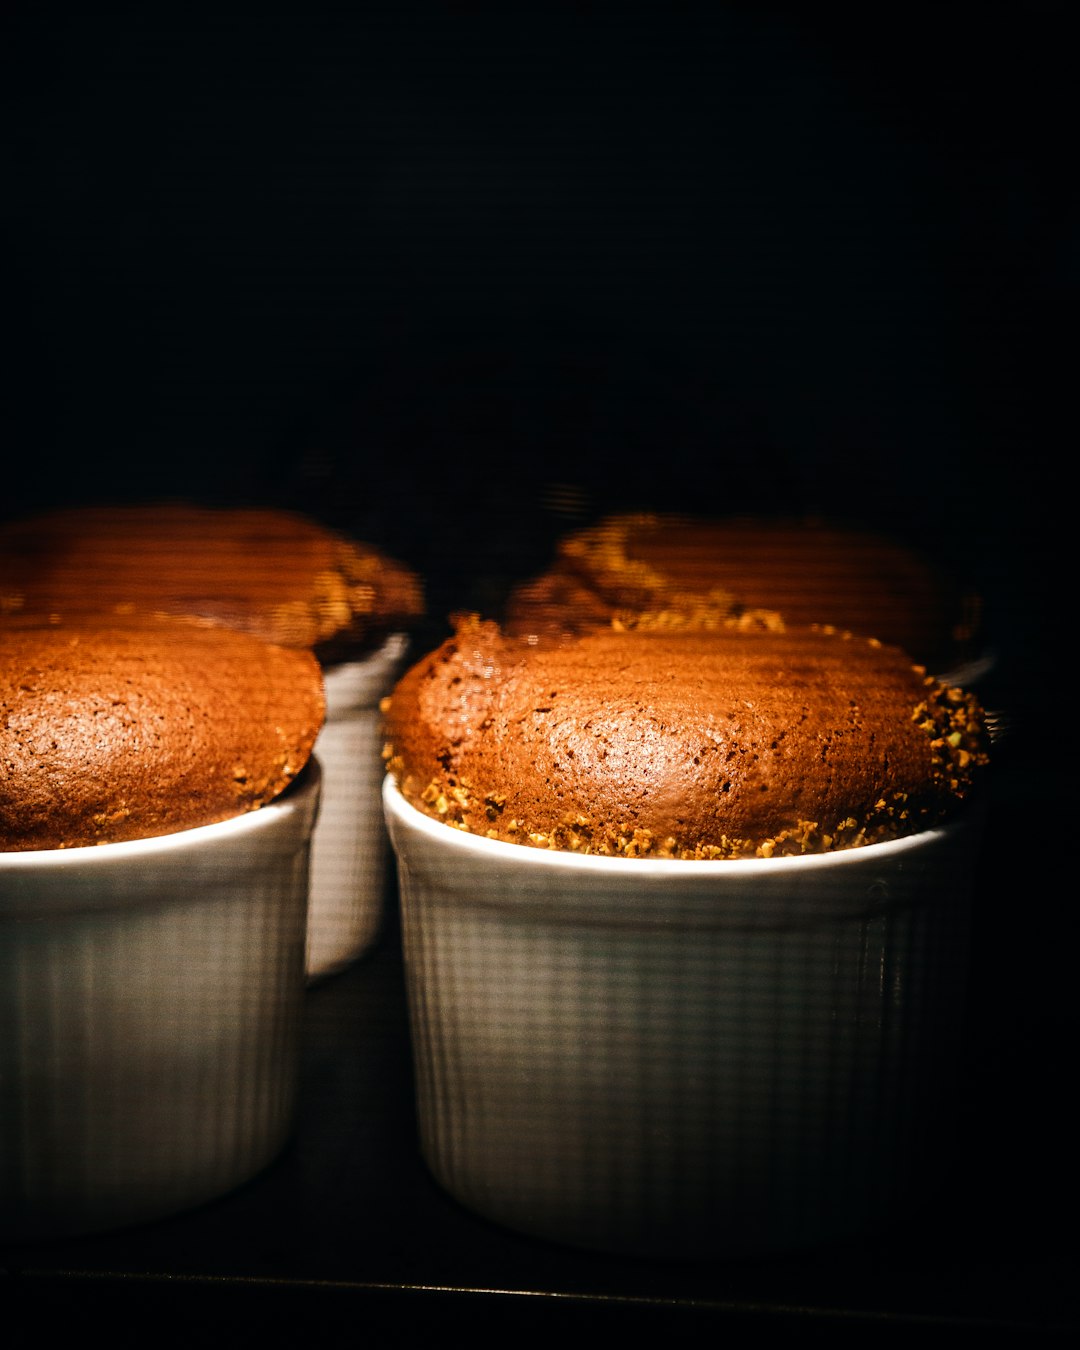
Because all microwaves are different, it’s difficult to give a precise cook time. Start with 70 seconds, wait 1 minute while it cools, then look to see if it is set. Add an additional 15-25 seconds if needed. This is perhaps the most critical aspect of mug cake success – understanding that every microwave behaves differently and requires individual adjustment. The key is to start with less time rather than more, since you can always add more cooking time but you can’t undo an overcooked cake.
I always start with 1 minute on medium power. Then I do additional 30 second intervals on medium power until the top looks totally set. I highly recommend going slowly to avoid the cake overbaking. Many people make the mistake of using full power, which can create hot spots and uneven cooking. Medium power gives you much better control and more even heating throughout the cake. Watch for the surface to look set but still slightly shiny – that’s your perfect doneness indicator.
Choosing the Right Mug Makes a Difference

Not all mugs are created equal when it comes to baking the perfect mug cake. The cake will rise quite a bit as it bakes, so make sure your mug isn’t too small. I recommend using a mug that’s wide as opposed to a mug that’s tall and skinny. I find that a wide mug allows the cake to bake more evenly. The shape of your mug directly affects how your cake cooks and rises, making this choice more important than most people realize.
The kind of mug you use matters! One that has straight sides is best and bigger is better. Use a mug that holds at least 1 and 3/4 cups. If you use a smaller mug, you should put the mug on a plate so you can catch the overflow, which will make clean up easier. A wider mug also prevents the center from being undercooked while the edges become overcooked. The material matters too – ceramic mugs work best because they heat more evenly than glass or metal options.
The Fat Factor – Oil vs Butter vs Alternatives
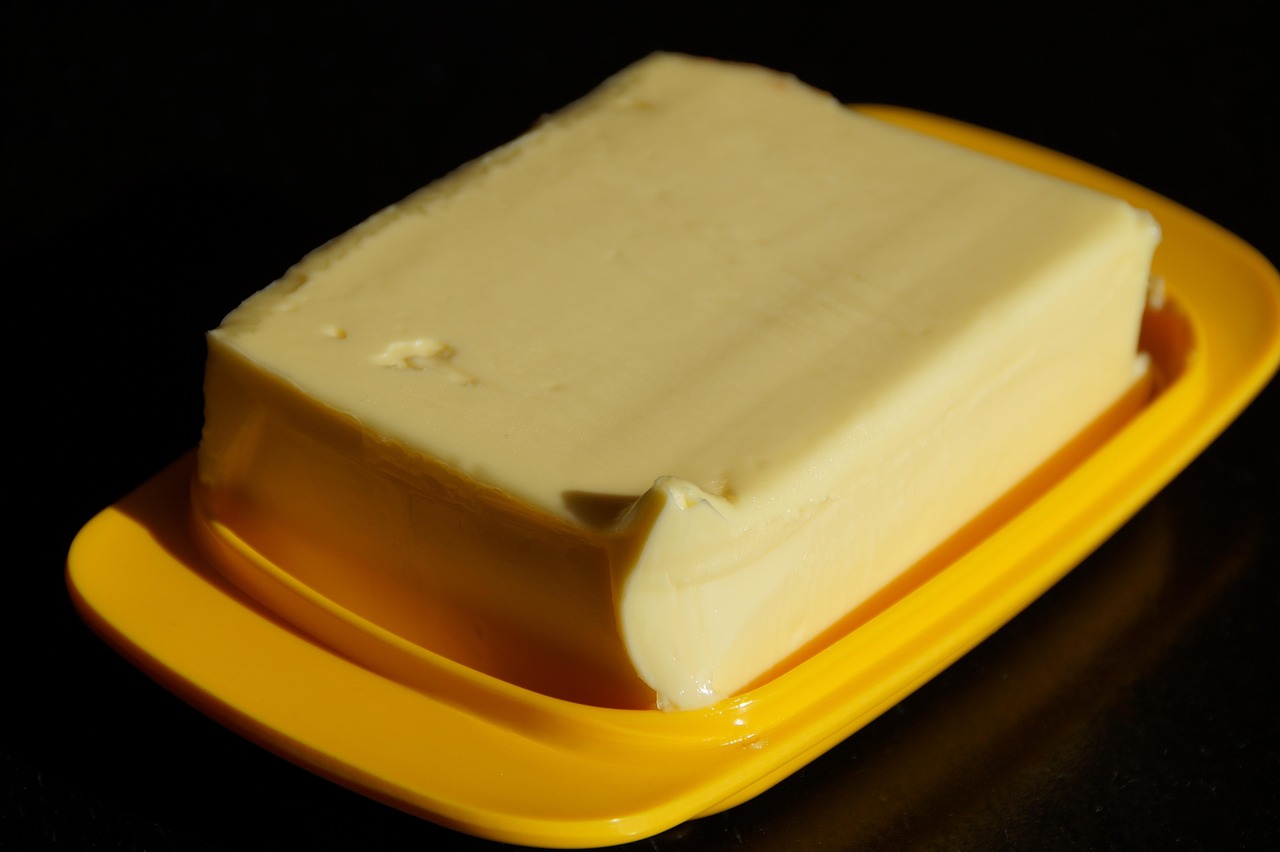
The type of fat you choose can make or break your mug cake’s texture and flavor. Oil adds moisture and tenderness to the cake, keeping it soft. Oil tends to create a moister texture that lasts longer, while butter provides superior flavor but can sometimes result in a slightly denser cake. The choice often comes down to what you have on hand and your personal preference for taste versus texture.
If you don’t have butter, you could substitute margarine or even vegetable oil, although I prefer the flavor that the real butter gives the cake. Melted butter works beautifully in mug cakes, but you need to let it cool slightly before mixing with other ingredients to avoid cooking any eggs or creating lumps. For those seeking healthier alternatives, coconut oil, applesauce, or even mashed banana can work, though each will slightly alter the final taste and texture of your cake.
Common Mistakes That Lead to Rubbery Disasters
Your mug cake may be rubbery if the batter was overmixed or the cake was overcooked. Make sure only to stir the batter until the flour is absorbed. If you’re concerned about overcooking the cakes, check them every 30 seconds and remove them as soon as the tops are slightly firm but still bouncy. Overmixing is the enemy of tender mug cakes because it develops the gluten in the flour too much, creating a tough, chewy texture instead of the light, fluffy result you’re after.
Another common mistake is using too much liquid or not enough flour, which creates a soggy mess instead of a proper cake. Eggs tend to make mug cakes have a bit of a rubbery texture, so bye-bye eggs and hello tender, fluffy cake. Many traditional recipes include eggs, but for mug cakes, they often create more problems than they solve. The small batch size means the egg becomes proportionally too large and can overwhelm the delicate balance needed for perfect texture.
The Cooling Period Everyone Forgets
Allow to rest in microwave for 1 minute before consuming. Allow it to rest in the microwave for 1 minute. The trick with mug cakes is to stop cooking the cake earlier than you think, because you want it to be soft on the inside, and the cake will also continue to cook as it cools. This resting period isn’t just about letting the cake cool enough to eat safely – it’s an essential part of the cooking process that most people skip in their eagerness to dig in.
During this resting time, the residual heat continues to cook the cake gently while the steam settles and the crumb structure sets properly. Let the cake cool for a minute or two before digging in so the crumb sets and it doesn’t taste overly steamy. Rushing this step often results in a cake that seems undercooked or has an unpleasant steamy taste. Patience here is rewarded with a much better texture and flavor in the final product.
Liquid Ingredients That Make the Magic Happen
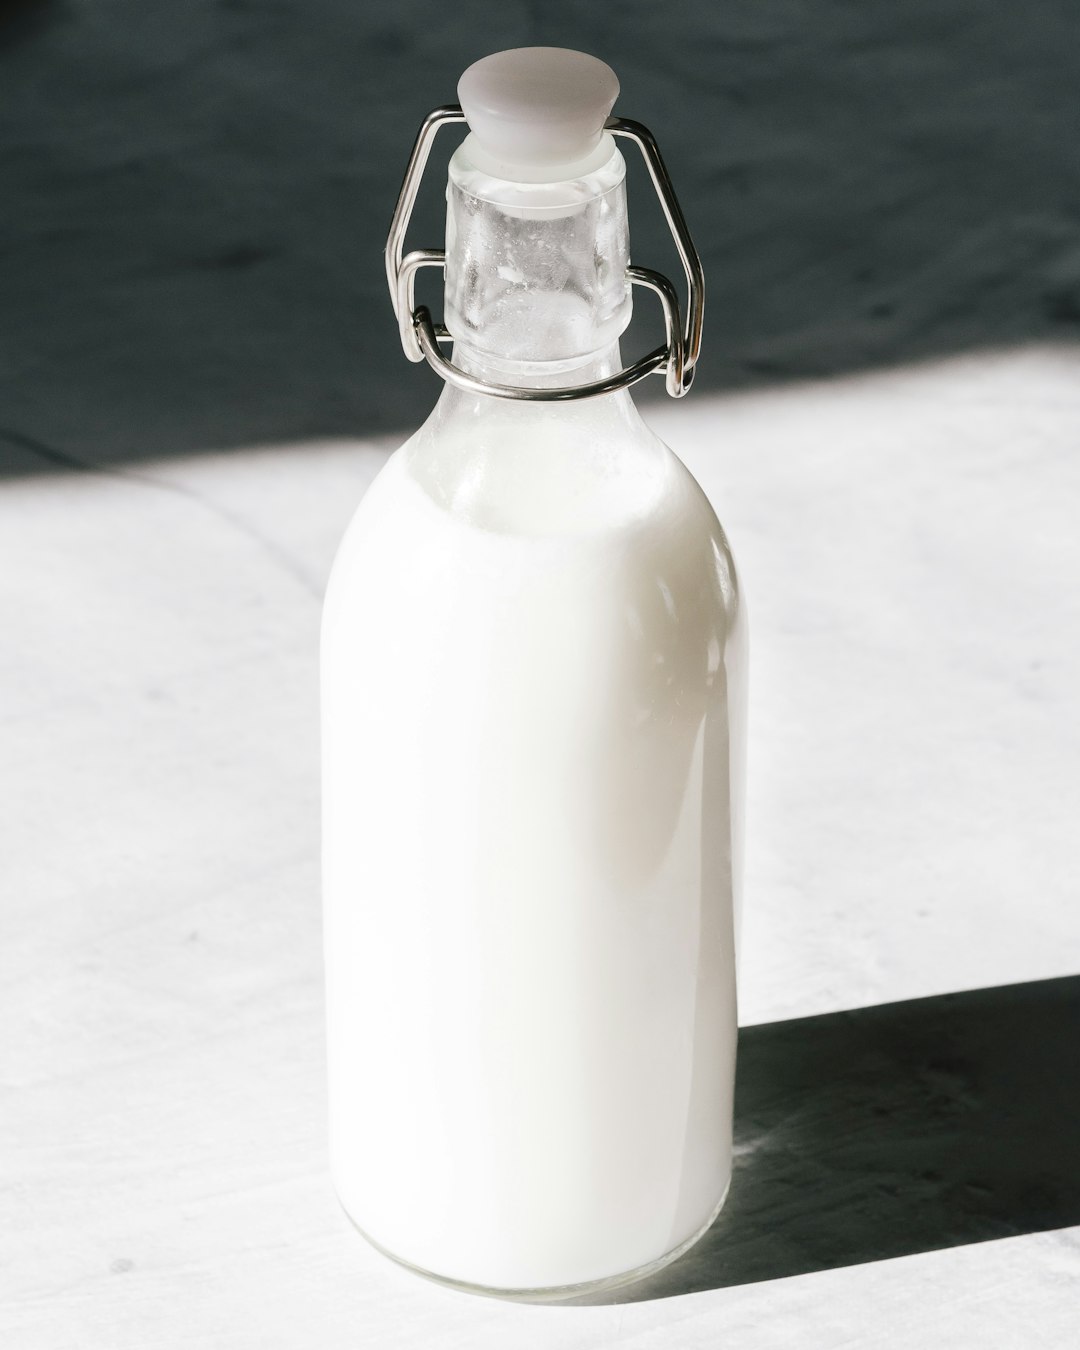
The liquid component of your mug cake does more than just bring the ingredients together – it’s what creates the steam that makes microwave baking possible. I prefer to use whole milk, but 2%, 1%, skim, or even almond milk should work fine too. Whole milk provides the richest flavor and best texture, but the recipe is quite forgiving when it comes to milk substitutions, making it accessible regardless of dietary preferences or what you have on hand.
I have not tested non-dairy milk alternatives, so proceed with those substitutions at your own risk. A non-dairy milk could change the texture substantially. While many non-dairy alternatives work well, some can be thinner or thicker than regular milk, which might require slight adjustments to other ingredients. Coconut milk creates an incredibly rich and moist cake, while almond milk keeps things lighter. The key is understanding how your chosen liquid might affect the final result and being prepared to make small tweaks if needed.
Temperature Control and Even Heating Techniques
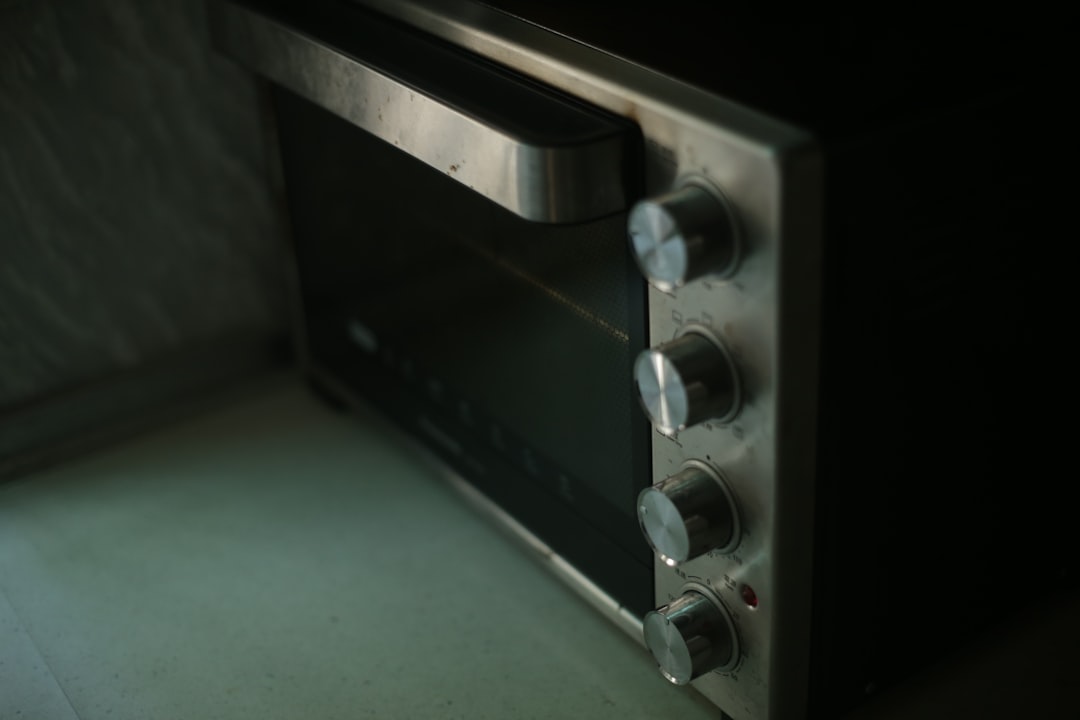
The cook time will vary slightly based on the mug that you use and your microwave. I use a 12-ounce mug and a 1200-watt microwave and find that 1 minute and 15 seconds is the perfect amount of time. Understanding your microwave’s wattage is crucial because it determines how much power is being delivered to your cake. Higher wattage microwaves cook faster and more intensely, while lower wattage units require longer cooking times but often provide more gentle, even heating.
I only used 1 TBSP of sugar and microwaved in my 700 watts microwave for 2 minutes and it turned out perfect. For those with a 700 watt microwave like me, I microwaved it for about 2 minutes. If you have a lower wattage microwave, don’t be discouraged – you might actually get better results because the gentler heating reduces the risk of overcooking. The trade-off is slightly longer cooking times, but the more controlled cooking environment often produces superior texture and even heating throughout the cake.
Perfecting Your Vanilla Base Recipe
According to Cognitive Market Research, Vanilla is the largest segment in the Flavors Outlook for the Cake Mix Market. Its enduring popularity is due to its classic and versatile flavor, which complements a wide range of cake types and recipes. Vanilla cake mix serves as a foundation for many baked goods and is often used as a base for customization with additional flavors or toppings. This universal appeal and adaptability make vanilla the top choice among consumers and a dominant flavor segment in the market.
A perfect vanilla mug cake starts with quality vanilla extract – don’t skimp here because the flavor really shines through in such a simple recipe. I personally don’t like the taste of pure vanilla extract, so I use imitation. Vanilla bean paste would be amazing if you’re feeling fancy. You can also double the amount of vanilla if you want to increase flavor even more. The vanilla you choose becomes the star of the show, so whether you prefer the complex notes of real vanilla or the consistent sweetness of imitation, make sure you’re happy with its flavor profile since it will be prominent in the finished cake.
Storage and Make-Ahead Tips
My vanilla mug cake should be eaten straight away, but you can mix up a batter of this recipe and keep it in the fridge for 48 hours, and microwave it whenever inspiration hits. This make-ahead trick is a game-changer for busy lifestyles or late-night cravings. Having pre-mixed batter ready means you’re always just a minute or two away from a fresh, warm cake without any of the measuring or mixing steps.
This cake is best served right after you make it, but it may be covered tightly and stored at room temperature for 1-2 days. While mug cakes are definitely best fresh, they can be stored if needed. However, the texture will never be quite the same as when it’s fresh from the microwave. If you do need to store a finished cake, a quick ten to fifteen second reheat in the microwave can help restore some of its original texture and warmth.