
Table of Contents
Use a Digital Kitchen Scale Instead of Measuring Cups
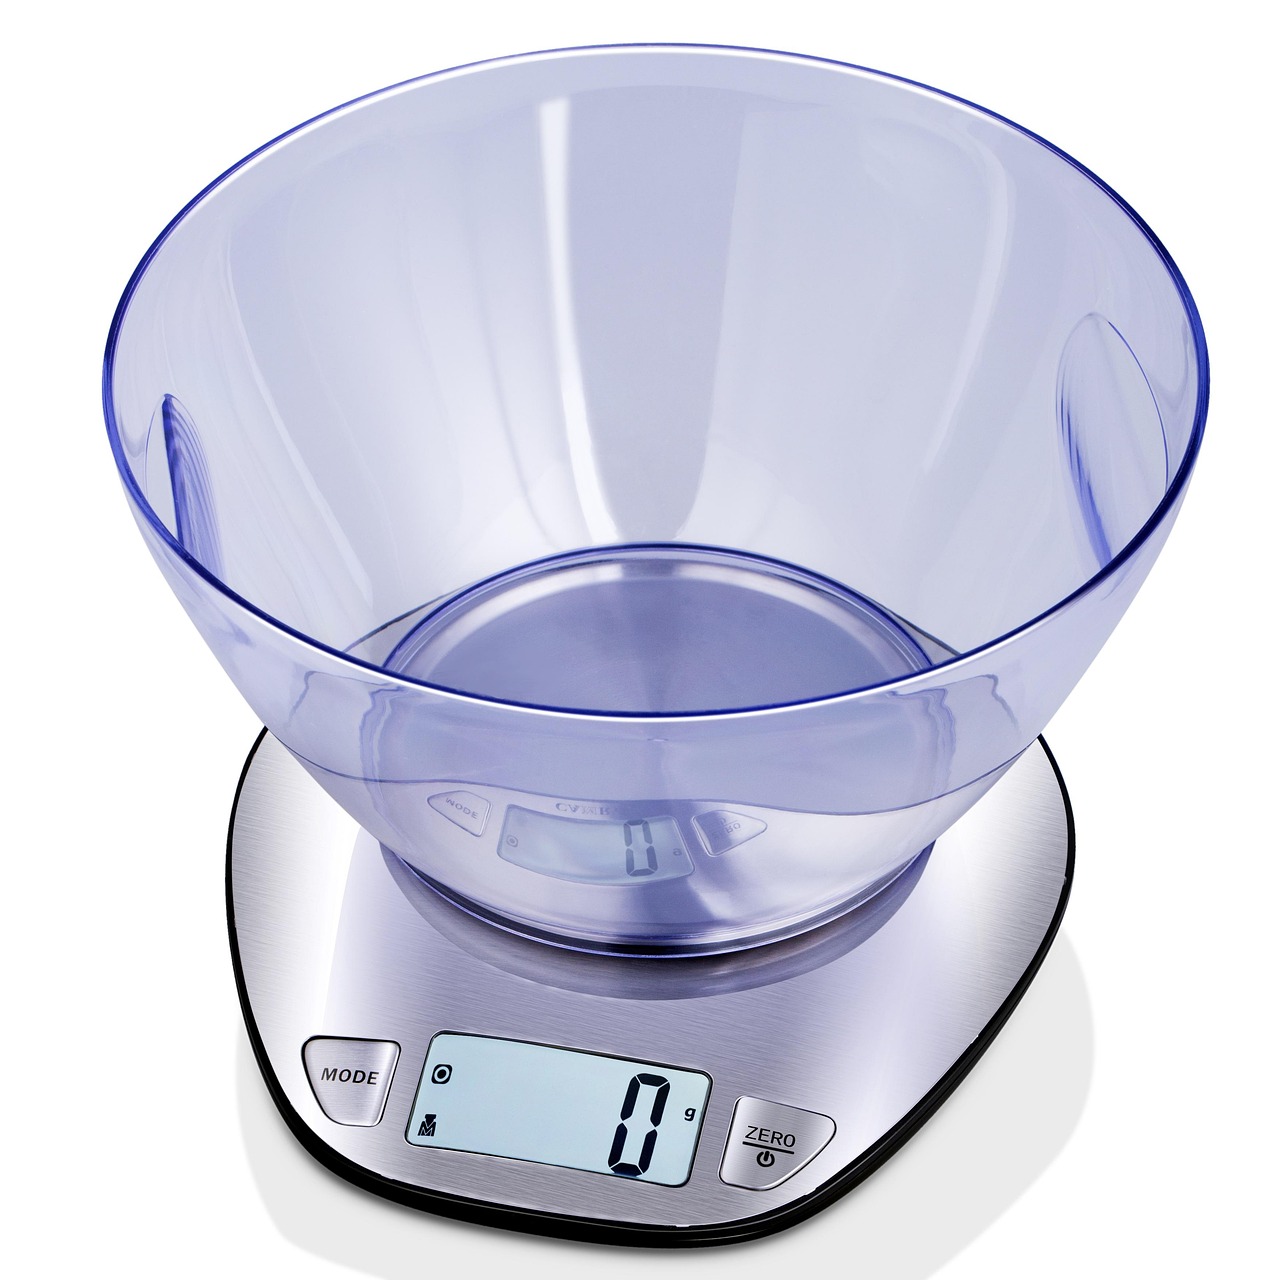
Let me tell you something that’ll change your baking game forever – ditch those measuring cups and invest in a digital kitchen scale. Baking is a science and it requires all the precision you would expect when doing a chemical experiment, as even the slightest baking miscalculation could turn your soft chocolate chip cookies into rocks. A cup isn’t always a cup, but a gram or ounce is always a gram or ounce, making metric weights the most accurate. A cup of flour measured in volume can vary by several ounces, so if you scoop it into the measuring cup and pack it in, you’ll end up with way too much flour and your baked goods will be dry.
Many factors can change the measurement of ingredients when not controlled through weight – for example, humidity and air can make a cup of flour different each time you scoop. Professional bakers know this secret well, which is why every commercial kitchen relies on scales for consistency. The correct balance of raw ingredients, both liquid and dry, will ensure not only the taste of the product, but also the proper consistency and density.
Bring Ingredients to Room Temperature Before Mixing
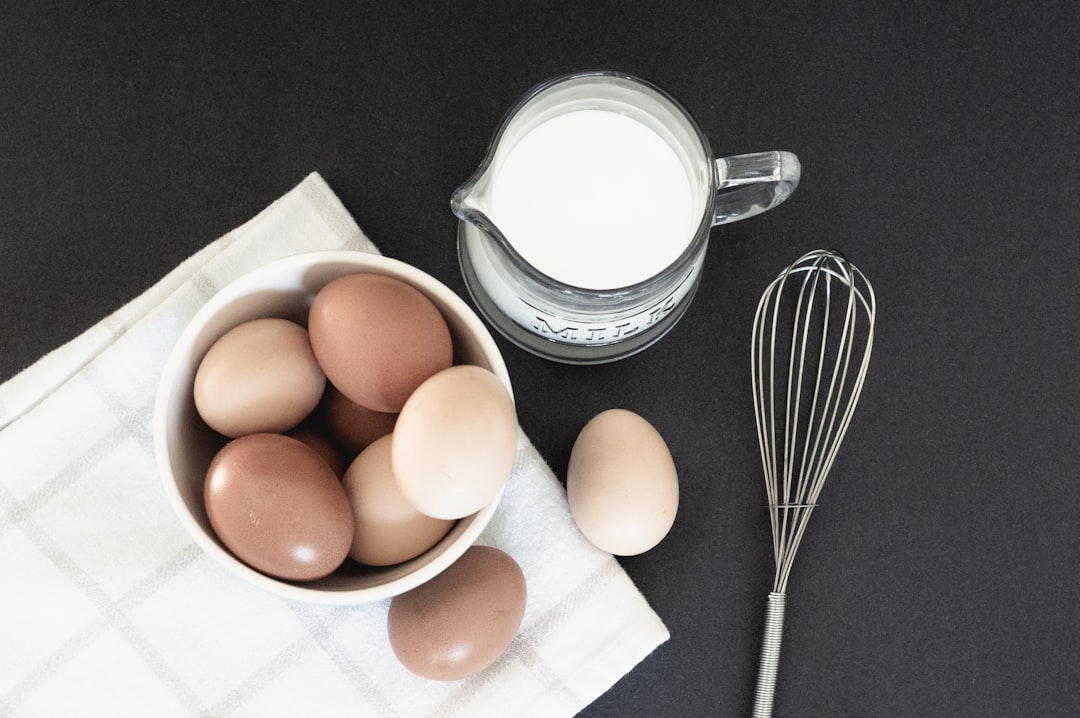
Here’s where most home bakers mess up without even realizing it – they use cold ingredients straight from the fridge. When at room temperature, eggs, butter, and other dairy ingredients form an emulsion which traps air, and while baking in the oven, that trapped air expands and produces a fluffy baked good. When room temperature eggs, butter, and dairy products are blended in a recipe, they create an emulsion where air is trapped into the smooth mixture, which then expands with the heat of the oven producing a light, fluffy baked good with uniform texture, while cold ingredients prohibit the desired emulsion and lead to clumpy frosting, hole-filled cakes, and dense cookies.
Ingredient temperature does make a difference and a mere 10 degree F shift can degrade your final product – for the finest texture and a light and tender mouthfeel make sure your ingredients are all at moderate room temperature. Think about it this way: you’re trying to create a cohesive team of ingredients, and they all need to be playing at the same temperature level.
Always Preheat Your Oven for at Least 15 Minutes
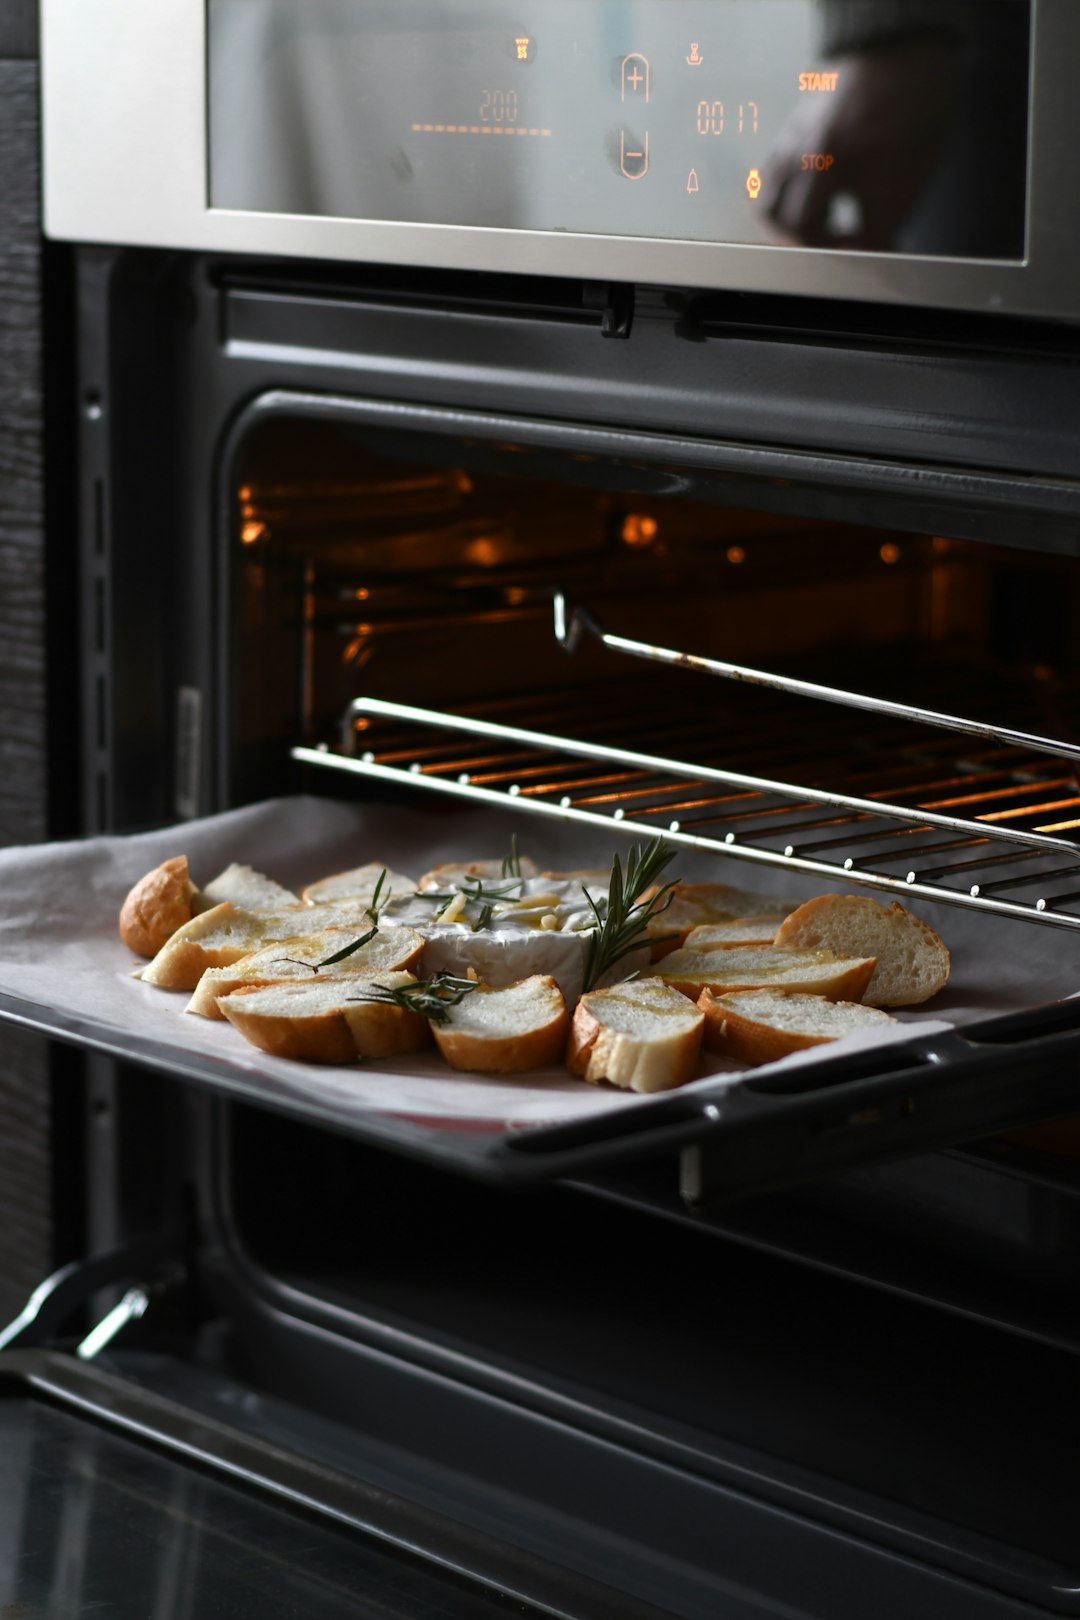
I can’t believe how many people skip this crucial step! Preheating your oven is essential for achieving consistent baking results, as it allows the oven to reach the desired temperature before you put your baked goods inside, ensuring that they start cooking immediately – without preheating, your baked goods may not rise properly or may take longer to bake, resulting in uneven textures or undercooked centers. Your oven needs time to stabilize at the right temperature, and those first few minutes of baking are critical for proper rise and structure development.
Most ovens take about fifteen to twenty minutes to fully preheat, even after the indicator light says it’s ready. During this time, the heating elements are cycling to maintain consistent temperature throughout the oven cavity. Follow the recipe’s instructions for preheating your oven to the correct temperature, and always allow it enough time to come to temperature before baking.
Master the Spoon-and-Level Method for Flour

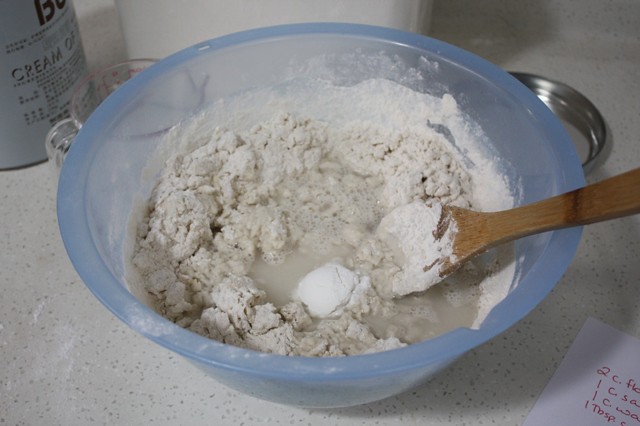
The proper way to measure dry ingredients is using the spoon and level method: spoon the ingredients into a dry measuring cup and level or “sweep” the top with a straight edge – this might seem nit-picky but it’s important, as a cup of flour measured in volume can vary by several ounces. Flour is the most common mis-measured ingredient, and getting this wrong can completely destroy your recipe’s balance.
When you scoop flour directly from the bag with your measuring cup, you’re compacting it and can end up with nearly fifty percent more flour than the recipe intended. Instead, use a spoon to gently fill your measuring cup, then level it off with a knife. Dry ingredients like flour should be spooned into a measuring cup and leveled off, not scooped directly from the container which can compact the ingredient, while liquids should be measured in clear measuring cups designed for liquids, checked at eye level on a flat surface.
Use Fresh Baking Powder and Baking Soda
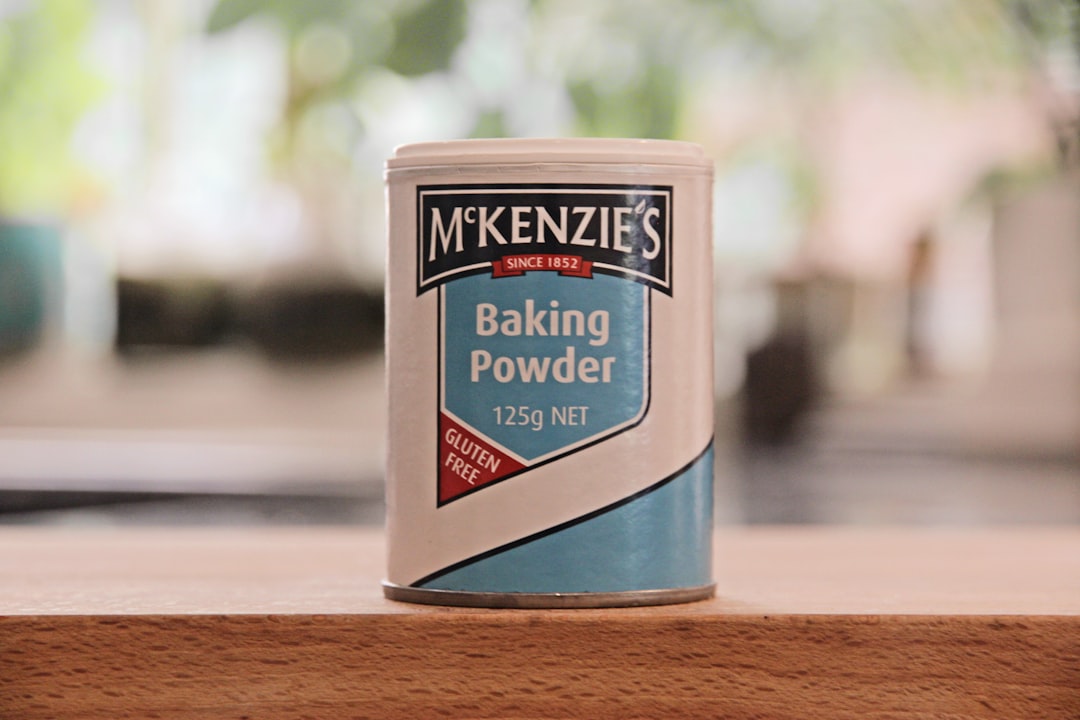
This might seem obvious, but you’d be shocked at how many baking failures come from expired leavening agents. Baking powder and baking soda lose their potency over time, usually after about eighteen months. Baking powder and baking soda are used in many recipes to make baked goods rise without the need for yeast and they are not interchangeable – baking soda needs acidic ingredients to activate and is used in recipes with buttermilk, lemon juice, cocoa powder, while baking powder needs only liquid to activate.
Test your baking powder by dropping a teaspoon into hot water – if it bubbles vigorously, it’s still good. For baking soda, mix it with vinegar or lemon juice and look for immediate fizzing. If you add too much baking powder, your cakes will taste funny, and will rise rapidly and then sink in the middle. Fresh leavening agents ensure your baked goods rise properly and don’t have any bitter or metallic aftertastes.
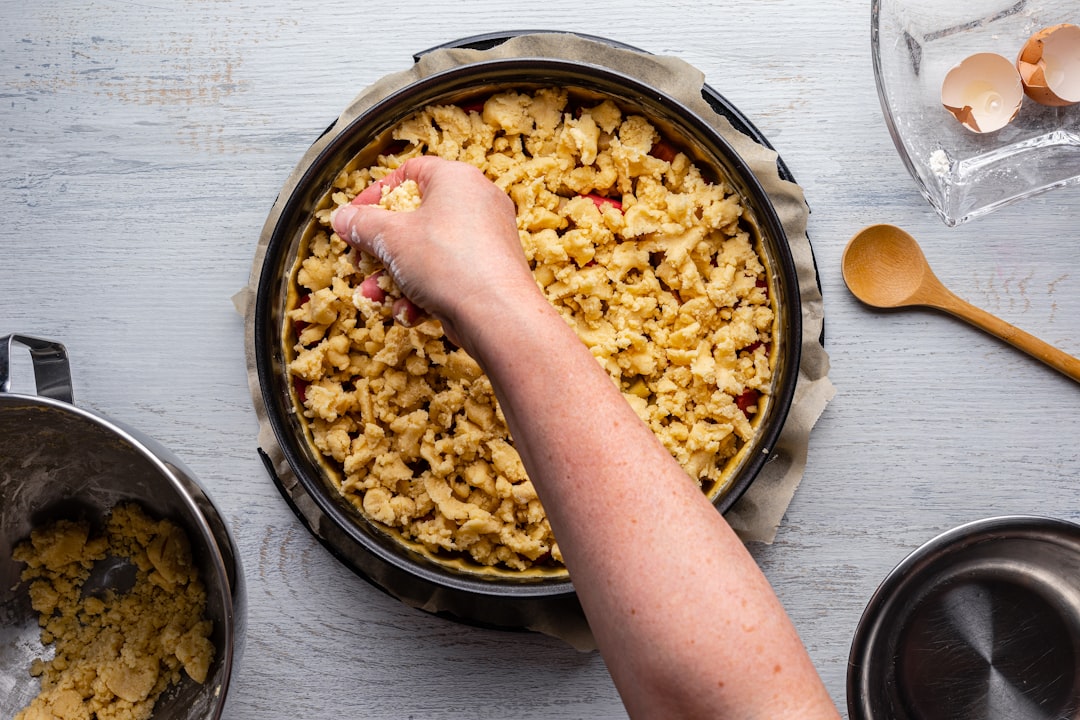
Control Your Mixing Time and Technique
How you build the cookie dough has a scientific impact on its outcome – very few cookie recipes call for you to put everything in a mixer all at once, as typically butter and sugar are creamed together, then additional liquids are added, then dry ingredients, with each step having an impact. In scones and biscuits, recipes often instruct “Do not overwork the dough” because you don’t want to activate the gluten, and you also don’t want to warm or melt the butter.
Different mixing methods serve different purposes. Creaming butter and sugar incorporates air for light, fluffy textures, while the muffin method keeps things tender by minimizing gluten development. When creaming room temperature butter with sugar, the sugar crystals dig out air pockets in the butter which is what you need for tender, fluffy baked goods – if your butter is too cold, the crystals can’t effectively create these necessary air bubbles in the hard butter, and your cakes and cookies will come out flat.
Invest in an Oven Thermometer
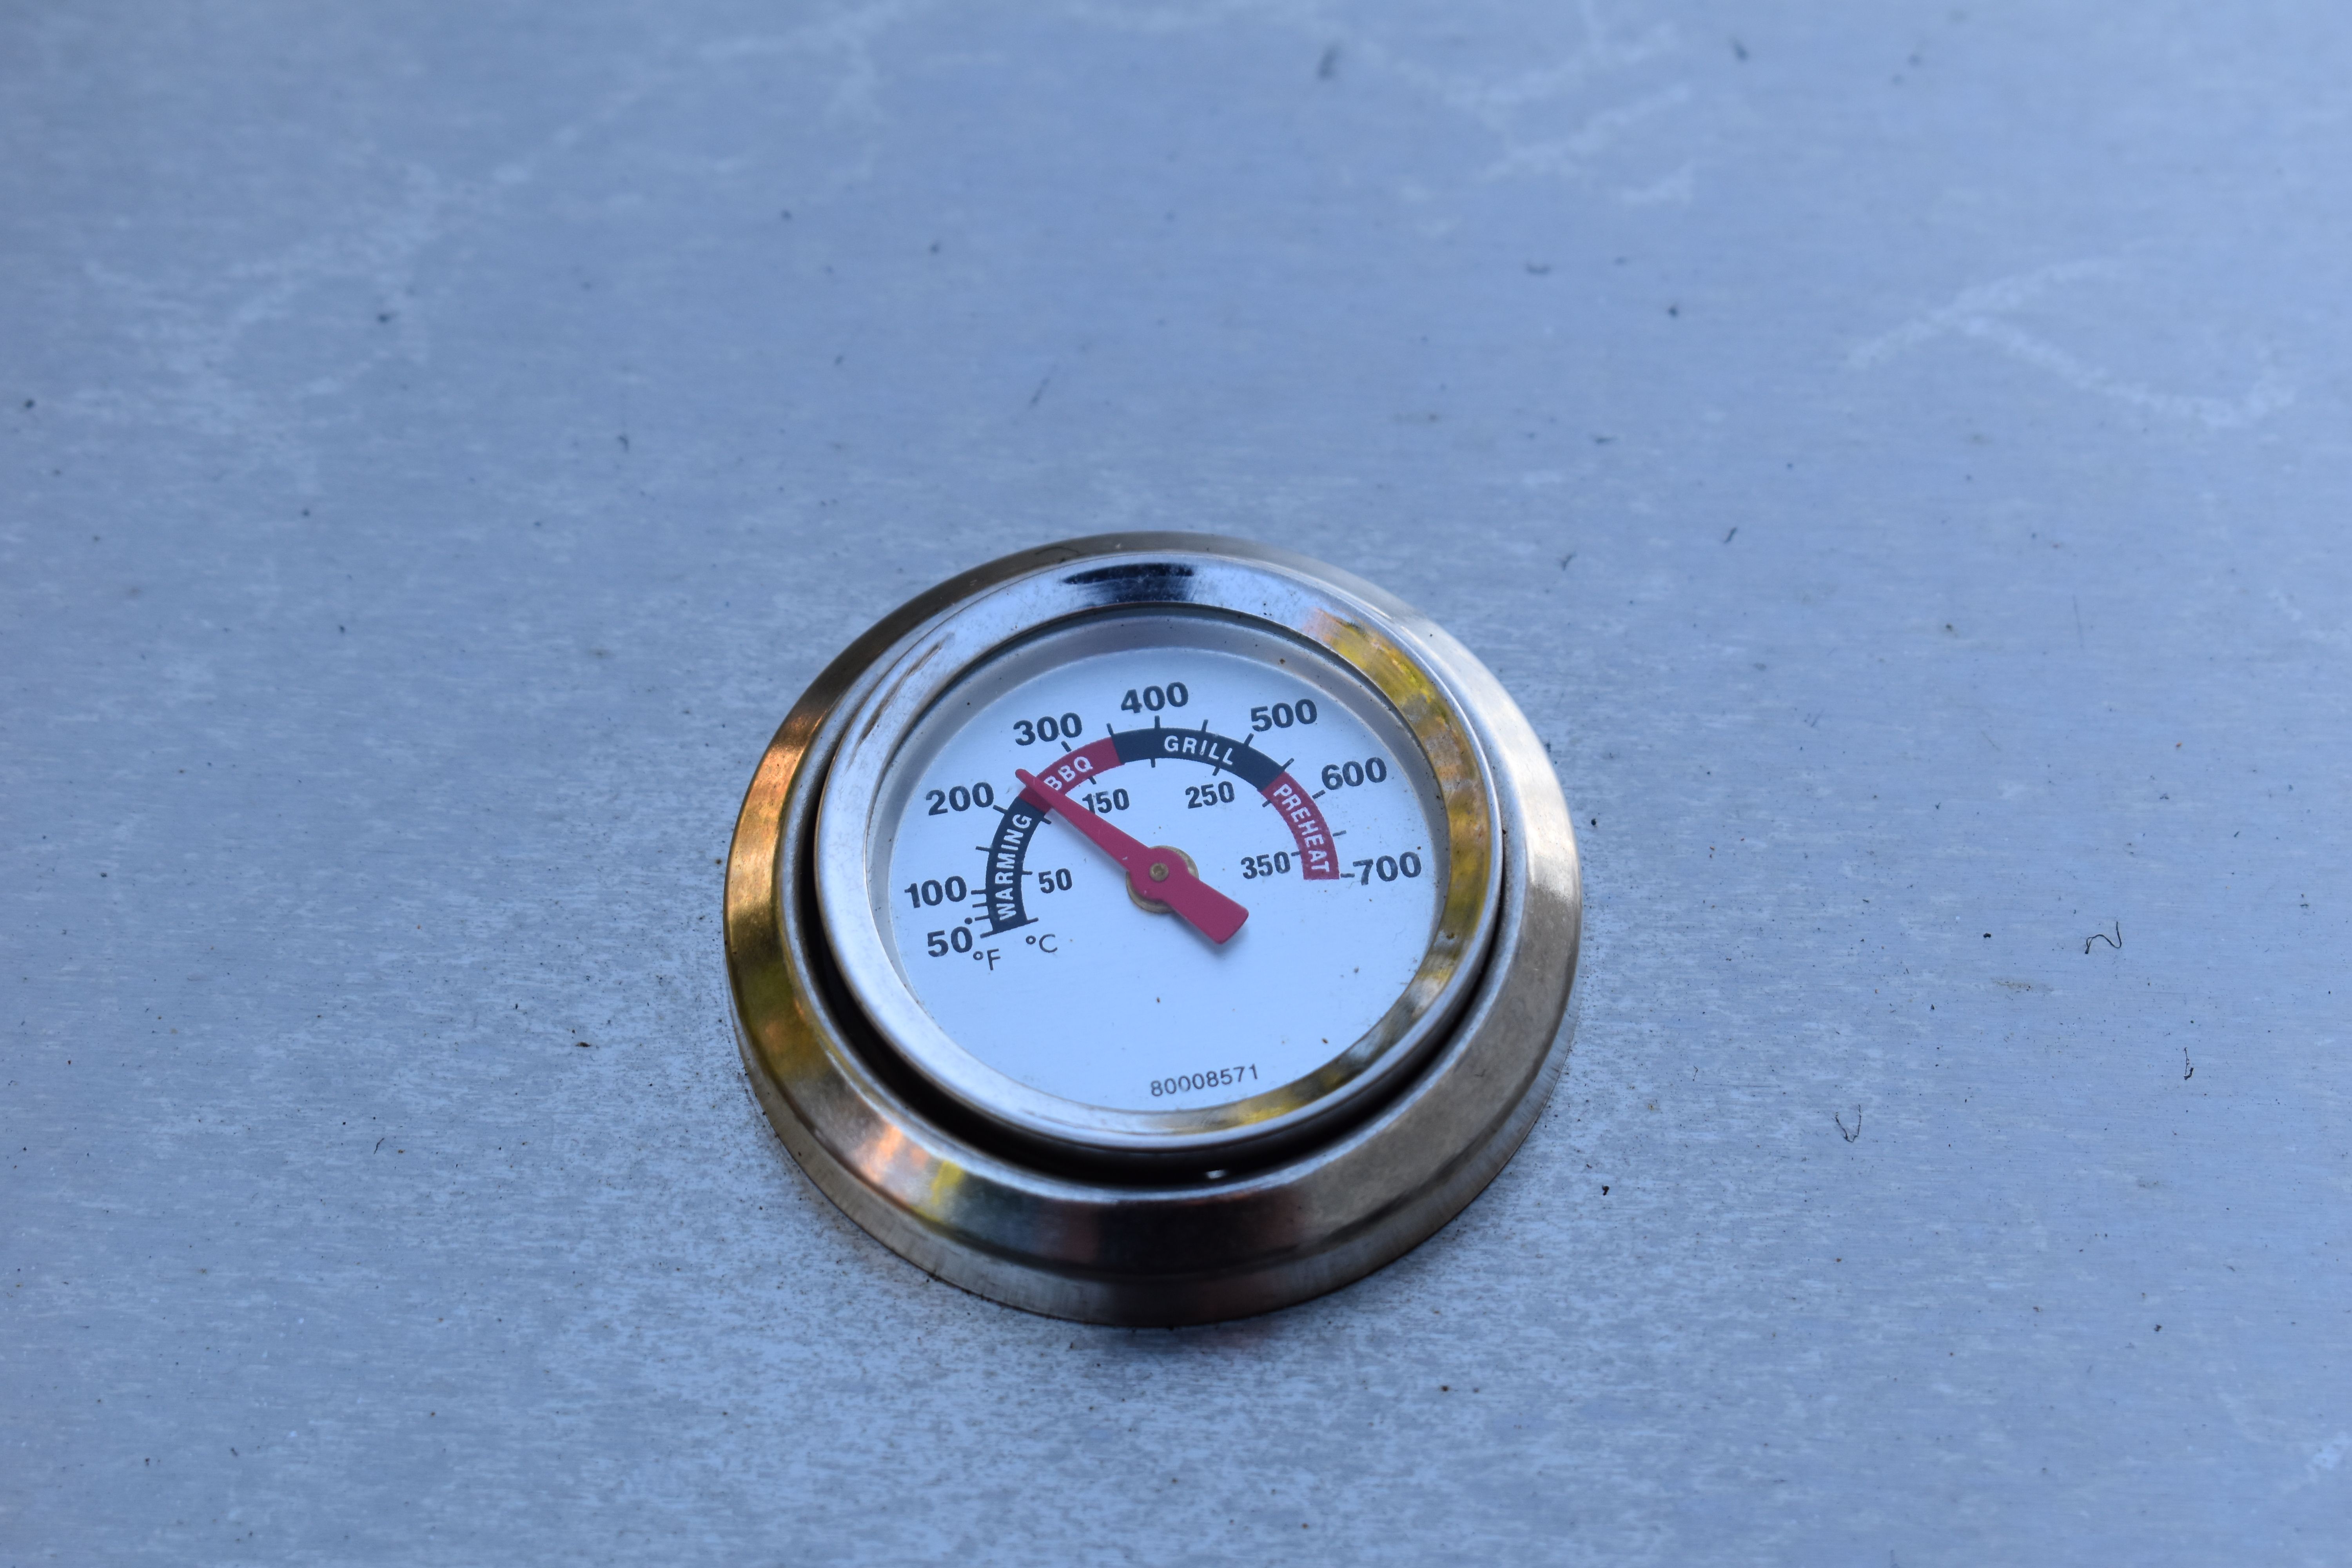
Your oven’s built-in thermometer is probably lying to you. Most home ovens run hot or cold by at least twenty-five degrees, and some can be off by fifty degrees or more. When it comes to baking, time and temperature are crucial factors that can greatly impact the outcome of your baked goods, and understanding the science behind these factors is key to achieving the perfect bake every time. An oven thermometer costs less than ten dollars but can save you from countless baking disasters.
The ingredients and baking conditions, particularly time and temperature, are the principal processing parameters which significantly influence the quality attributes of the end product, with the most crucial quality attributes being color, shape, size, and crumb texture. Place the thermometer in the center of your oven where you’ll be baking, and adjust your oven’s temperature setting accordingly. This simple tool ensures your recipes bake at their intended temperatures.
Rest Cookie Dough in the Refrigerator
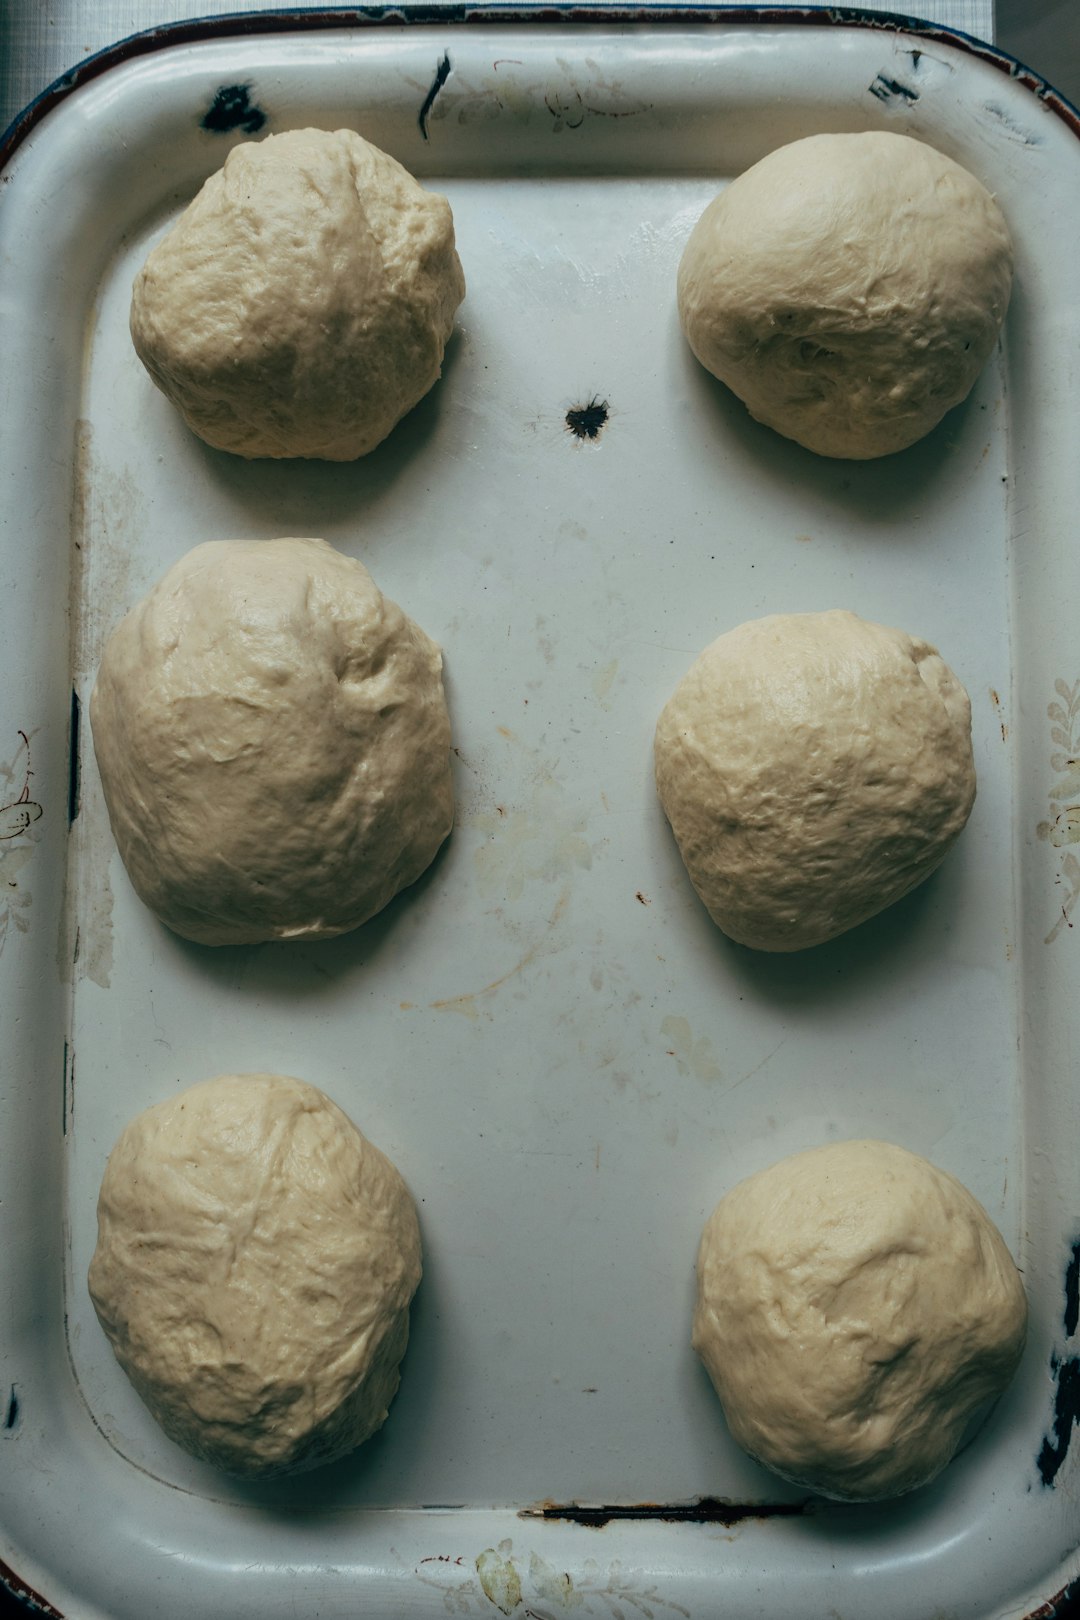
While you can have fresh cookies baked in under 20 minutes, there is a scientific rationale for waiting even just an extra half hour – “One of the most important things when it comes to cookies is the controlling of the temperature of the fat,” and resting cookies is key to activating ideal cookie physics because “I need the starches gelatinizing and the proteins coagulating before the fats melt away”.
This waiting period allows the flour to fully hydrate and the flavors to meld together. It also helps prevent cookies from spreading too much during baking, giving you thicker, chewier results. Even thirty minutes makes a noticeable difference, but overnight chilling produces even better results. The dough also becomes easier to handle when it’s properly chilled, making shaping and cutting much simpler.
Use the Right Pan Size and Material
Pan choice affects everything from baking time to final texture. Dark metal pans absorb heat faster than light-colored ones, which can cause over-browning on the bottom before the center is done. Glass pans conduct heat differently than metal, often requiring temperature adjustments. The size and shape of the baked good also impact the baking time and temperature, as thicker items will take longer to bake than thinner ones since the heat needs more time to penetrate the center.
Using the wrong pan size throws off the entire recipe balance. A recipe designed for a nine-inch pan will bake completely differently in an eight-inch or ten-inch pan. The depth and surface area affect how heat penetrates and how the batter rises. Always use the pan size specified in the recipe, or adjust baking time and temperature accordingly if you must substitute.
Learn to Read Your Baked Goods
Baking times in recipes are guidelines, not absolute rules. Your oven, altitude, humidity, and even the exact ingredients you use can affect timing. Altitude and humidity can also affect baking time and temperature – if you live in a high-altitude area, you may need to increase the temperature and decrease the baking time to account for the lower air pressure, while in humid climates, you may need to adjust the recipe slightly to prevent your baked goods from becoming too moist.
Look for visual and physical cues instead of relying solely on timers. Cakes should spring back when lightly touched and pull slightly from the pan sides. Cookies should be set around the edges but still look slightly underbaked in the center. Bread should sound hollow when tapped on the bottom. By taking time to experiment with different time and temperature combinations, using an oven thermometer for accuracy, and adjusting recipes for altitude and humidity, you can optimize your baking process and achieve perfect results every time, as understanding the science behind baking time and temperature is crucial for achieving perfect results in the kitchen.
These ten changes might seem small, but they’re the difference between mediocre baking and consistently outstanding results. The beautiful thing about baking is that once you understand these fundamentals, you’ll start to see patterns and develop an intuitive feel for what your dough and batter need. Remember, baking isn’t just following recipes – it’s understanding the science behind why things work the way they do.