
Table of Contents
Perfect Your Microwave Timing Based on Wattage
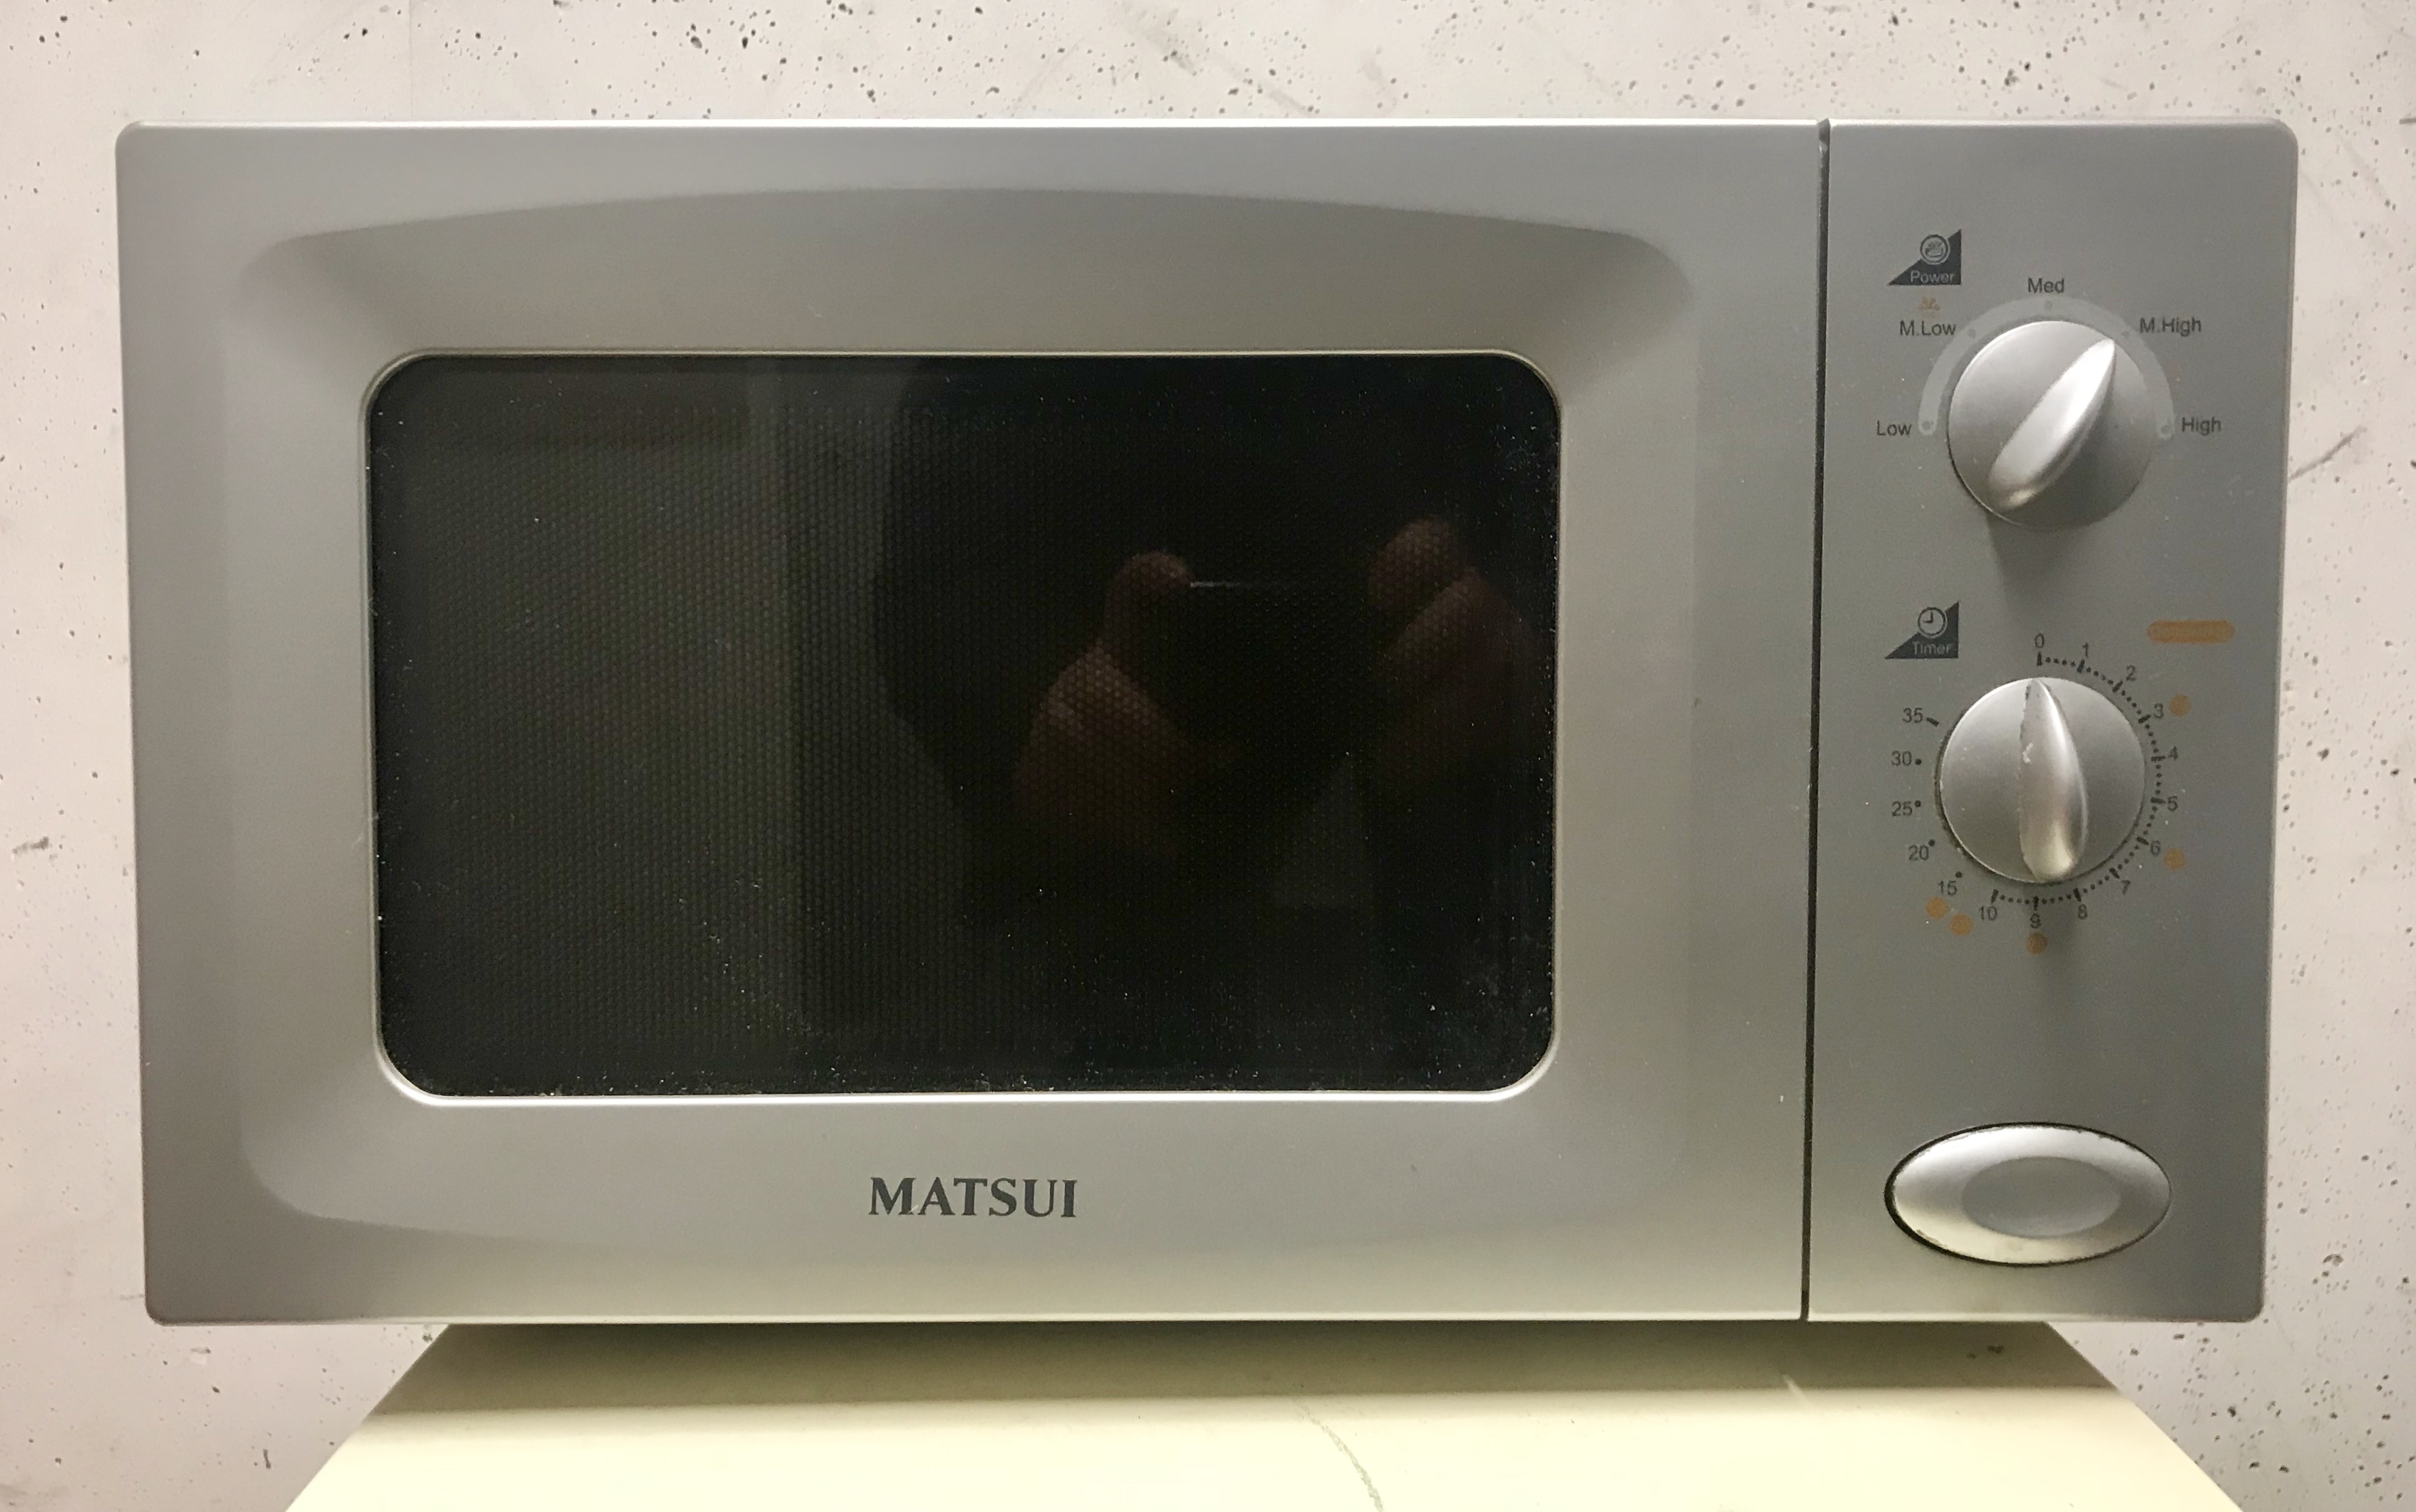
Your microwave’s wattage is everything when it comes to mug cake success. Check the wattage (power) on your microwave to determine your exact cook time. My microwave heats at 1200 watts so your mug recipes may take a little more or less time. Most standard microwaves range from 700 to 1200 watts, and this difference can make or break your dessert.
For a 1200-watt microwave, start with 45 to 60 seconds. Made this for the first time today and it turned out fabulous. I only used 1 TBSP of sugar and microwaved in my 700 watts microwave for 2 minutes and it turned out perfect. Lower wattage microwaves need more time – sometimes double! Always start conservatively and add 15-second intervals as needed. *Because all microwaves are different, it’s difficult to give a precise cook time. Start with 70 seconds, wait 1 minute while it cools, then look to see if it is set. Add an additional 15-25 seconds if needed.
Master the Golden Ratio of Ingredients
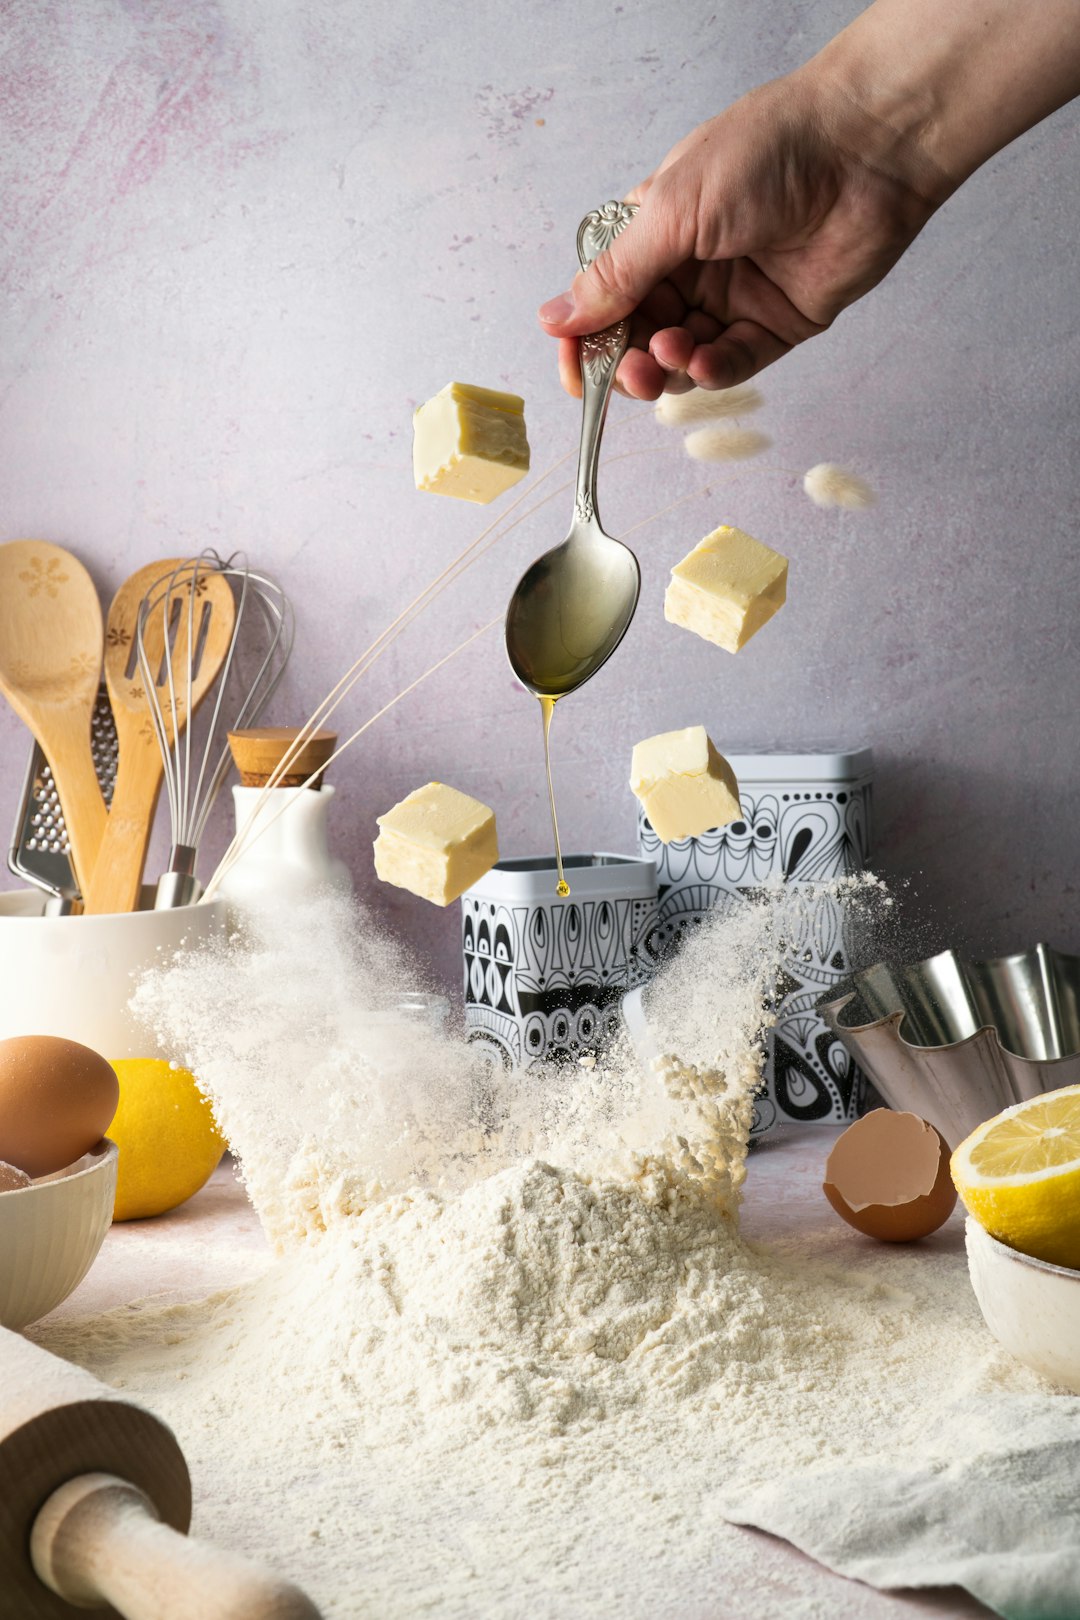
The secret to consistent mug cakes lies in understanding proper ingredient ratios. The trick to making a mug cake is just a basic formula. Just use 2 tablespoon butter, ¼ cup sugar, ¼ cup flour, and 2 tablespoon milk. That’s the basis for a mug cake. This ratio of flour to sugar to butter to milk creates a good foundation for many flavor variations.
Think of it like a science experiment – every ingredient has a purpose. The flour provides structure, sugar adds sweetness and moisture, fat creates tenderness, and liquid brings everything together. High ratio cakes typically use specific proportions of flour to sugar to fat to egg to liquid. Since I usually make high ratio cakes, it made sense to use that ratio. Stick to these proportions, and you’ll never have a dense brick instead of cake again.
Choose Your Mug Wisely
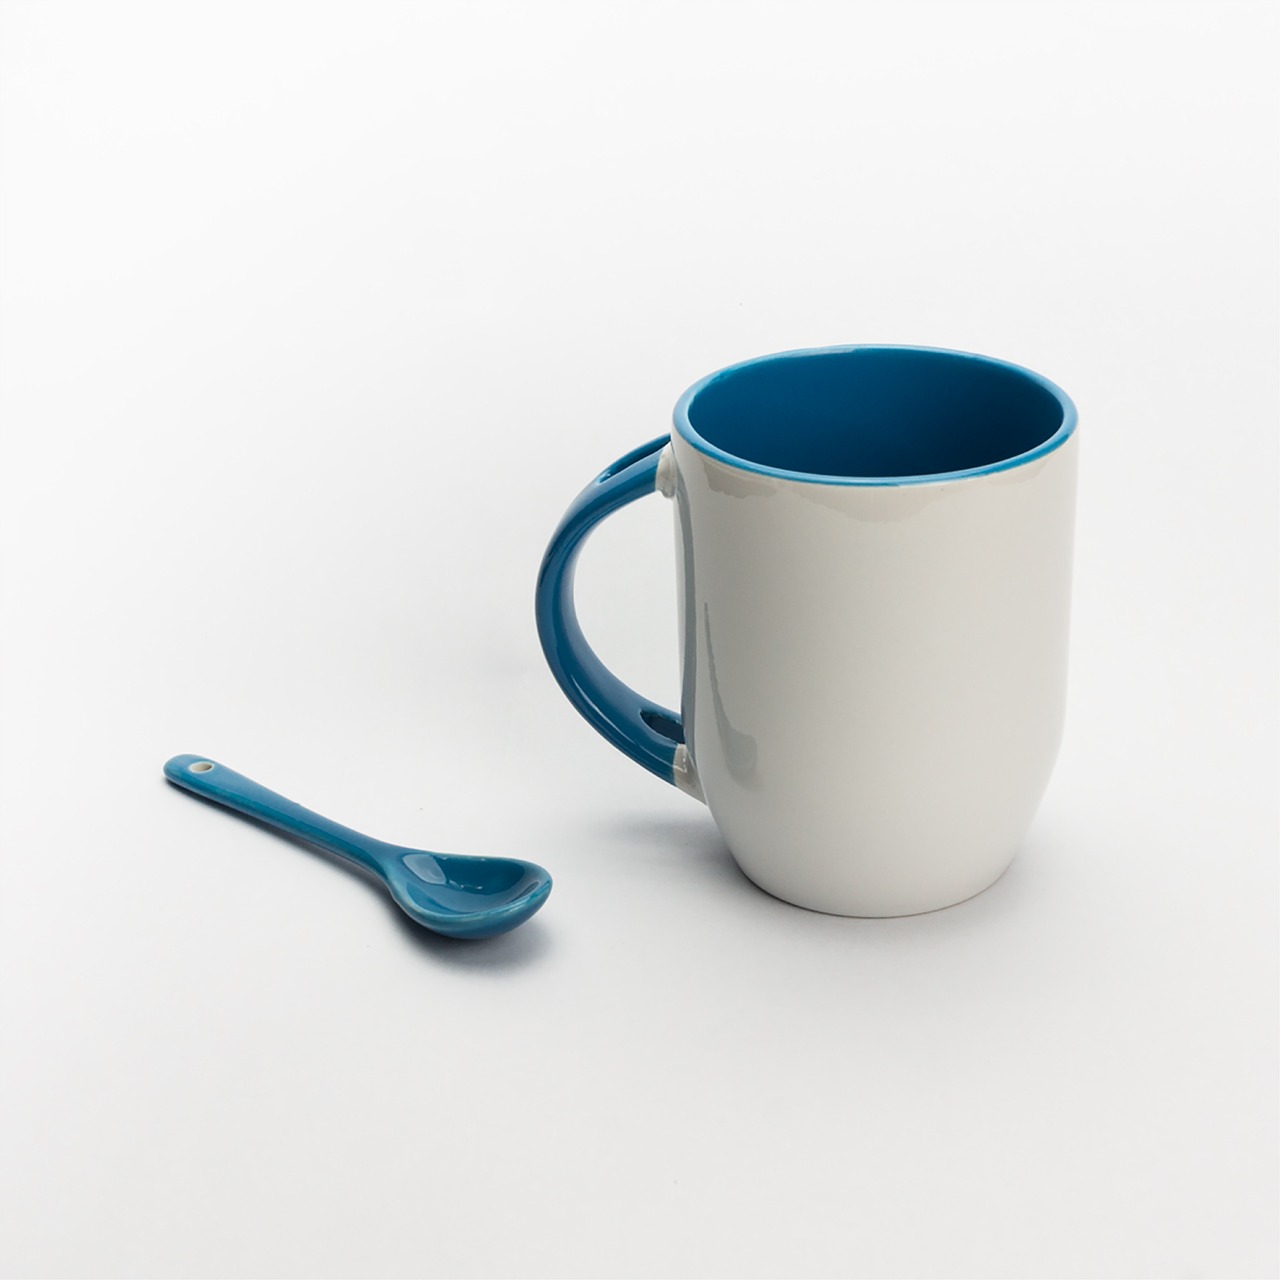
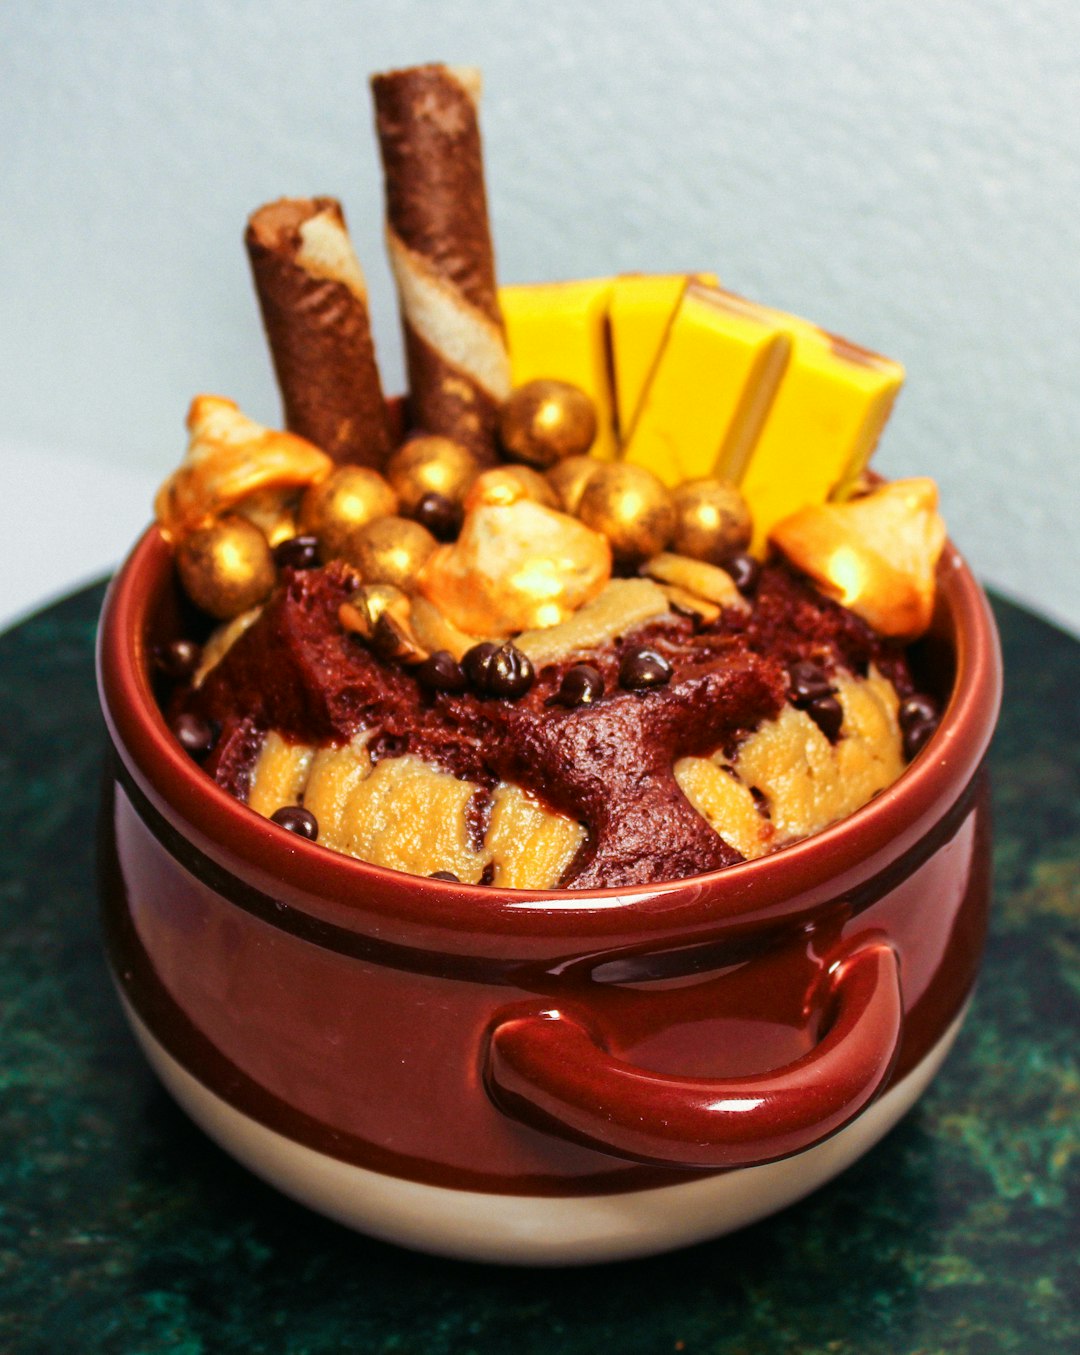
Opt for a microwave-secure mug or bowl that is large enough to keep the cake batter. Make sure it’s easy and dry. Lightly grease the inside of your mug with a thin layer of cooking oil or butter to save the batter from sticking to it. Size absolutely matters here – your mug should be adequately sized (typically 10-16 ounces) to prevent overflow disasters. Wide mugs work better than tall, narrow ones because they allow for more even cooking.
Pro Tip: The cake will rise quite a bit as it bakes, so make sure your mug isn’t too small. I recommend using a mug that’s wide as opposed to a mug that’s tall and skinny. I find that a wide mug allows the cake to bake more evenly. Glass or ceramic mugs are your best bet – they distribute heat evenly and won’t cause hot spots that lead to uneven cooking.
Never Overmix Your Batter
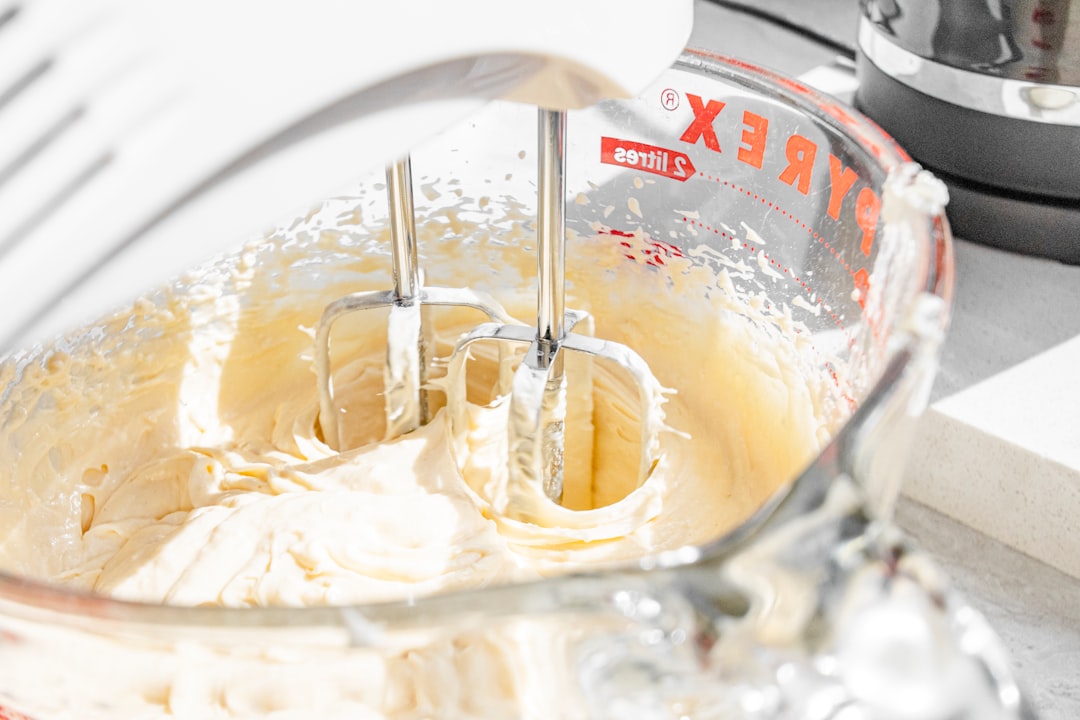
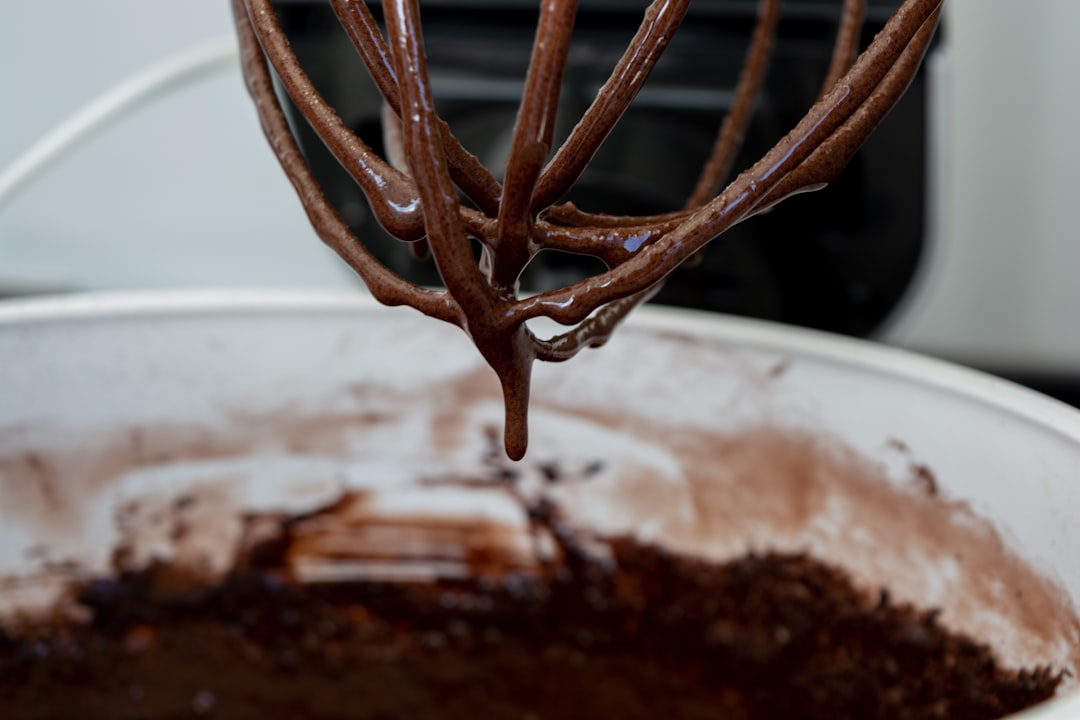
Pro tip: Don’t over-mix your cake batter! Mix until all ingredients are just combined. This is where many home bakers go wrong. That perfect Instagram-worthy smooth batter you’re aiming for? It’s actually sabotaging your cake’s texture. Overmixing develops the gluten in flour, resulting in a tough, chewy disaster instead of the fluffy treat you’re craving.
Don’t overmix your batter! It will be tempting, but just mix until all ingredients are combined. Otherwise, you’ll have a tough cake. A few lumps are completely fine – they’ll disappear during cooking. Think of muffin batter consistency rather than cake batter smoothness. A key to keeping the texture super light and fluffy is mixing it just until it comes together. Any extra stirring could make it tough or gummy.
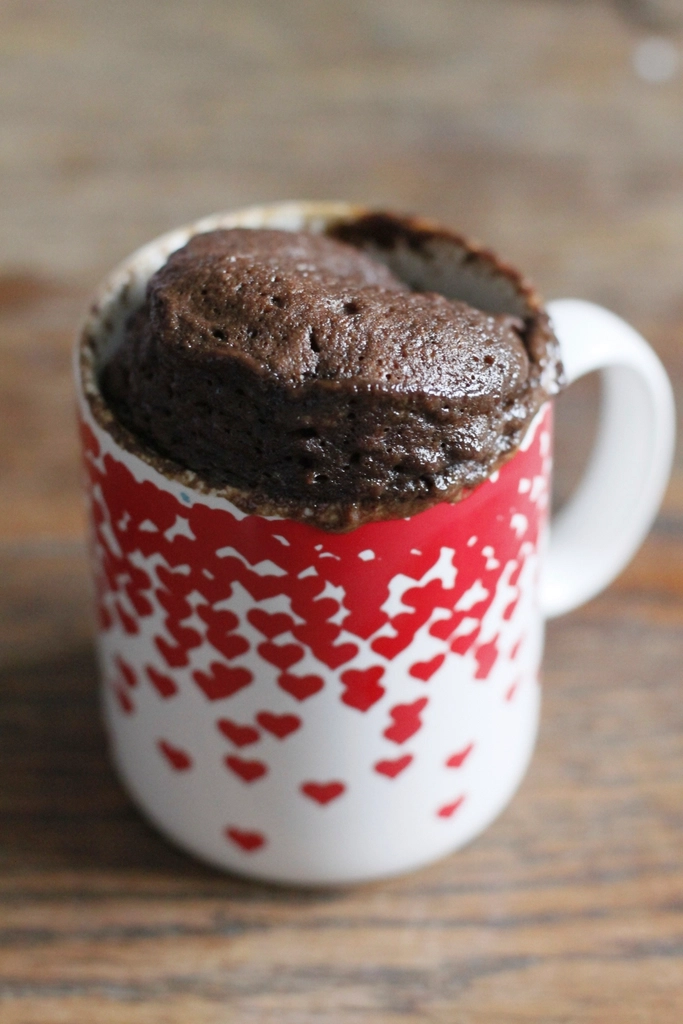
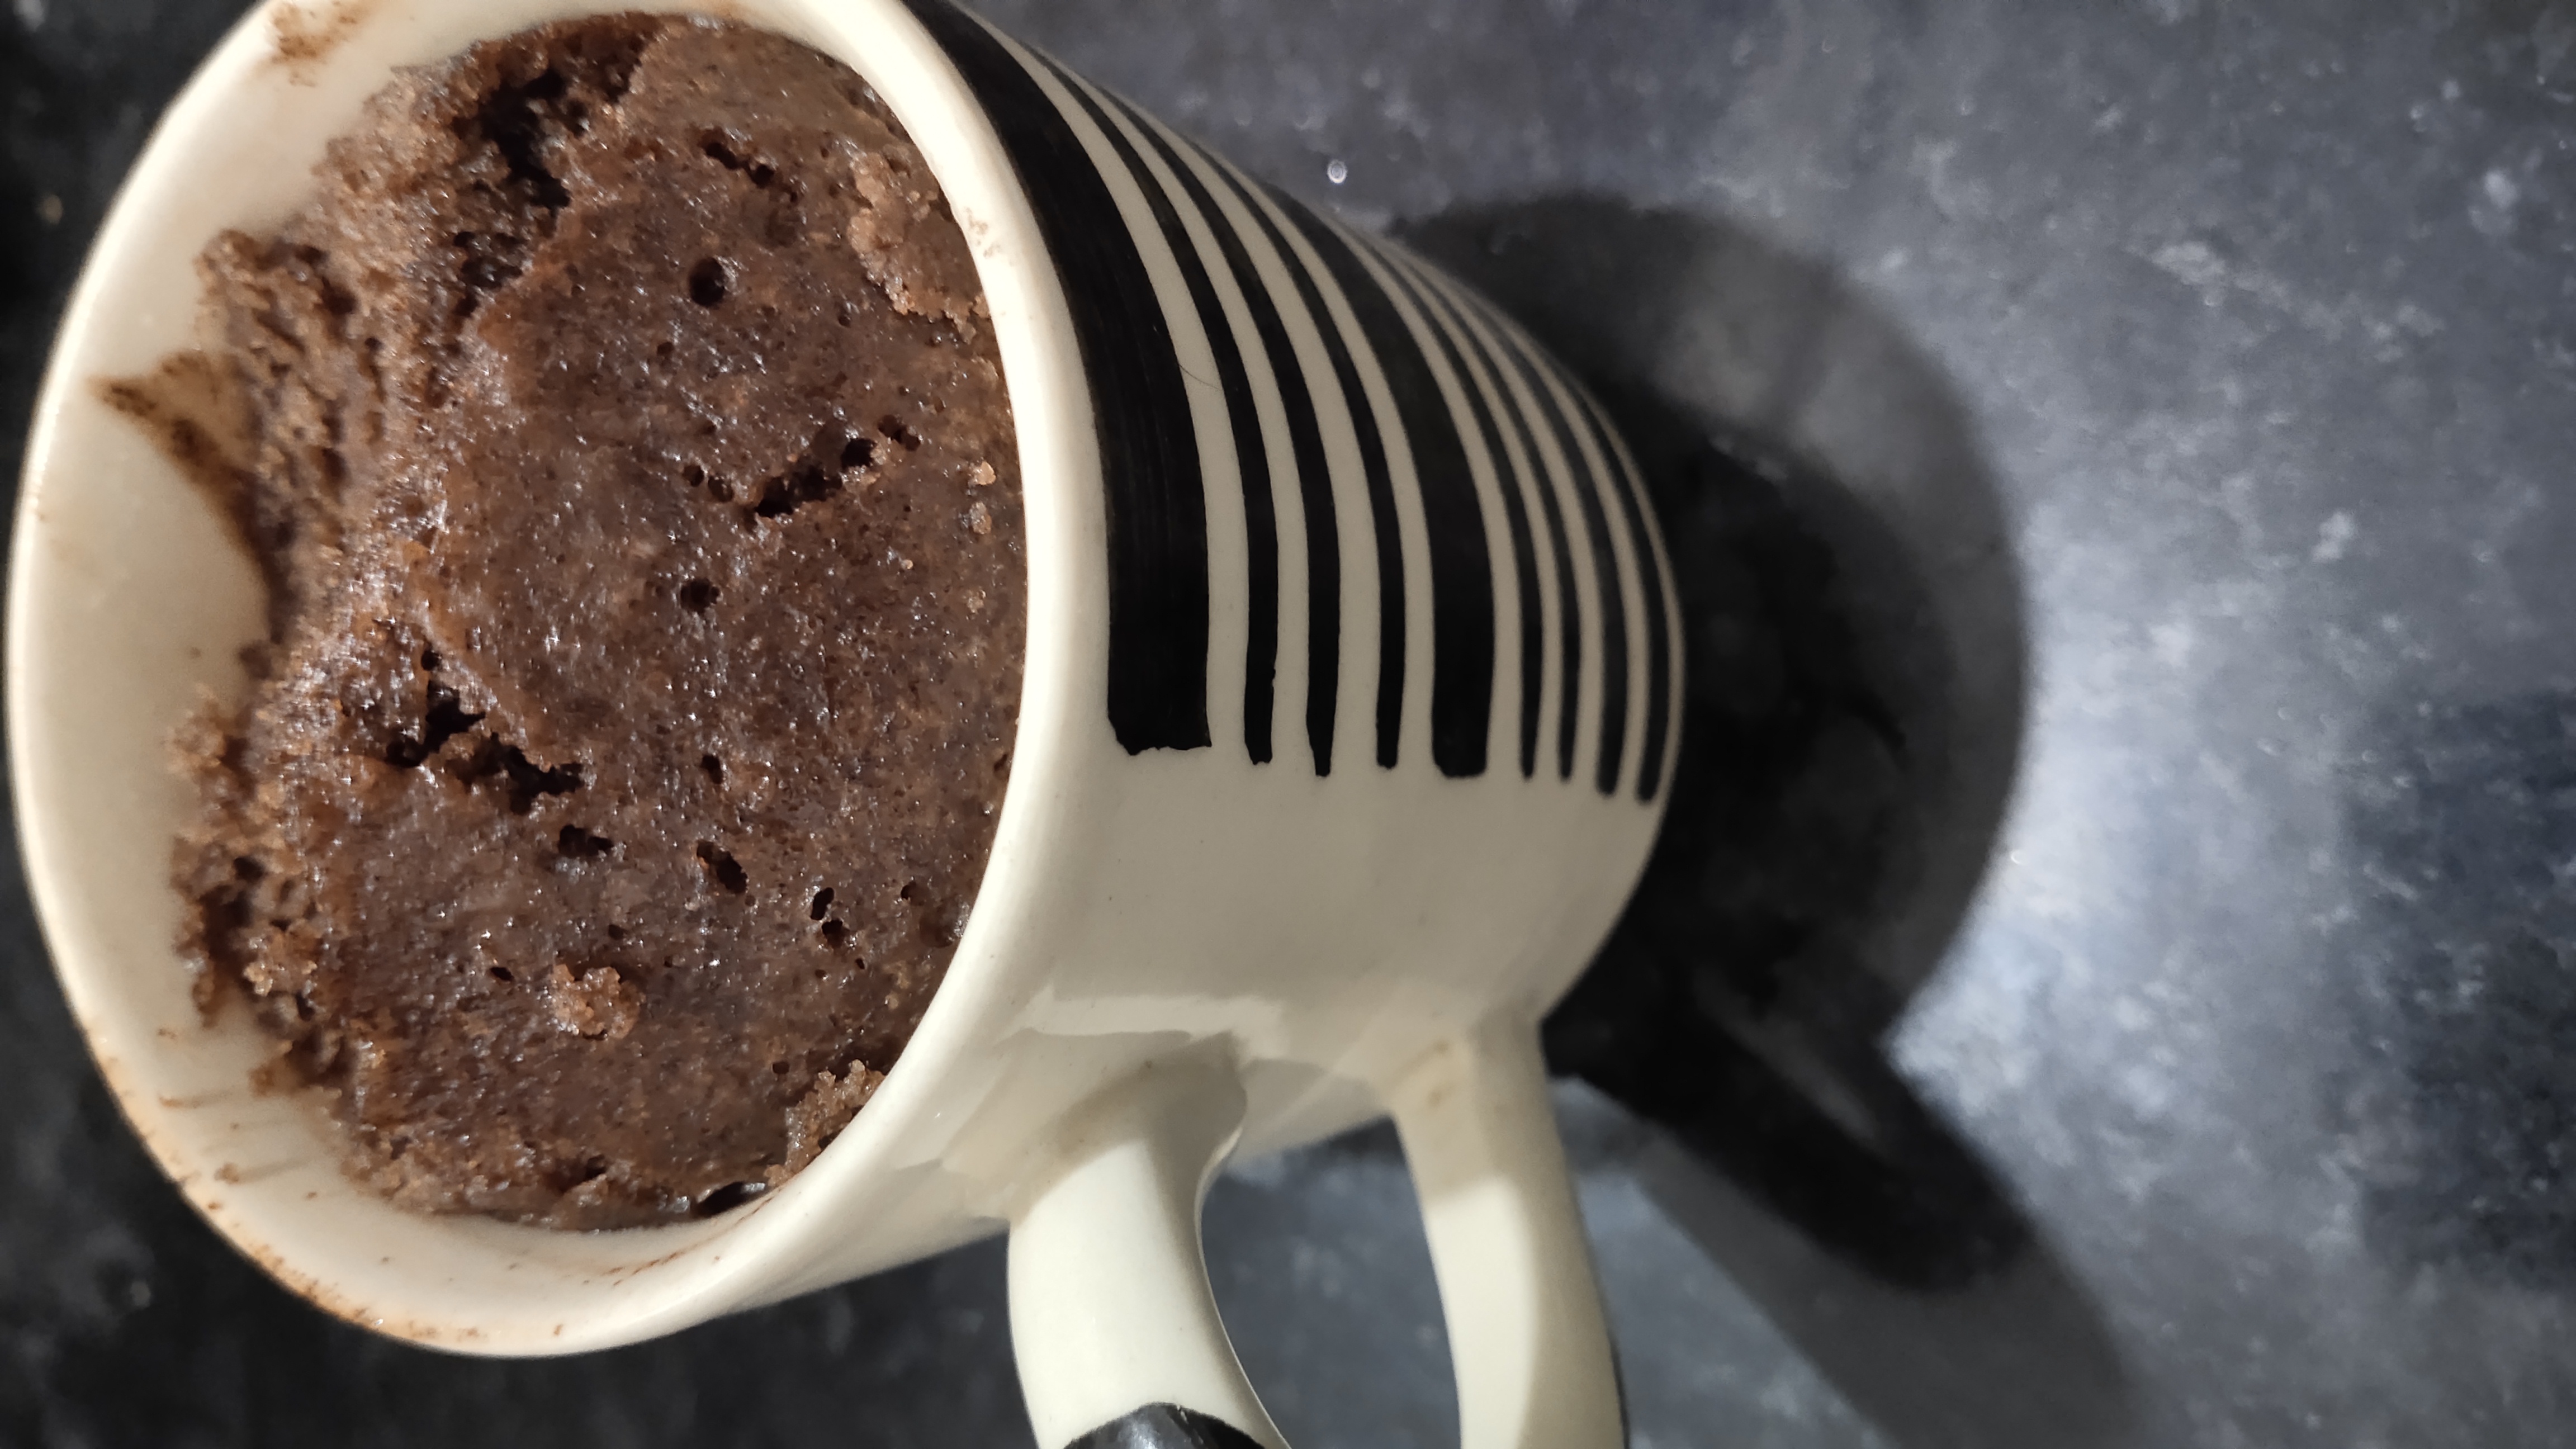
Understand the Art of Undercooking
Here’s the counterintuitive secret that separates amateur mug cake makers from pros: stop cooking earlier than you think. • The trick with mug cakes is to stop cooking the cake earlier than you think, because you want it to be soft on the inside, and the cake will also continue to cook as it cools. Your cake should look just barely set on top, maybe even slightly shiny or wet-looking in the center.
Residual heat continues cooking the cake even after you remove it from the microwave. The trick with mug cakes is to stop cooking the cake earlier than you think, because you want it to be soft on the inside, and the cake will also continue to cook as it cools. Let it rest for at least one minute before diving in – this cooling period is crucial for achieving that perfect tender crumb.
Add Moisture with Smart Fat Choices
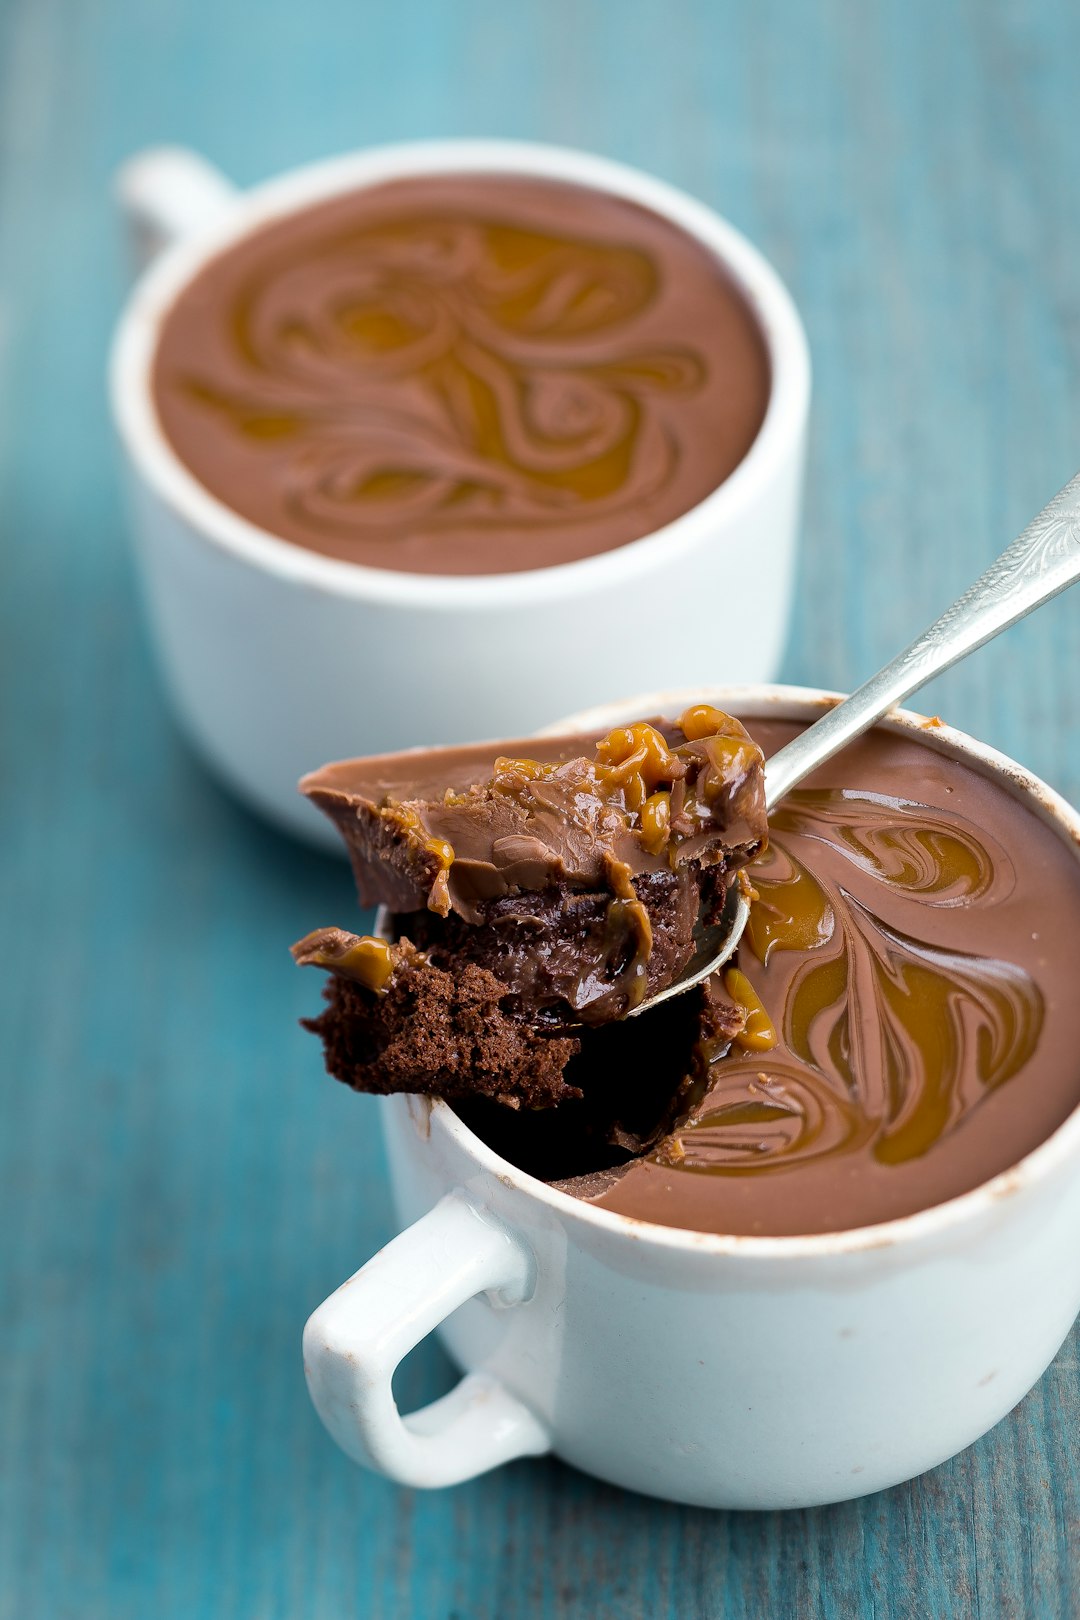
Fat isn’t the enemy in mug cakes – it’s your moisture insurance policy. Add chocolate chips for extra moisture and flavor. Ree stirs in chocolate chips to make the cake super chocolatey; as the mug cake bakes in the microwave, the chocolate chips also help the cake stay nice and moist. Whether you use butter, oil, or even nut butter, don’t skimp on this ingredient. It’s what transforms a dry, crumbly mess into a decadent treat.
Different fats create different textures and flavors. Butter gives richness and flavor, while neutral oils create a more tender crumb. If you don’t have butter, you could substitute margarine or even vegetable oil, although I prefer the flavor that the real butter gives the cake. For healthier options, try applesauce or mashed banana, but expect a slightly denser texture. The key is consistency – measure your fat precisely for repeatable results.
Use Room Temperature Ingredients When Possible
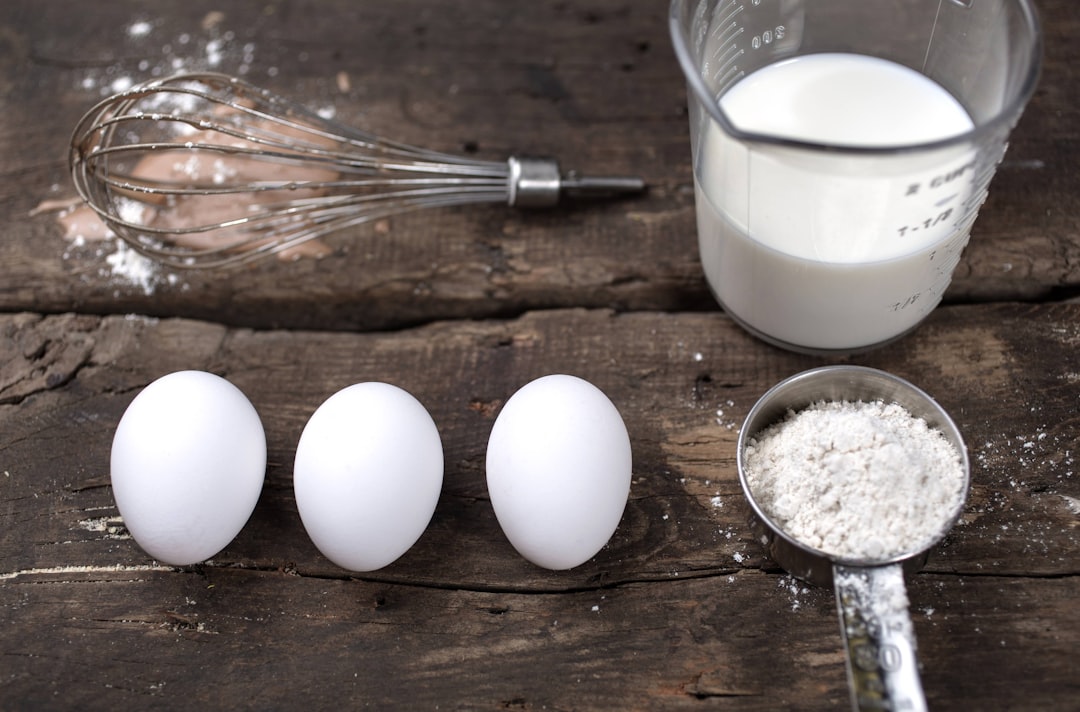
Cold ingredients don’t play well together in the microwave environment. Room temperature milk, eggs, and other liquids mix more easily and create a more uniform batter. Cold milk can cause butter to seize up into little chunks, creating uneven pockets in your finished cake. This simple step makes a noticeable difference in texture.
If you’re in a hurry (which, let’s face it, you probably are when making mug cakes), warm your milk in the microwave for 10-15 seconds before mixing. Add butter and milk to a regular sized coffee mug. Microwave until the butter is melted. Just don’t let it get hot – you want warm, not steaming. This technique also helps dissolve sugar more completely, preventing those gritty pockets that can ruin the eating experience.
Master the Resting Period
Patience isn’t usually associated with mug cakes, but those 60 seconds of cooling time are absolutely critical. Allow it to rest in the microwave for 1 minute. This isn’t just about avoiding burnt tongues – the resting period allows steam to redistribute moisture throughout the cake and lets the structure set properly.
Allow to rest in microwave for 1 minute before consuming. During this time, the cake continues to cook gently from residual heat while moisture redistributes evenly. Rushing this step often results in a gooey center surrounded by overcooked edges. Use this minute to prepare your toppings or simply practice the ancient art of anticipation – it makes the first bite even sweeter.
Prevent Overflow Disasters
Nothing ruins a late-night dessert craving like cleaning exploded cake batter from your microwave. Ensure you choose a mug that’s not small in size, as the batter may spill out during the process. Fill your mug no more than halfway – mug cakes can double in size during cooking. This expansion is normal and necessary for achieving that light, fluffy texture.
Place on microwave safe plate and microwave for 1 minute and 10 seconds. Always place your mug on a microwave-safe plate to catch any potential overflow. Fill the container only halfway to allow room for the cake to rise. This is crucial for preventing spills and ensuring even cooking. This simple precaution saves you from sticky cleanup and ensures your microwave stays dessert-ready for future cravings.
Fine-Tune with Power Settings
Not all microwave cooking needs to happen at full blast. I always start with 1 minute on medium power. Then I do additional 30 second intervals on medium power until the top looks totally set. I highly recommend going slowly to avoid the cake overbaking. Medium power (50-70%) often produces more even results, especially for larger or denser batters.
High power works best for basic vanilla or chocolate cakes with simple ingredient lists. More complex recipes with mix-ins or higher fat content benefit from gentler cooking. Microwave for 60 seconds on medium power. If the cake is not done baking (ie it still looks gooey), microwave for an additional 30 seconds. It may need 2-3 extra 30 second intervals. I recommend baking in intervals to avoid the cake overbaking. Remember, you can always add more cooking time, but you can’t uncook an overdone cake.
Conclusion
Perfect mug cakes aren’t about luck – they’re about understanding the science behind microwave baking and applying these proven techniques consistently. From mastering your microwave’s wattage to resisting the urge to overmix, each tip builds upon the others to create foolproof results every time. The beauty of mug cakes lies not just in their convenience, but in their endless potential for creativity once you’ve nailed the basics. Whether you’re satisfying a midnight chocolate craving or impressing friends with a quick dessert, these techniques will ensure your single-serving treats rival any bakery creation. What’s your biggest mug cake challenge? Have you tried any of these techniques before? Drop a comment and let us know which tip made the biggest difference in your microwave baking adventures!